Crimson Desert features 77 bosses spread across the continent of Pywel. These powerful enemies range from massive creatures and mechanical constructs to skilled human warriors and ancient humanoids. Bosses fall into two broad categories: World Bosses, which are larger, more powerful encounters often tied to exploration or the open world, and Elite Bosses, which are strong named enemies that typically guard specific locations, lead factions, or serve as chapter-specific challenges.
There are no difficulty settings. Pearl Abyss designed a single intended difficulty. If a boss proves too difficult, players can leave, explore elsewhere, upgrade their weapons and gear, complete side content for additional experience, and return when better prepared. Most bosses can be tackled in any order, skipped entirely, or revisited later.
World Bosses
World Bosses are 42 of the most formidable enemies in Crimson Desert. They include colossal creatures, powerful ancient humanoids, and legendary warriors scattered throughout Pywel. Many World Bosses are tied to exploration and can be encountered while roaming the open world. Some are story bosses required for main quest progression, while others are optional encounters that reward players with valuable loot and gear blueprints.

Boss Name | Weapon / Type | HP | ATK |
|---|---|---|---|
Halberd | 13,000 | 800 | |
Humanoid | 13,000 | 800 | |
Two-Hand Sword | 11,000 | 800 | |
Humanoid | 4,937 | 265 | |
Humanoid | 4,116 | 265 | |
Humanoid | 4,116 | 265 | |
Humanoid | 4,116 | 265 | |
None (Torch) | 3,299 | 151 | |
Two-Hand Sword | 3,000 | 172 | |
Creature | 2,909 | 388 | |
Creature | 2,675 | 190 | |
Creature | 2,500 | 194 | |
Creature | 2,500 | 194 | |
Creature | 2,420 | 200 | |
Sword & Tower Shield | 2,312 | 180 | |
One-Hand Sword | 2,160 | 210 | |
Sword & Shield | 2,011 | 202 | |
Mace & Shield (Troll) | 2,011 | 203 | |
Creature | 2,000 | 182 | |
Two-Hand Spear | 1,826 | 145 | |
Creature | 1,664 | 160 | |
Creature | 1,560 | 180 | |
Two-Hand Axe | 1,560 | 135 | |
Creature | 1,408 | 124 | |
One-Hand Sword | 1,408 | 124 | |
One-Hand Sword | 1,408 | 124 | |
Creature | 1,400 | 276 | |
Two-Hand Spear | 1,387 | 124 | |
Two-Hand Sword | 1,350 | 120 | |
Creature | 1,332 | 174 | |
Creature | 1,200 | 150 | |
One-Hand Sword | 1,109 | 82 | |
Two-Hand Sword | 1,020 | 145 | |
Creature | 1,000 | 145 | |
Creature | 1,000 | 78 | |
Dual Swords | 968 | 28 | |
Two-Hand Sword | 960 | 84 | |
Sword & Shield | 736 | 73 | |
Troll | 733 | 26 | |
Dual Daggers | 619 | 18 | |
Fist | 578 | 16 | |
Creature | 500 | 190 |
Elite Bosses
Elite Bosses are 35 powerful named enemies that occupy key locations across Pywel. They include faction leaders, cursed knights, mechanical constructs, and elite warriors. Elite Bosses tend to be more human in scale compared to World Bosses, but they compensate with fast attacks, advanced combat techniques, and multi-phase encounters. Many Elite Bosses have unique gear sets tied to their identity, which can be looted upon defeat.
Boss Name | Weapon / Type | HP | ATK |
|---|---|---|---|
Giant Axe | 4,525 | 265 | |
Giant Spear | 4,116 | 265 | |
War Hammer | 4,116 | 265 | |
Giant Sword | 4,116 | 265 | |
Humanoid | 4,116 | 265 | |
Dual Daggers | 2,557 | 340 | |
Creature | 2,500 | 160 | |
Creature | 2,500 | 160 | |
Shotgun | 2,396 | 340 | |
One-Hand Sword | 2,365 | 202 | |
Musket | 2,227 | 410 | |
Two-Hand Hammer | 2,227 | 218 | |
Two-Hand Axe | 2,212 | 218 | |
Two-Hand Sword | 2,183 | 218 | |
Two-Hand Spear | 2,011 | 218 | |
Two-Hand Spear | 2,011 | 218 | |
Two-Hand Spear | 2,011 | 218 | |
Humanoid | 1,896 | 218 | |
Two-Hand Sword | 1,896 | 218 | |
Two-Hand Spear | 1,896 | 218 | |
Dual Daggers | 1,680 | 189 | |
Humanoid | 1,658 | 189 | |
Bow | 1,560 | 189 | |
Sword & Shield | 1,560 | 157 | |
War Hammer | 1,560 | 157 | |
Sword & Shield | 1,560 | 124 | |
Humanoid | 1,546 | 189 | |
Halberd | 1,306 | 143 | |
Two-Hand Sword | 1,262 | 106 | |
Two-Hand Sword | 1,210 | 106 | |
One-Hand Sword | 1,130 | 35 | |
War Hammer | 1,000 | 74 | |
One-Hand Sword | 925 | 40 | |
Giant Spear | 869 | 84 | |
One-Hand Dagger | 736 | 73 |
Boss Tips
Study your enemy before committing to a fight. Each boss has a distinct moveset and weapon type. Reviewing the dedicated article for a boss before the encounter can reveal its weak points, phase transitions, and recommended counter-strategies. See the Boss Strategies article for a general guide to combat preparation.
HP values shown above represent total health pools at the boss's base difficulty. ATK values indicate the boss's base attack power, which affects how much damage their strikes deal before factoring in your defense stats. Higher ATK bosses can one-shot unprepared characters, so always check gear requirements before engaging.
World Boss locations and their associated drops are documented on the World Boss Locations and Drops page.
Main Story Bosses
The following bosses are encountered during the main story campaign. Some are fought as part of scripted sequences, while others serve as chapter-ending encounters. Multi-phase bosses (such as Ludvig, Awakened Ludvig, and One-Armed Ludvig) are listed separately because each form has a distinct moveset and is encountered at a different point in the story.
Location | Notes | |
|---|---|---|
Hernand city square | Knight with 2 health bars | |
Drops Sword of the Lord | ||
3 health bars, multi-phase fight | ||
Aerial puzzle fight | ||
3 health bars | ||
Draven the Crowcaller | Crow's Nest, Abyss | Drops Tauria Curved Sword |
Shield user | ||
Pailune Castle | Lightning attacks | |
Pailune Castle | Enhanced form of Ludvig | |
Black Bear Forces leader | ||
Fire dragon form | ||
Kingshield Mountain, Pailune | Mountain encounter | |
Fort Ironclad, Demeniss | Spear user | |
Thornbriar Fortress, Demeniss | Ghost summoner | |
Fist fighter | ||
Story boss | Witch, summons minions | |
Story boss | Longsword, 2 phases |
World and Optional Bosses
World bosses and optional bosses are found throughout the open world, often tied to side quests or exploration challenges. These encounters are not required for the main story but offer unique rewards and contribute toward completion milestones.
Location | Related Quest | |
|---|---|---|
Legendary Wolf | ||
Emperor of the Bonepit | ||
Stoneback Crab Wetlands, Delesyia | ||
Fort Askelund, Pailune | Unending Threat |
The total boss count of 77 includes multi-phase variants counted separately. For example, Ludvig, Awakened Ludvig, and One-Armed Ludvig count as 3 distinct entries because each form has unique attack patterns and is fought at a different stage of the campaign.
Stats
Stat | Value |
|---|---|
10 | |
Evade | N/A |
CC Gauge | 20 |
Equipment
Boss wears the following items:
Item |
|---|
Notes
This NPC can be interacted with through the Trust system by greeting and giving gifts.
Patch 1.04.00 Boss Changes
Patch 1.04.00 reworked how bosses behave under sustained pressure. Bosses are no longer immune to player attacks while performing their own powerful attacks, so players can interrupt or trade hits during big telegraphed swings instead of bouncing off them. The frequency of counterattacks and escape moves used during consecutive hits has also been adjusted, and several specific bosses received tweaks to their attack patterns. On Hard difficulty, certain bosses use additional combat patterns that are not available on Normal or Easy. Boss rematches were not included in this update; see Patch 1.04.00 for the full balance summary and Boss Rematches for the upcoming rematch system.
Overview
Crimson Desert features 76 bosses spread across the continent of Pywel. The majority of these bosses are optional encounters that players can discover while exploring the open world. A smaller number are "crit path" story bosses required to progress the main narrative. Pearl Abyss has not published the exact split between optional and required bosses, but previews confirm that most can be tackled in any order, skipped entirely, or revisited later with better equipment.
Pearl Abyss designed a single intended difficulty level. If a boss proves too challenging, players can leave, explore elsewhere, upgrade their weapons and gear, complete side quests for additional experience, and return when better prepared.
Confirmed Boss Roster
The following bosses have been shown in gameplay demos, trailers, or official previews. This is not a complete list of all 76 bosses.
Location | Key Mechanics | |
|---|---|---|
Coastal area | Puzzle boss; mount and climb its back to destroy crystal formations exposing weak points. Shadow of the Colossus-style encounter. | |
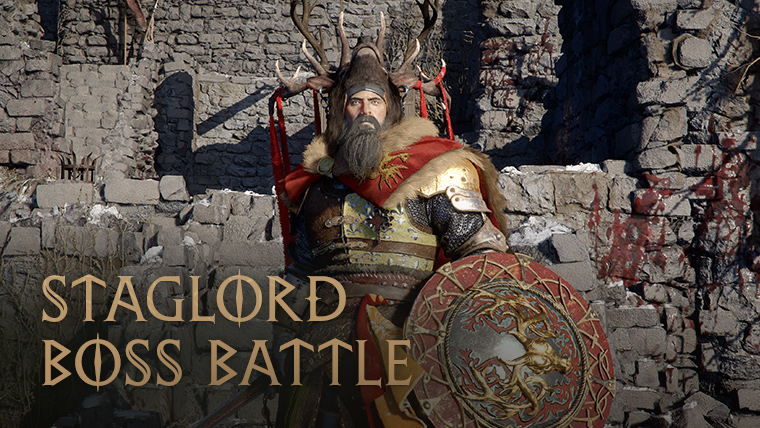
Ruins | Fallen king with sword and shield; Celtic armor aesthetic; 3 HP bars with distinct phase transitions. | |
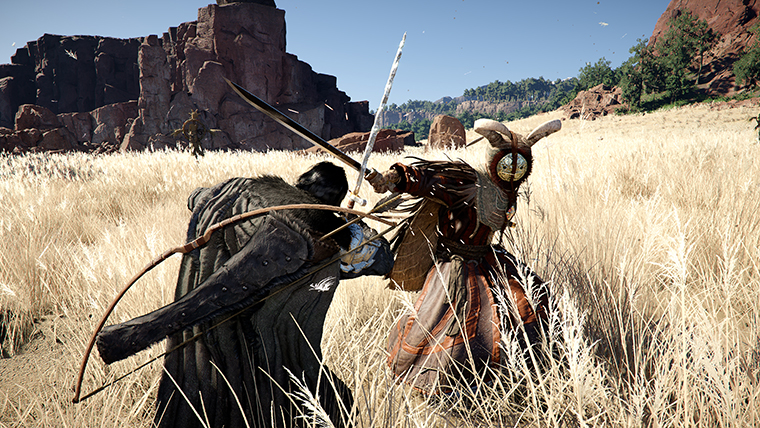
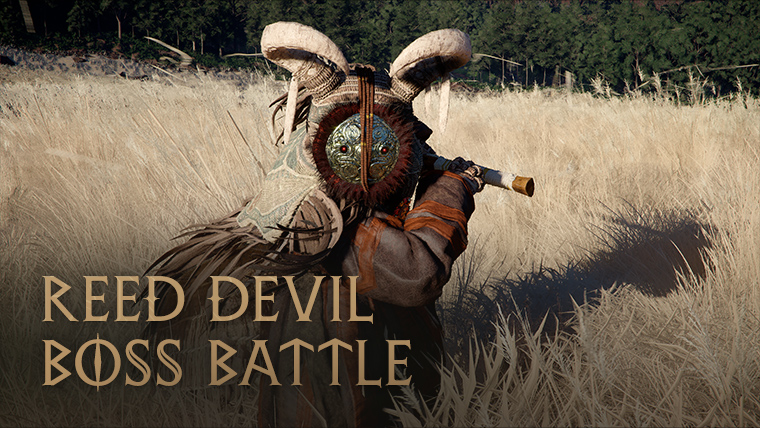
Frozen Soul Mountain, Hernand | Fast iaijutsu swordsman who hides in surrounding reed fields. Summons wicker totems in phase 2. | |
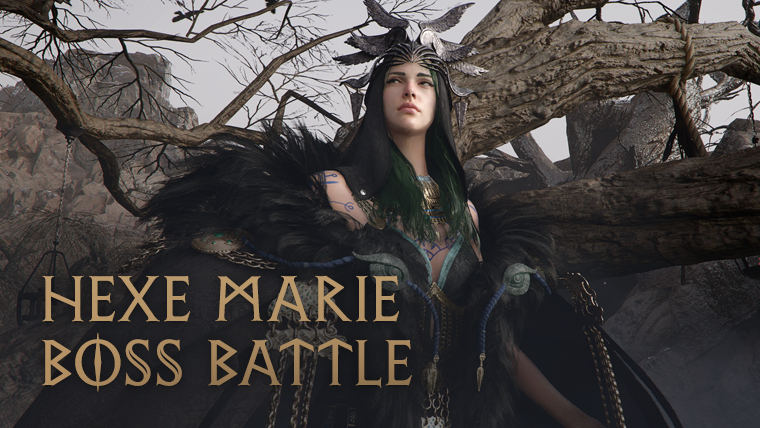
The Smoking Lands | Two-phase witch boss with crow and shadow minions; summons Earthen Warriors (ceramic automatons). Revealed at G-STAR 2024. | |
White Mountains | Mountain spirit ape with antlers; summons blizzards and hail; 3 phases; players can climb its back to attack weak points. | |
Gunman with double-barreled shotgun and smoke grenades. Quick evasion tactics and ranged attacks. | ||
Not confirmed | Giant gorilla relying on brute strength. Chest beats, ground slams, and rampaging attacks. Can be mounted on its back. | |
Calphade Castle | Traitor officer with heavy mace and shield. Destructible pillars can be collapsed onto him. Story boss in the Calphade questline. | |
Hernand town square | Duelist encountered in the Hernand region. | |
Undefeated warrior of The Bonepit arena. | ||
Not confirmed | Summoned by a character named Rakkash. | |
Not confirmed | Massive mechanical dragon with dragon's breath attacks. | |
Prologue | Leader of the Black Bears. Appears as a boss in the opening prologue. Single red HP bar. |
Multi-Phase HP System
All major bosses use a multi-phase health bar system, typically with two or three phases. Each phase is color-coded and introduces new attack patterns and behaviors.
Phase | Color | Behavior |
|---|---|---|
Phase 1 | Blue | Initial phase with standard attack patterns. The boss establishes its core moveset and the player learns its tells. |
Phase 2 | Green | Cutscene triggers between phases. Boss gains new abilities, faster attack speed, and more aggressive behavior. Health resets. |
Phase 3 | Red | Final phase. Boss enters a berserker or rage state with enhanced speed and damage. The last 25% of health may trigger additional desperation attacks. |
Bosses do not follow fixed patterns throughout the fight. Attack patterns, speeds, and abilities shift between phases, requiring players to adapt rather than memorize a single rotation. Pearl Abyss has emphasized that over-committing to offense early in a fight is a common mistake.
Combat Mechanics
Boss encounters incorporate several mechanics beyond standard combat.
Guard System: Some bosses have a Guard bar that must be depleted before they become vulnerable to damage. Once the Guard is broken, the boss staggers and a damage window opens. The parry system is the primary way to deplete Guard.
Weakness Exploitation: Every boss has exploitable weaknesses beyond direct combat. At Summer Game Fest 2025, a boss could be defeated by hoisting pillars and slamming them on its head using the spirit focus ability. Context about weaknesses can be learned through story progression, exploration, or experimentation.
Climbing and Mounting: Bosses like White Horn and Queen Stoneback Crab can be physically mounted and climbed. Players attack specific weak points while holding on with one hand and striking with the other.
Arena Interaction: Boss arenas include destructible and interactive elements. Pillars can be collapsed onto staggered bosses, and environmental hazards can be used to deal significant damage.
Rewards
Defeating bosses yields several types of rewards.
Reward | Description |
|---|---|
Signature Equipment | Dropped gear carries the boss's signature abilities and unique stat bonuses. Can be crafted into custom weapons. |
Used to unlock and upgrade skills on the character skill tree. | |
Unique materials used for equipment crafting at blacksmiths. | |
Character Progression | Defeating bosses advances overall character progression and may unlock new abilities or story content. |
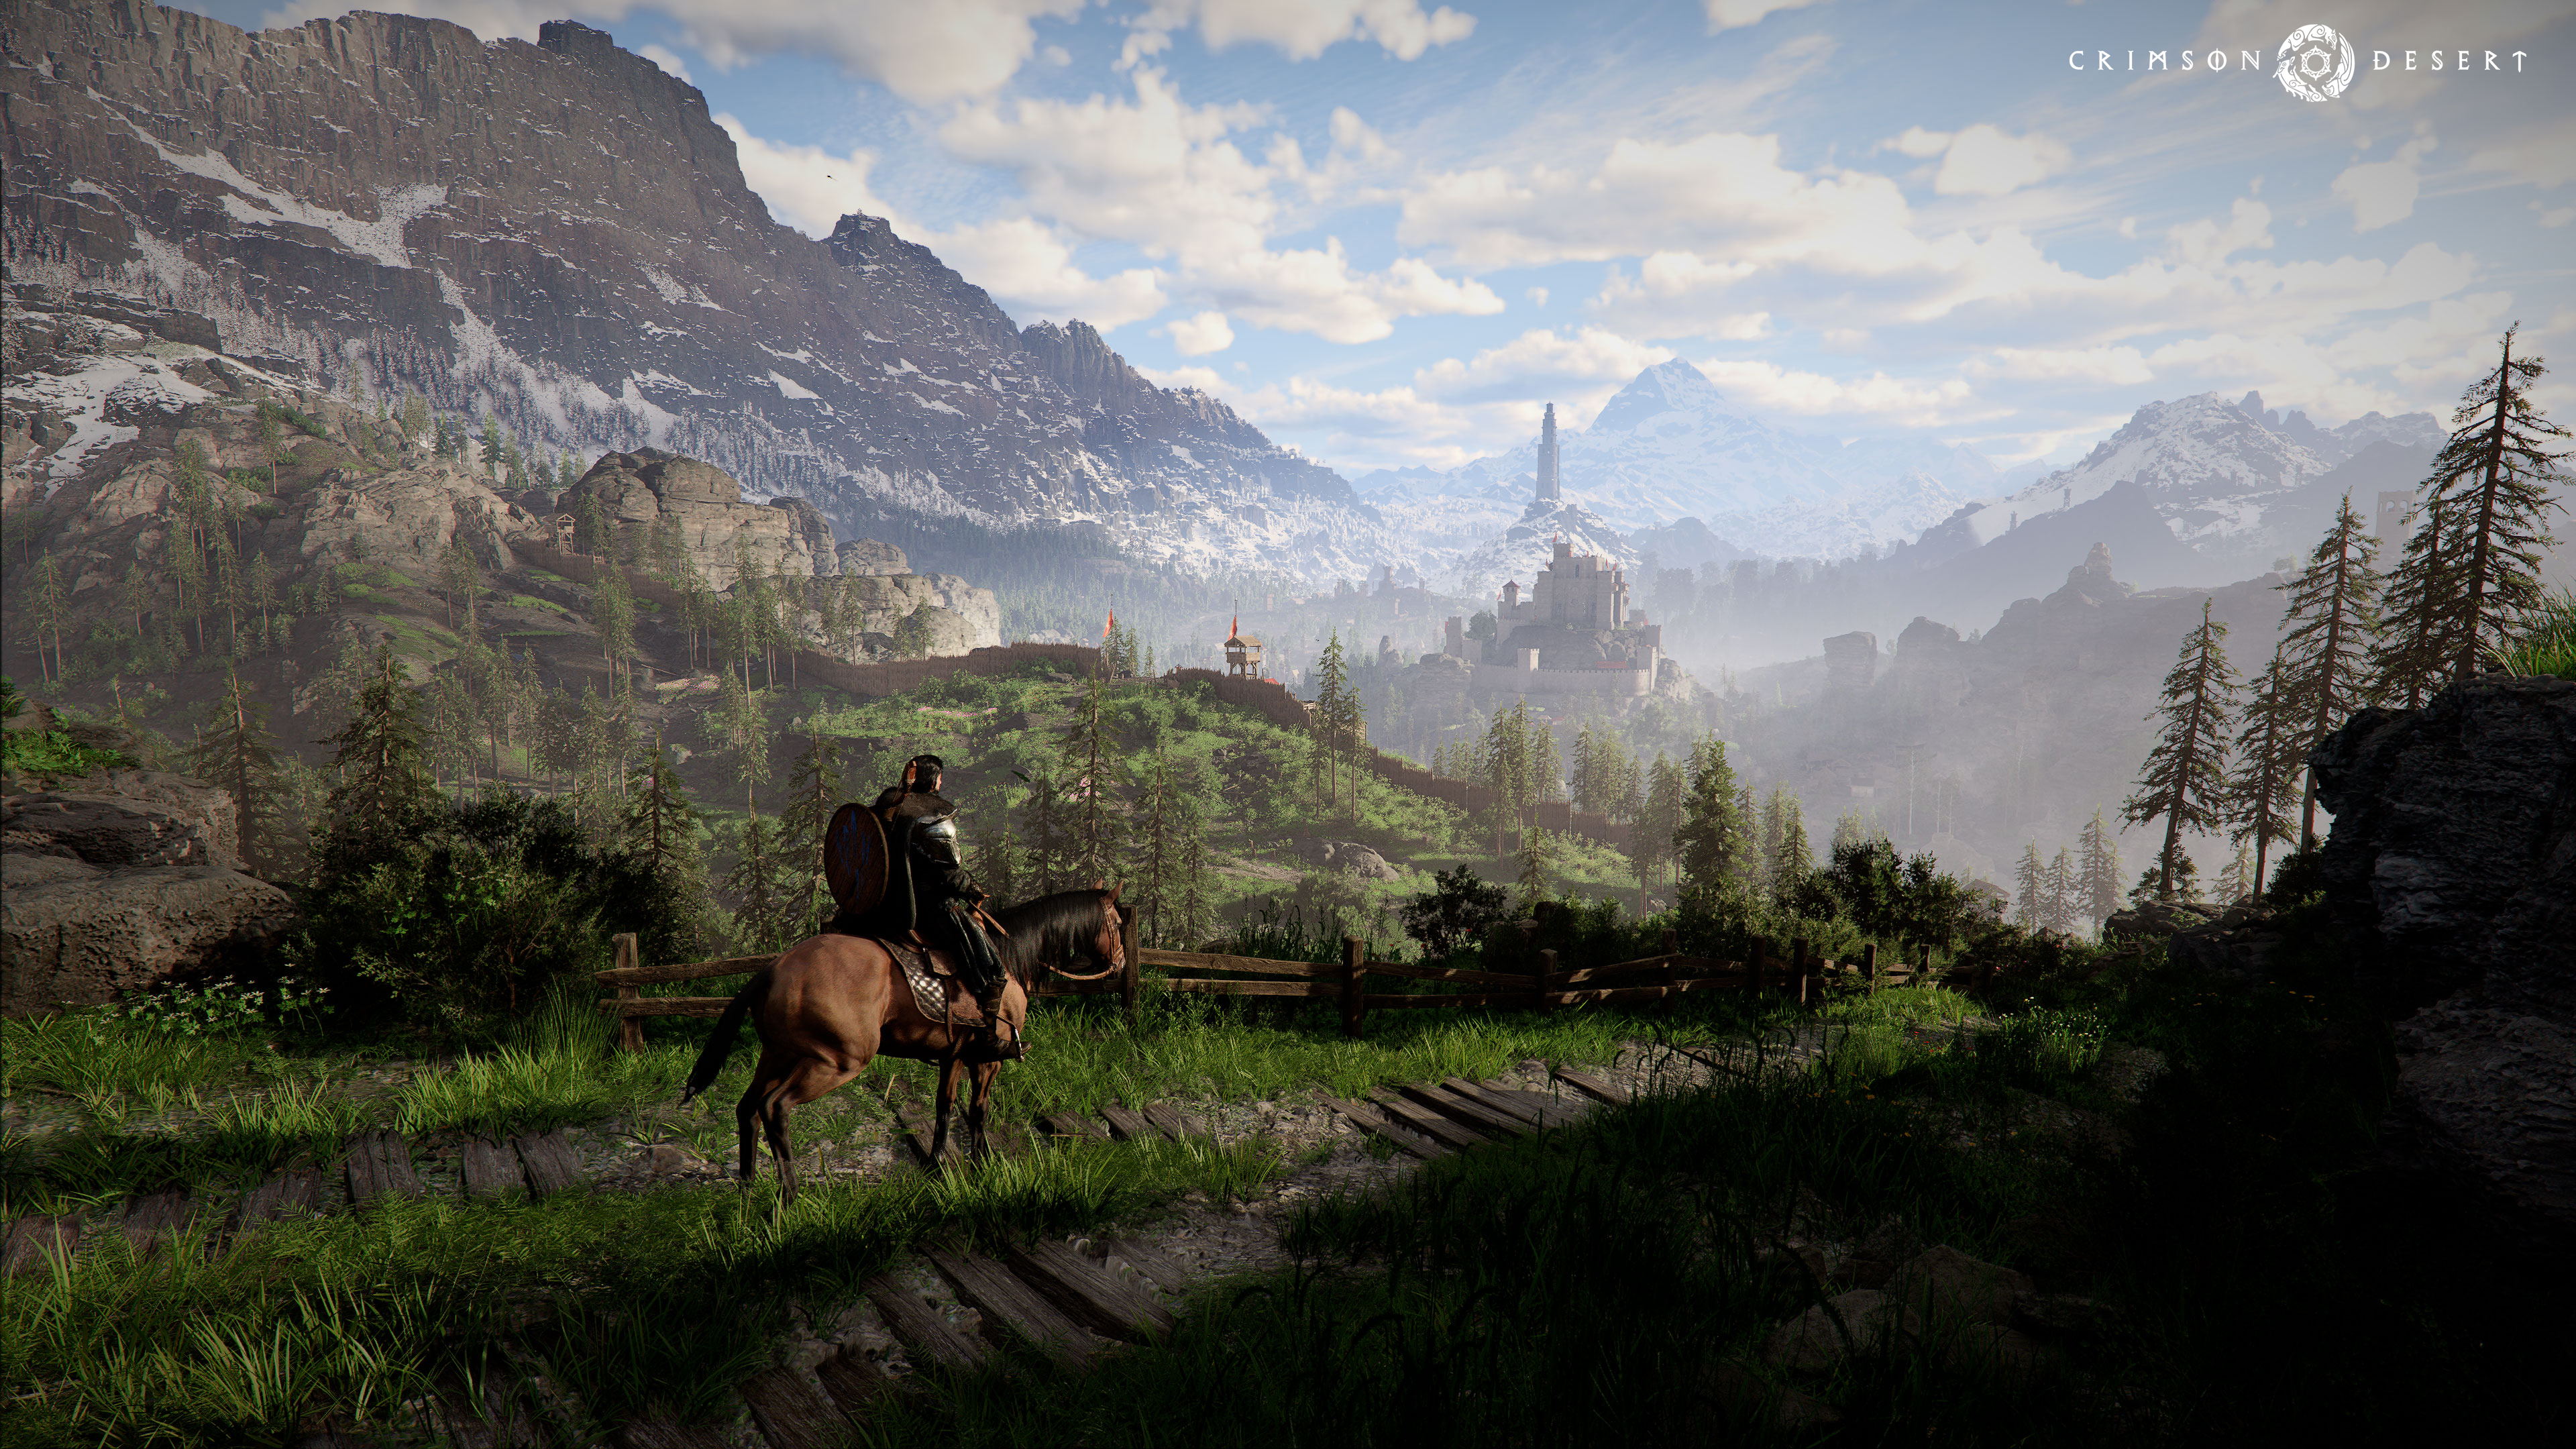
Finding World Bosses
World bosses are scattered across Pywel's five regions. The open world is fully accessible from the start with no level-gated areas, though enemy difficulty scales by location. Bosses can be encountered while exploring caves, ruins, mountain peaks, forests, and other remote locations. Some bosses are tied to faction quests or specific side quest chains, while others can be stumbled upon during free exploration.
The Knowledge System tracks discoveries including boss encounters. Players who explore thoroughly and investigate hidden locations will find more optional bosses than those who follow the main story path alone. Will Powers noted that after completing the main campaign, he had "barely scratched the surface" of the game's optional content, having spent approximately 50 hours on side content.
Boss count in the Knowledge System
The 76 boss count was confirmed through the game's Knowledge System, which tracks 2,921 total discoverable entries across multiple categories. Bosses are one distinct category alongside other tracked content.
Knowledge Category | Entries |
|---|---|
Territories | 573 |
People | 467 |
Adventures | 430 |
401 | |
76 | |
Total | 2,921+ |
The distinction between the 401 creatures and 76 bosses suggests that bosses are tracked as a separate category from standard enemies. Standard creatures include wildlife, hostile mobs, and faction soldiers encountered during normal exploration, while bosses are the named, unique encounters with dedicated HP bars, cutscene introductions, and Signature Ability drops.
Comparison to Other Games
Crimson Desert's 76 bosses place it close to Black Myth: Wukong's boss count, which was one of the most boss-dense action RPGs in recent years. Community discussion has raised the question of how many of the 76 are truly unique encounters versus "boss versions of normal enemies" (scaled-up versions of standard creature types with a boss HP bar). Based on pre-release coverage, the revealed bosses show significant variety: human duellists (Matthias, Staglord), massive creatures (White Horn, Queen Stoneback Crab), mechanical constructs (Golden Star), supernatural entities (Hexe Marie), and organized faction leaders (Myurdin, Cassius Morten). This range suggests Pearl Abyss has invested in diverse boss design rather than padding the count with reskins.