Loading...
Loading...
Naval Combat
April 15, 2026 at 11:53 PM
Correct demo-era and outdated co-op-cap language in naval-combat article
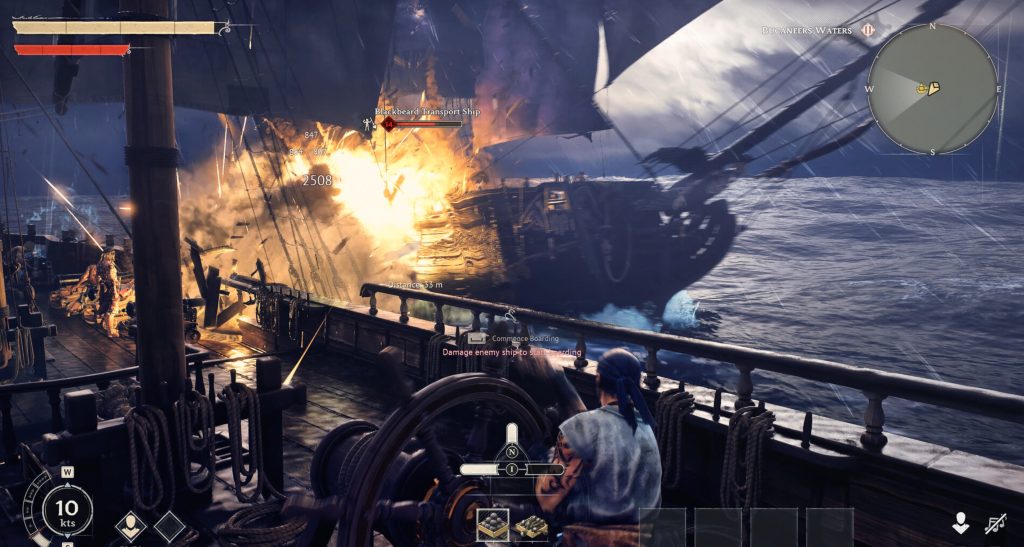
Naval combat is one of Windrose's core systems. Ship battles take inspiration from Assassin's Creed Black Flag, with broadside cannon volleys, boarding actions, and wind-based maneuvering. Transitions between ship and shore are seamless, with no loading screens.
Action | Key |
|---|---|
Steer left / right | A / D |
Raise sails (increase speed) | W |
Lower sails (decrease speed) | S |
Aim cannons | Right Mouse Button (hold) |
Fire cannons | Left Mouse Button |
Board enemy ship | Space (when prompt appears) |
Summon ship to shore | K |
Toggle zoomed-out camera | F |
Open ship management (near wheel) | Q |
The faster you move, the harder it is to turn. Lowering speed to roughly three-quarters sail noticeably reduces your turning circle, making it easier to bring cannons to bear on the enemy. Use the F key to zoom out for better situational awareness during combat.
Ships carry two types of ammunition, and players can switch between them during combat:
Ammo Type | Effect | Best Used For |
|---|---|---|
Regular cannonballs | Direct hull damage to enemy ships | Sinking or weakening ships for boarding |
Bar shot (chained shots) | Targets enemy sails and rigging to slow ships down | Opening a fight to reduce enemy maneuverability |
The recommended strategy is to start a fight with bar shot. Fire five to six good shots into the enemy's rigging to slow them down, then switch to regular cannonballs and pound their hull. Once the enemy ship is slowed, you can get on their broadside and maintain a sustained barrage.
Waves physically block cannon shots. When large waves rise between your ship and the enemy, cannonballs can hit the wave crest instead of the target. Greater distance and higher tides make this worse. Players need to time shots for moments when they have a clear line of sight over the water. This adds a positioning element to combat where closing distance reduces the chance of waves interfering with your volleys.
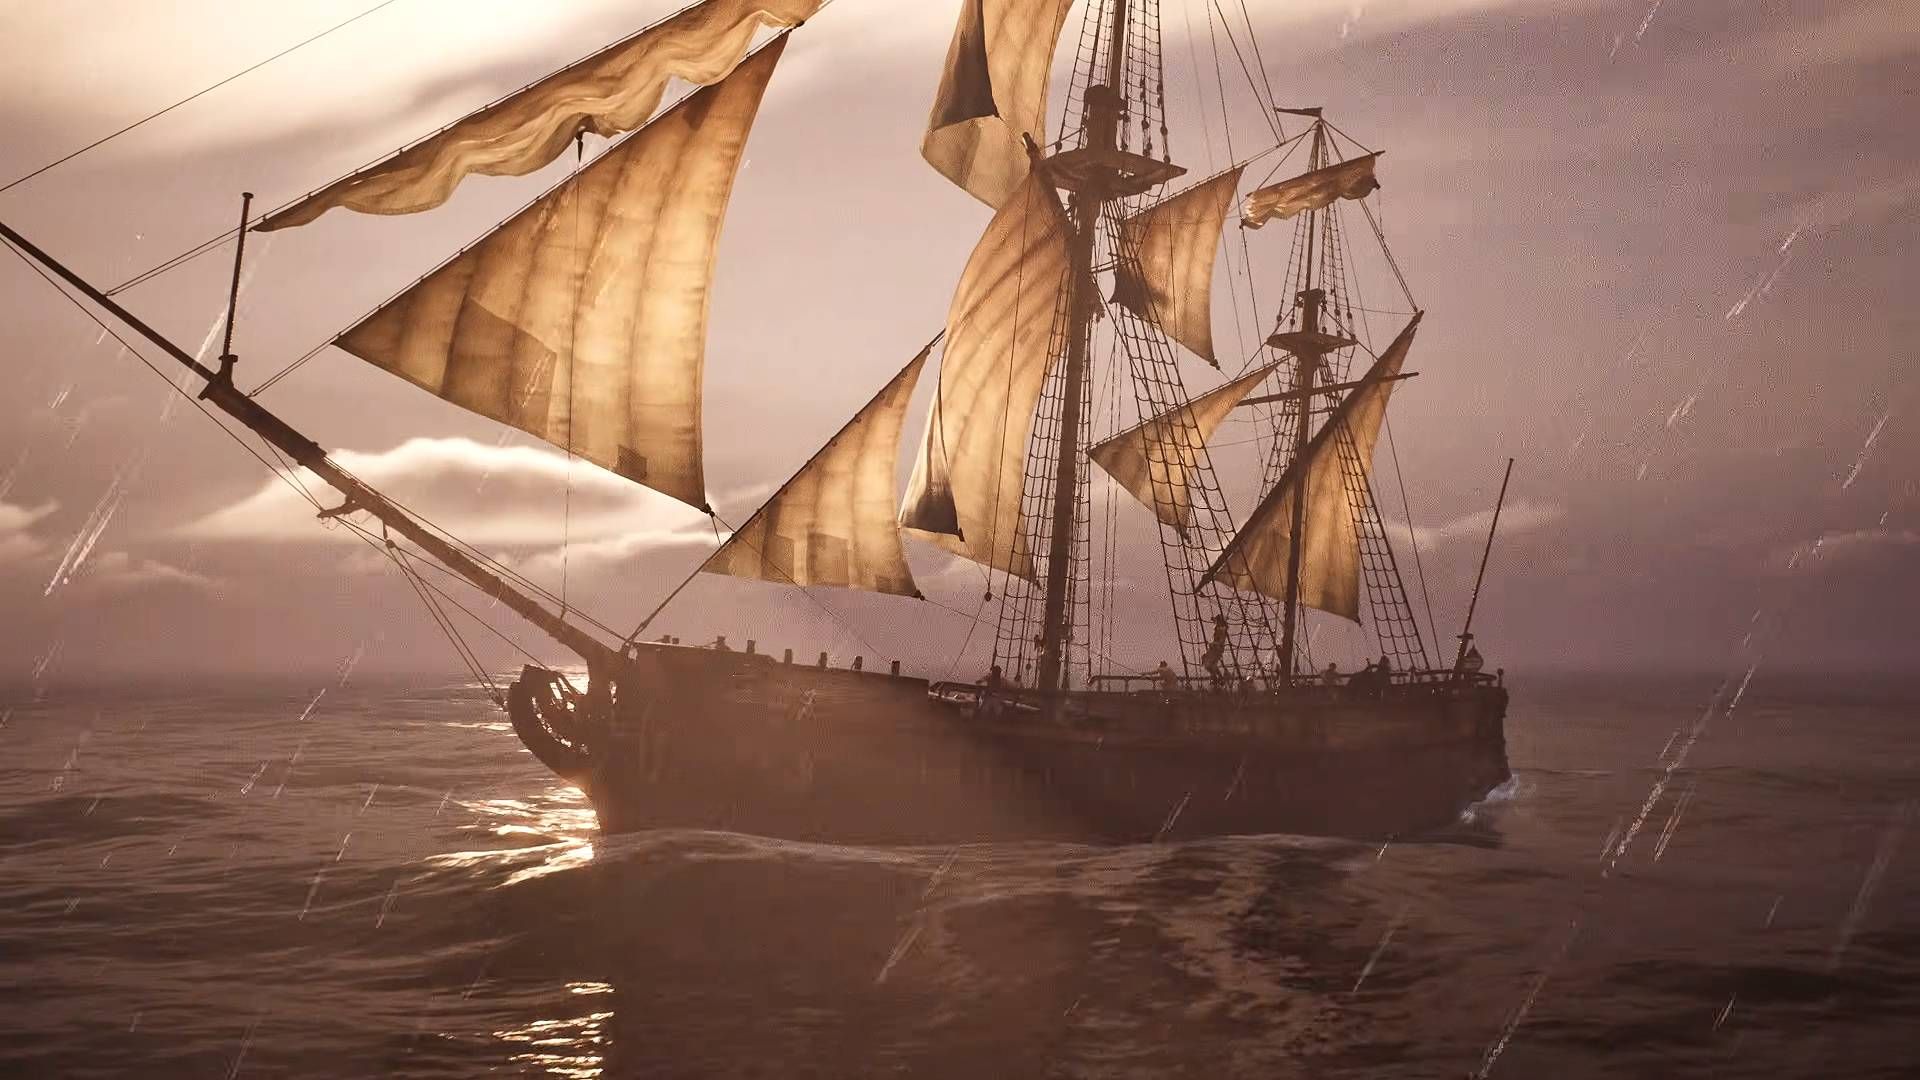
Several ship types are available, each filling a different role:
Ship Class | Description |
|---|---|
Sloops and cutters | Small, fast boats for early-game travel |
Ketch | Nimble mid-size vessel with good maneuverability |
Brig | Versatile workhorse balancing speed, durability, and firepower |
Frigate | Massive warship with heavy cannon capacity but slow turning |
Each class differs in speed, durability, maneuverability, and the number of cannons it can mount. Choosing the right ship for a situation matters, since a frigate can overpower anything in a straight fight but struggles in tight island channels.
Ship equipment is crafted at the Shipwright's Workshop and equipped via the Wharf's ship management interface (drag items into Ship Gear slots):
Equipment | Purpose | Recipe |
|---|---|---|
12-Pounder Cannons | Fire at enemy ships; the only cannon type currently available | 10 Copper Ingots + 10 Wood |
Hull Bracing | Reduces damage taken, makes your ship more durable | 5 Copper Ingots + 30 Wood + 5 Nails |
Boarding Equipment | Improves NPC crew effectiveness during boarding actions | Recipe varies |
All three equipment types can be upgraded at the Shipwright's Workshop Upgrade tab with additional materials to increase their effectiveness. Fully upgraded boarding equipment makes your NPC crew significantly tankier and more effective in fights.
After damaging an enemy ship enough, you can board it. The boarding process follows specific steps:
Weaken the enemy ship. Fire cannons until the enemy health bar drops low enough to trigger the boarding option.
Position alongside. Sail close to the enemy ship, keeping it on your left or right side.
Wait for the boarding prompt. Do NOT jump onto the enemy ship before the prompt appears. Doing so is likely fatal.
Press Space to board. Your NPC crew will board alongside you and fight enemy sailors together.
Fight the enemy crew. Defeat all enemies on the deck. In the Seafarer quest, this means defeating 7 enemies.
Loot the ship. Successful boarding lets you collect the ship's cargo.
Boarding tips from experienced players:
Use ranged attacks (musket or blunderbuss) before closing to melee distance
Support your NPC crew from behind rather than charging into the front line
Enemies cannot attack you on high ground, so climb elevated positions for ranged advantage
Upgrade boarding equipment at the Shipwright's Workshop so your crew becomes more effective
Block and parry to tire enemies and reduce armor damage
Eat damage-boosting food before initiating the boarding action
Do not board ships higher level than you
Ship | Level | Notes |
|---|---|---|
Blackbeard Transport Ship | 1 | Starter/practice enemy. Recommended as first naval target. |
Blackbeard's Pirates' Ketch | Varies | Encountered during the Seafarer quest. Drops Insignia of a Blackbeard Lieutenant, Naval Supplies, Piastres, and Contraband. |
Transport Ship | 4 | Significantly higher health than level 1 ships. |
Interceptor | 4 | Second high-level variant. Tougher combat encounter. |
Engaging ships two or more levels above your current rank is strongly discouraged. The level difference makes combat extremely punishing.
Three methods exist for repairing ships:
Method | When to Use | Cost |
|---|---|---|
Combat Repair Kits | Mid-battle emergency repairs while under fire | Consumable item (crafted) |
Wharf Repair | After your ship is destroyed; rebuilds the vessel | 20 Wood at the Wharf, then press K to respawn |
Shipwreck Repair | Quest-specific; repairing a found shipwreck | 100 Wood, 20 Nails, 20 Coarse Fabric, 10 Ropes |
Ship destruction is not permanent. If your ship is sunk, rebuild it at a Wharf for just 20 Wood, which is roughly three palm trees worth of materials.
Two buildings are required for naval combat:
Building | Cost | Placement |
|---|---|---|
Shipwright's Workshop | 15 Wood + 10 Coarse Fabric + 5 Copper Ingots | Within bonfire range; requires a roof |
Wharf | 10 Wood + 10 Coarse Fabric | On the shoreline, within bonfire range |
The Seafarer is the second tutorial quest, unlocked after completing "I Need a Bigger Boat." It teaches naval combat through a structured sequence: building the Shipwright's Workshop, crafting 12-Pounder Cannons, constructing a Wharf, equipping cannons on your ship, and sailing to engage Blackbeard's fleet. The February 2026 demo ended here with a "To be continued..." screen, but the live Early Access build continues far beyond this point into Tortuga, faction progression, and the broader Chapter 1 campaign.
Currently, one player commands one ship. Official FAQ messaging still frames the system around one player commanding one ship, and Kraken Express describes broader multi-crew roles as a future-facing area rather than a settled launch feature. In co-op multiplayer (up to 8 players total, though official sources recommend closer to 4 for smoother late-game performance), each player commands their own separate ship during naval combat. Multiple players cannot crew a single ship with divided roles. NPC crew members automatically man the cannons and participate in boarding actions.
Open with bar shot into enemy sails (5 to 6 volleys) to slow them down
Switch to regular cannonballs and maintain broadside positioning
Sail in circles around the enemy, firing on each pass
Reduce speed for tighter turns when bringing cannons to bear
Watch the waves and time shots for clear line of sight
Keep combat repair kits on hand for emergencies
When the enemy is weakened, position alongside and wait for the boarding prompt
Board with full gear, food buffs, and ranged weapons ready
Once you reach Tortuga, the Smugglers of Port Royal unlock a new type of ship equipment called Naval Tactics at reputation rank 3. Tactics are expensive but slot directly into your ship alongside cannons and hull bracing, giving persistent combat passives. The Brethren of the Coast sell the higher-tier ship designs (Brig and Frig) at high rep, although actually crafting those hulls still requires Foothills resources. The Buccaneers provisioner sells faction variants of the 12-pounder at rank 2.
Examples of Naval Tactics confirmed from the Smugglers' provisioner inventory:
Tactic Effect | Trigger |
|---|---|
Restore 3% chip health every 3 seconds | While out of combat |
Apply Broken Rhythm: reload speed -20%, damage -20% for 30 seconds | On hitting an enemy ship |
Next volley deals +130% damage | If you neither deal nor take damage for 2 minutes |
Because tactics cost piastres in the hundreds per slot, plan your reputation grind around which one suits your playstyle before spending. The +130% sleeper volley tactic favors careful snipers; the Broken Rhythm debuff is strongest in 1v1 trading fights; the out-of-combat chip regen pairs well with the hit-and-run ketch style of play.
Quest chains and faction patrols routinely surround you with 2 to 5 hostile ships at once. A raw unupgraded 12-pounder loadout will not survive a 1v3. Three preparation steps close the gap. First, upgrade every single cannon at the Shipwright's Workshop using Copper Ingots and Wooden Planks; upgrades apply per-cannon and stack into a meaningful damage jump across a full broadside. Second, buy or earn a variant cannon from the Buccaneers provisioner at rep 2, such as the Perfectly Ordered 12-Pounder Roost. Third, slot at least one Naval Tactic from the Smugglers once you hit their rep 3.
Tactically, kite rather than brawl. Use bar shot to slow one target, peel away behind an island or wave crest to break line of sight on the other two, then circle back to finish the slowed ship before the rest catch up. Keep several Combat Repair Kits in your hold at all times and never engage multiple ships without at least average-item-level-4 hull bracing, which usually means upgrading blue-tier bracing a few times with copper.
White, blue, and yellow lights visible in the ocean mark floating bounty barrels. The color encodes rarity. White gives basic loot like wood, repair kits, and steel nails. Blue is uncommon and can include lost goods, piastres, and crafting materials such as nails and silver. Yellow is the rare tier and can hand out epic gear pieces. Sailing a regular trade route between your base and Tortuga lets you gather 100 to 200 wood in a single trip just by scooping barrels along the way, which is dramatically faster than chopping forests by hand.
Approach with your small boat, dismount briefly to pick up the barrel, and keep moving. Some barrels spawn inside patrol routes where pirate ships will engage if you linger. If you do not yet have a fast travel bell placed on the nearest island, either drop one before engaging or accept that a sunk ship means rowing back.
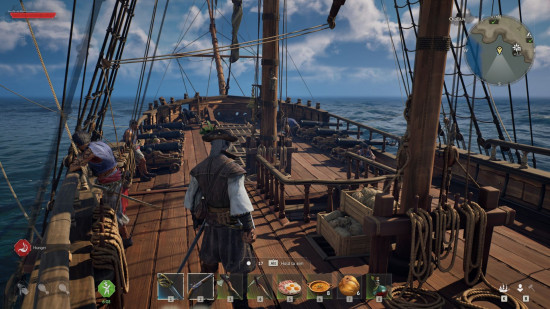
The K-key ship summon has no cooldown and works with every ship class, including the Brig and Frig, not just the starter boat. Whenever you reach a shoreline you can recall your current vessel to that exact spot, which removes most of the pain of exploring on foot and remembering where you docked.
If your ship sinks, the Wharf restore option rebuilds it for 20 Wood (roughly three palm trees worth of farming) and you respawn the ship at your location with K. Ship loss is therefore effectively a small wood tax rather than a catastrophic setback, but any cargo that was in the hold is lost. Offload trade goods at a merchant or into a base chest before every risky fleet engagement.