

The Switch System is Echoes of Aincrad's core companion-coordination mechanic. It is the specific term Bandai Namco uses for how the player and their NPC companion hand combat off to each other during fights.
Chaining Attacks
At its simplest, the Switch System lets the player chain attacks with their partner and change roles during a fight. One character opens a combo, the other closes it, and the pair can then rotate without the fight losing momentum.
The Two Commands
The player issues one of two commands to the partner at any moment, and switching between them is instant. Earlier pre-launch descriptions framed this as an autonomous stance versus a held stance that released for a coordinated strike. The published behaviour is more precise than that, and the difference matters in play.
In Switch Mode the partner attacks the enemy you are locked onto, alternating turns with you. In Free Mode the partner prioritises the enemies you are not locked onto. Neither mode holds the partner in reserve for a burst release; the choice is about which target the partner commits to.
Where it Meets the Timing System
The Switch System pairs with the game's defensive timing windows. Successful Parry Slash, Dodge Slash, and Reversal Slash all rely on the partner stepping in at the right moment, which means Switch positioning and timed parry reads drive each other in practice.
Free Mode and Switch Mode
The two commands solve different problems, and the expectation is that you flip between them constantly during a fight rather than setting one at the start.
Switch Mode
The partner attacks your locked-on target, taking turns with you. Initiative passes to the other character whenever either of you performs a dodge after attacking, and you always get the first opportunity on the locked target. The partner may still take occasional swings at nearby enemies you are not targeting.
Switch Mode is the right call when you want to split a dangerous enemy's attention between the two of you, when you do not want the partner engaging before you commit, or when you simply want a slower and more controlled pace.
If the partner is not attacking as often as you expect, performing a step or roll while attacking an enemy triggers a Switch and directs them onto the same target.
Free Mode
The partner prioritises enemies outside your lock-on and attacks considerably more often. This is the mode for being surrounded, for picking a crowd apart one enemy at a time, or for working two targets simultaneously.
If the partner keeps chasing the wrong enemy, the fix is to clear the other enemies they are engaged with. Once only one enemy remains nearby, they fall in on your target.
Concentration
Free Mode is not free. Prolonged use drains the partner's Concentration, a stat that governs how reliably they dodge and guard. As it falls their success rate drops and they start taking avoidable damage. Switch Mode restores it, which reframes Switch Mode as the partner's recovery state as much as a tactical choice.
This is the practical reason the two commands are meant to alternate. A partner parked in Free Mode for a whole boss fight ends it barely able to defend themselves.
Switch Standby
When a Switch is ready, Switch Standby is displayed underneath the partner's name. Watching that indicator rather than counting evades is the reliable way to time a handoff.
Expected Play Pattern
Because the two modes cover different situations, the intended play pattern is to alternate between them constantly rather than picking one and sticking with it. A rough rule of thumb based on the behavior shown in gameplay footage:
Free Mode: use when the character is surrounded or the player wants the partner to apply area pressure on multiple enemies at once.
Switch Mode: use when the player needs a defensive window to recover, heal, or reposition, and wants evades to pull the partner in to cover for them.
Both modes still respect the normal resource loop. The partner's sword skills draw from their own SP, and holding back in Switch Mode can help conserve the buildup required for coordinated attacks and support skills. Managing stamina on the player's side also matters, because evading is the trigger that calls the partner in, and running dry on stamina means losing the option to switch on demand.
Switching and Tag-Team Counterattacks
Switching is the same system that powers tag-team counterattacks for perfect dodges, parries, and blue-ring interrupts. When the player nails the defensive timing, the partner is the one who actually jumps in to counter, so Switch Mode's evade trigger and the perfect-timing reactions share the same underlying handoff logic. The detailed inputs for each counter window are covered on the Parry Slash, Dodge Slash, and Reversal Slash page, but the practical result is that the more comfortable the player is alternating modes and using evades deliberately, the more often those tag-team reactions come online in combat.
Two-Player Partner Combat
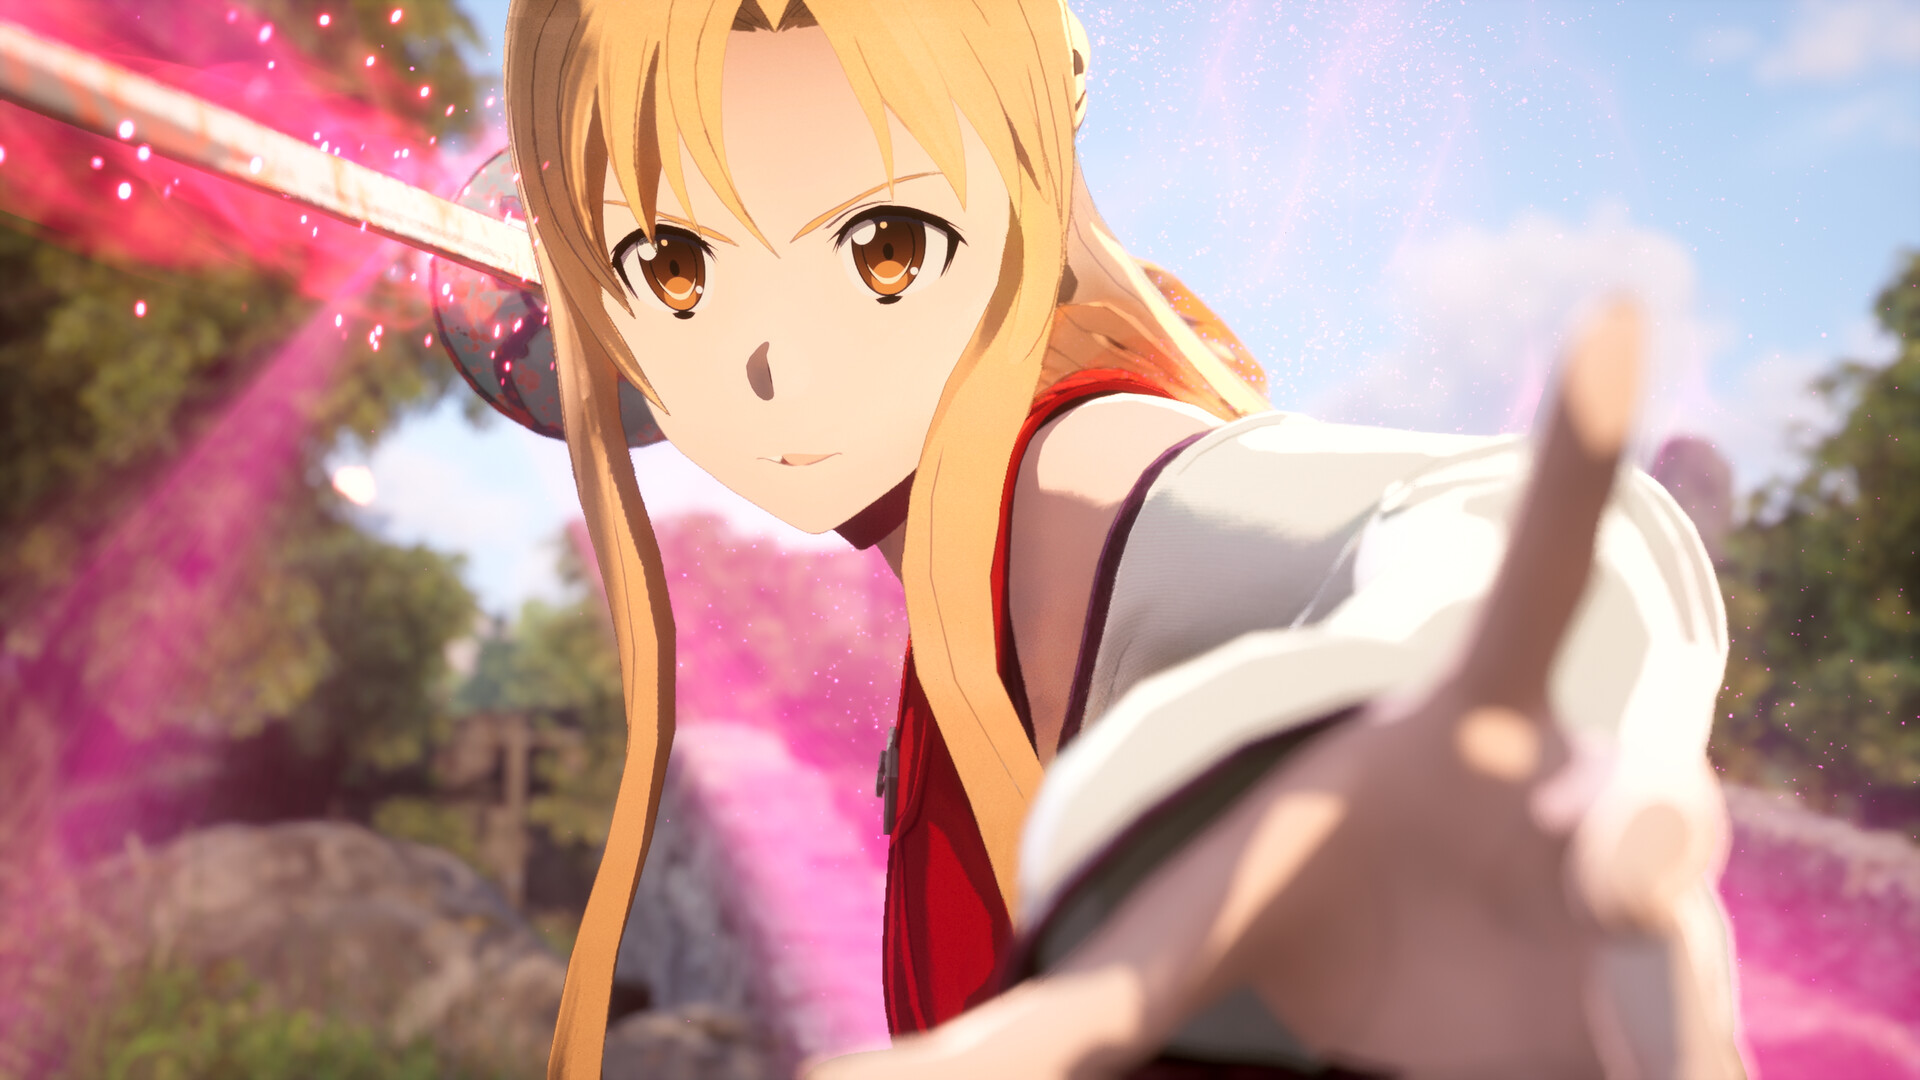
The publisher's headline framing for the Switch System is that Echoes of Aincrad is built around two-player partner combat: the protagonist and a single AI-controlled NPC companion form the unit that every other combat system pivots on. Although the game itself is single-player, the moment-to-moment fight is paced like a duo, with both characters contributing damage and pressure on the same target window.
That framing has two practical implications. The first is that successful combat usually means coordinating your inputs with whichever partner is currently held back, since the largest damage spikes come from the held-and-released sequence rather than from raw player damage on its own. The second is that partner choice carries the same weight as weapon choice: rotating Iori, Wyzeman, Zash, and Argo through a long encounter changes which timing reads matter and which special skills the team has on the menu.
System Recap
Element | What It Does |
|---|---|
Switch Mode | Partner attacks your locked-on target, alternating turns with you. Initiative passes when either of you dodges after attacking. |
Free Mode | Partner prioritises enemies outside your lock-on and attacks much more frequently. |
Concentration | Partner stat that drains in Free Mode and lowers their dodge and guard success. Restored by Switch Mode. |
Switch Standby | Indicator under the partner's name showing a Switch is available. |
Manual trigger | A step or roll performed while attacking activates a Switch and pulls the partner onto your target. |
Defensive triggers | Successful Parry, Dodge, and Reversal Slash pull the partner in for a paired counterattack. |