

Echoes of Aincrad has four difficulty modes. Each is an independent tuning layer, and any of them can be combined with Death Game Mode.
Difficulty | Intent |
|---|---|
Story | Lowest resistance; focused on experiencing the plot. |
Normal | Default balance for most players. |
Hard | Tighter timing windows and harder enemy patterns. |
Very Hard | The full challenge. Typically paired with Death Game Mode on a second run. |
Base Difficulty Tiers
Four difficulty settings ship with the game. The descriptions below follow the published guidance, which frames each tier by how much preparation it expects rather than by raw stat multipliers.
Tier | Intended For | What It Expects of You |
|---|---|---|
Story | Players who want the narrative without action pressure. | Allocating stat points on level-up and doing some weapon enhancement is enough. Enemies fall easily without close attention to dodging or guarding, and no detours are needed. |
Normal | A balanced mix of story and action. | Reasonable stat allocation and enhancement clears quests smoothly without significant extra preparation. |
Hard | Players confident in action games. | Good use of dodges and guards is required alongside proper stat allocation and enhancement as you level. |
Very Hard | Players confident in action games who already know the systems. | Building appropriately for each quest's level and making full use of items, dodging, and guarding. Monster action speed is increased. Expect to attempt encounters repeatedly before winning. |
The published recommendation is straightforward: pick Story or Normal for a casual run, Hard if the demo felt too easy, and Very Hard if you enjoy clearing difficult encounters through repeated attempts.
Difficulty can be changed at any time outside of quests, through Settings in the main menu. That makes the choice low-stakes on its own, with one important exception covered below: Death Game Mode is a separate modifier and is not a difficulty tier.
Design Philosophy Behind the Tiers
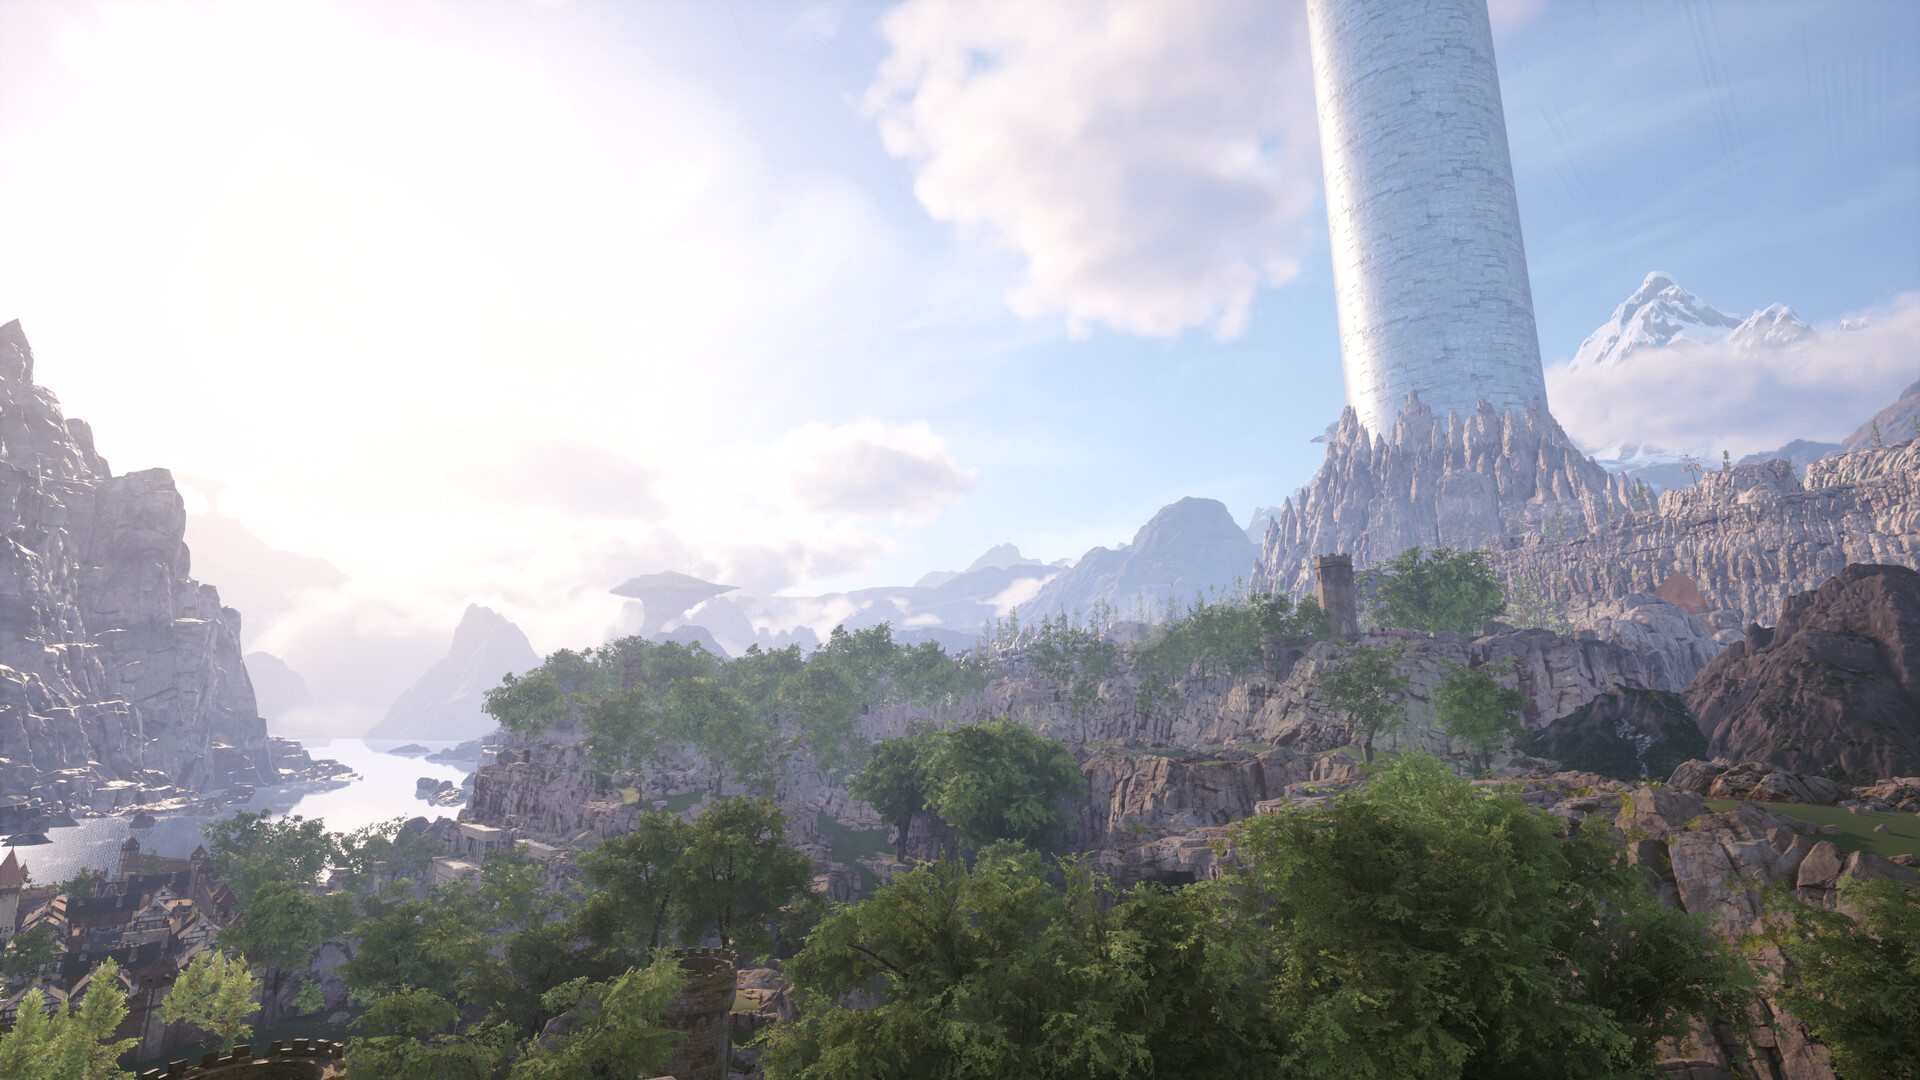
The series producer has said directly that difficulty was never the focus of the game. The methodical, weighty feel of the combat system is a consequence of the team's design philosophy around readable enemy tells, deliberate animation commits, and meaningful stamina spending, not a challenge-first design goal. The four difficulty tiers exist so players can tune the overall experience to their liking rather than being forced into a single intended pressure curve.
That framing matters when choosing a tier. Story does not remove the combat systems, it just lowers the resistance they push back with, so newcomers can still learn parries, dodges, and sword skills without being punished for early mistakes. Hard and Very Hard do not unlock new mechanics, they raise the cost of using the existing ones poorly. The team's stated goal is that the tiers let a broad audience enjoy the same fundamental fight feel, from players who want to experience the plot at a comfortable pace to players who want every encounter to demand full attention.
Stacking with Death Game Mode
A separate challenge layer, Death Game Mode, is applied on top of a chosen difficulty by picking it during save slot creation. The mode lives as its own save slot type rather than a setting on the normal save, so combining Very Hard with Death Game Mode does not delete a safer existing file. When paired with any of the four base tiers, the combination produces a wide range of hardcore experiences, from a slightly elevated story run to a no-margin-for-error run that expects near-flawless play. Full details on how the death-game layer works, including permanent consequences on character loss, live in the Death Game Mode article.
By default, Death Game Mode unlocks after clearing the main story on any tier. Players who buy into the higher tiers of the Deluxe Edition and Ultimate Edition get access to Death Game Mode from the beginning of the game instead, so they can start a combined hardcore run on day one without needing to complete a first playthrough to unlock it.
Base Difficulty | With Death Game Mode Off | With Death Game Mode On |
|---|---|---|
Story | Lightest-possible plot run, used primarily to experience the story without pressure. | Relaxed enemy pressure paired with permanent death stakes for a narrative-focused hardcore run. |
Normal | Baseline intended experience of the game. | Standard balance turned into a full hardcore run; a common pick for first death-game attempts. |
Hard | Elevated challenge for players fluent with parries, dodges, and sword skills. | Tight timing and harder patterns combined with permanent consequences for failed runs. |
Very Hard | Maximum base difficulty, built around stacked enemies and tight margins. | The full stacked experience: the hardest base tier layered with the death-game ruleset. |
How Difficulty Interacts with Other Mechanics
Difficulty does not modify the underlying systems, but it does change how important several of them feel in practice. On Normal, many players can clear routine encounters with direct sword skill usage alone. On Hard and Very Hard, the systems around that core loop move from optional to essential.
Consumable combat items are the clearest example. Paralysis traps, throwing items, healing potions, and other field consumables can often be skipped on lower tiers, but on higher tiers they shift to mandatory tools. Setting up a paralysis window before opening on a dangerous enemy, or topping up health mid-fight with a potion, is expected play rather than a crutch. Healing crystals, which already provide a limited number of big emergency heals per character, become more of a survival reserve than a convenience.
The pressure on stamina management and aggro discipline rises in lockstep. Enemies hit harder on higher tiers, so being caught out of stamina or with a bar that has just broken becomes much more punishing, and pulling a second enemy because aggro was mishandled can turn a routine fight into a wipe. Practically, this means prep work before leaving town carries more weight on higher tiers: weapon loadout, consumable stock, growth point allocation, and party composition all matter more when the fights themselves leave less room to recover from mistakes.
For players coming from the overview and deciding where to start, a common pattern is to take a first run on Normal to learn the combat loop, then use the freedom to swap tiers from town to raise or lower the challenge by region as the party grows in skill.
The August 2026 Rebalance
The tier descriptions above are the published intent for each difficulty, and they still stand. How hard the lower three tiers actually play, though, changed on August 7, 2026.
The development team’s own assessment was that Story through Hard sat at an extremely low difficulty compared with Very Hard, leaving a gap rather than a curve. The correction raised enemy HP and attack power on Normal and Hard, and increased the number of enemies that appear on Story, Normal, and Hard. Some quest bosses also had their HP and attack power raised.
One change cuts the other way. Damage from some enemies’ multi-hit attacks was reduced while the player is under Sword Skill Super Armor, which stops the extra bodies on screen from turning every committed skill into a punish. The main quest Summons also now hands out more Healing Potions at the start and adds a Bombstone.
The practical consequence is that guidance written before August 2026 understates the lower tiers. Normal in particular is no longer the near-frictionless run it was at launch, and a player returning to a mid-campaign save will notice both more enemies and tougher ones. The full record is on Update History.
A Fifth Tier Above Very Hard
Alongside that rebalance the team announced that a new difficulty level beyond Very Hard is planned within 2026, with a further balance pass to accompany it.
That is the extent of what has been confirmed. The tier has no announced name, no release date beyond the year, and no description of how it will differ from Very Hard. It is recorded here as an announced plan rather than a shipped feature, and this article will not describe its behaviour until it exists in the build.
As of September 16, 2026 the tier has still not shipped. The most recent build is Ver. 1.0.5 from August 7, 2026, the same patch that announced the plan, and no later patch note or announcement has added a name, a date, or a description. The four tiers above remain the complete set.
Key Facts at a Glance
Four base difficulty tiers ship with the game: Story, Normal, Hard, and Very Hard.
Tiers can be switched from town menus at any time, as long as the player is not inside an active quest.
The producer has stated that difficulty was never the focus; the weighty combat feel is a consequence of the design philosophy, not a challenge-first goal.
The tier lineup exists so players can tune the experience to their liking rather than being locked into one intended pressure curve.
Death Game Mode is a separate save-slot layer that stacks on top of any base difficulty, producing a wide range of hardcore combinations.
By default, Death Game Mode unlocks after clearing the main story; Deluxe Edition and Ultimate Edition players get access to it from the beginning of the game.
On higher tiers, consumable combat items like paralysis traps, throwing items, and healing potions shift from optional to essential tools.
Stamina management and aggro discipline become harder to sustain as enemy damage scales up on Hard and Very Hard.