

This article is a stub
It lacks sufficient information and needs to be expanded. You can help by adding more content.
In Echoes of Aincrad, boss battles are the major real-time combat encounters that gate progress through the floors of Aincrad. Each floor of the floating castle is sealed by a powerful floor boss, and clearing that boss is what unlocks the path upward. At launch the game covers the first two floors, so the headline encounter players prepare for is the Floor 1 boss.
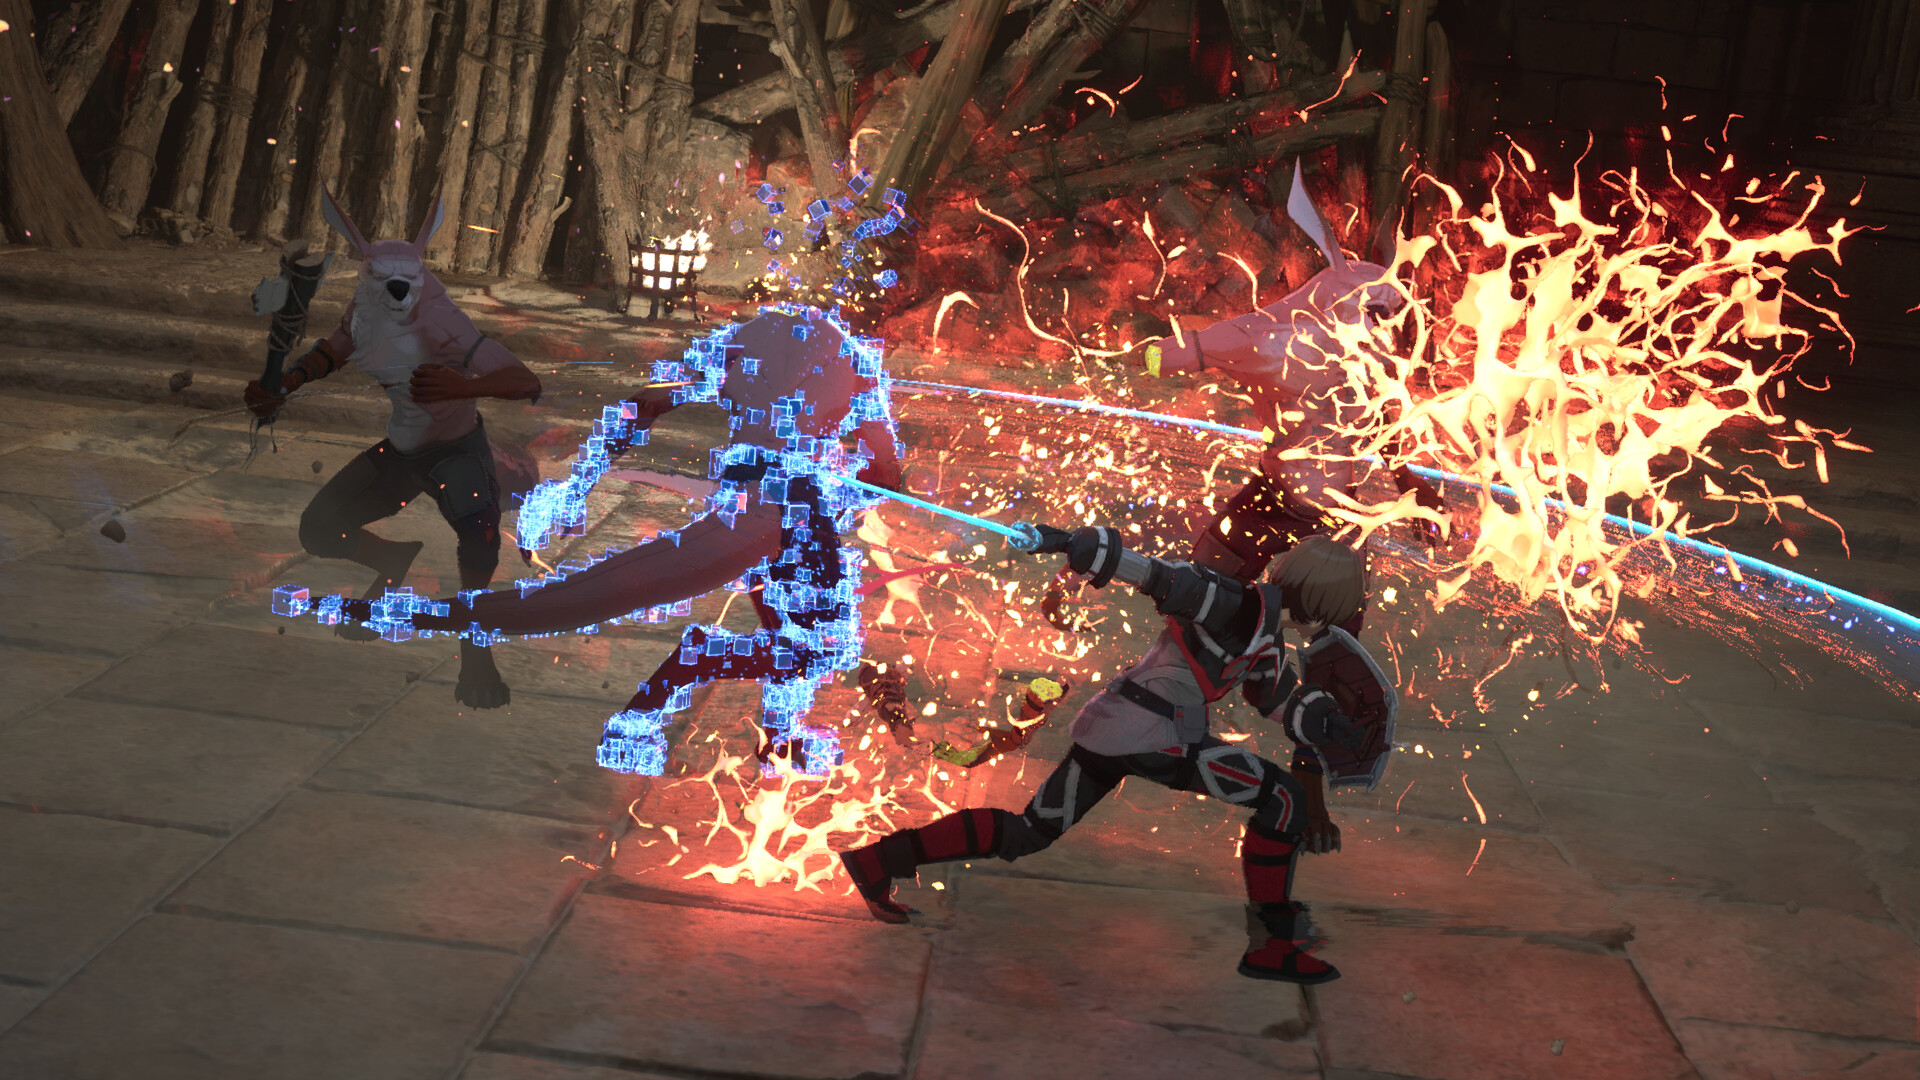
Floor Bosses
A floor boss waits at the end of the labyrinth at the top of each floor. The Floor 1 boss is Illfang the Kobold Lord, a large kobold-type boss confirmed in the free demo. He fights in multiple phases and changes weapon as his health drops, wielding a curved talwar in the demo build. A smaller Sentry Golem is fought earlier in the demo as a lead-in encounter. Floor bosses are built as group encounters where coordinating with your AI partner through the Switch System matters as much as raw damage.
Boss | Floor | Type | Notes |
|---|---|---|---|
Floor 1 | Floor boss | Guardian of the Floor 1 labyrinth; clearing it opens the way to Floor 2. | |
Sentry Golem | Floor 1 | Mini-boss | A stone guardian fought before the floor boss in the demo; telegraphs heavy stomps and wide ground sweeps. |
Field Enemies and Minibosses
Outside the labyrinth bosses, the floors are populated by tougher field enemies. Confirmed examples include the Ruin Kobold Trooper and the Kobold Sentinel, both kobold-type foes encountered in the early floors, alongside beast enemies such as the Frenzy Boar. For the full roster of field foes, see Monsters.
Preparing for a Boss
Because the developers have described the game as one where it is very easy to die, preparation is the difference between a clean clear and a wipe. Useful steps before a boss fight include strengthening and synthesizing gear at the Smithy, stocking healing consumables, leveling up to raise your Attributes, and practicing defensive techniques such as parrying and dodging. Managing your Stamina and skill resources during the fight is essential, since Sword Skills drain quickly and leave you exposed if mistimed.
How a Boss Fight Plays
Once a boss battle begins, players cannot retreat from it, so the fight is committed to from the moment it starts. Reading the boss's attacks and answering them with defensive options such as parrying, dodging, and the counter that follows a well-timed guard matters as much as raw damage, and coordinating position swaps with your AI partner keeps pressure off whichever of you is more exposed. The free demo released ahead of launch ends its first stretch with a boss encounter set during the in-universe closed beta, giving new players an early read on how these fights escalate.
Landing the finishing blow uses a cutting marker: once a boss's health is emptied, a marker appears and a cutting-attribute heavy attack severs the target to end the fight. Holding the attack instead triggers a slower crash attack, so the timing of that last hit matters.
Death Game Mode
Players who enable Death Game Mode face the highest stakes during boss fights, as dying in that mode deletes the save. The mode echoes the death-game premise of the source material, but it is an optional setting rather than the default experience.
Arc Bosses
Alongside floor bosses and dungeon guardians there is a third class: the Arc Boss, sealed inside an Ark out in the field. Arc Bosses summon weaker enemies from their own family during the fight, and several of them bring a party member in to help once the first phase is cleared. Most are optional, but a specific trio has to be defeated late in the campaign to break a seal blocking story progress.
Named Bosses
The campaign runs a boss encounter at the end of most main-quest areas, on top of the dungeon guardians and Arc Bosses. The list below covers the named encounters confirmed across both shipping floors.
Boss | Where | Notes |
|---|---|---|
Prologue, Floor 1 raid, and Labyrinth revisit | Three phases. Opens behind a shield, swaps to a longsword, then fights from the ground. | |
Sentry Golem | Prologue and a Floor 2 sanctuary | The first boss of the game. The sanctuary encounter puts three golems in the arena at once. |
Snowcap Boar | Floor 1 | Inflicts Frozen. Loses its tusks after the first phase. |
Geinspore Grizzly | Floor 1 | Large, slow, and fire-based. Applies Burning. |
Dire Strife Wolf | Floor 1 | Fast and nimble, with lightning attacks that paralyse. |
Wrathful Shrewman | Teardrop Cave | Surrounded by lesser shrewmen and uses smoke bombs that blind. |
Shrewman Queen | Teardrop Cave depths | Fought on a return trip after the beta ends. |
Raging Boar | Floor 1 | Three phases, each broken by a heavy attack to the nose. |
Flowering Nepenthes | West Forest | A carnivorous plant boss that summons lesser nepenthes. |
Large Nepenthes | Path to the Labyrinth | Three phases. Regenerates to full health when cut in half. |
Kobold Champion | Single-phase guardian. | |
Ruin Kobold Chieftain | Labyrinth Crucible Chamber | Two phases, nimbler than other kobold enemies. |
Thorncrown Mountain Spirit | Northeastern Hills | A level 20 boss with two phases, best fought from behind. |
Bulbous Bao | A bao-type enemy that rolls into a ball and leaps. | |
Trampling Ox | Floor 2, east of Urbus | Two phases, with a leaping stomp that sends out a shockwave. |
Thousand Spears Spine | Floor 2 plains | Three phases. Fires spines that stick in the ground and explode, then burrows. |
Troll Leader | Path to the sanctuary | Two phases. |
Tyrant Golem | Relic Hall | Three phases of area attacks and lasers. Safest fought close to its legs. |
Trembling Cow | Grasslands of the Sacred Cow | Three phases, adding dust whirlwinds and then arena-length charges. |
Cursed Shrewman | Floor 2 and a sanctuary | Teleports and grabs, and fires red projectiles that build Instant Death. |
Thunderhorn Ox | Path to Taran | Calls down lightning and can paralyse. |
Storm Hornet | Southwestern forest | Three phases, ending with an arena-wide dust and wind attack. |
Troll Reaver | Forest cave | Single phase, but fought alongside an elite troll and applies Burning. |
Troll Ark Shaman | Relic Hall | Three phases with a huge health pool, a summoned clone, and a linear laser in the final phase. |
Blood Wolf Leader | Volor's Sanctuary | Two phases of fire attacks that inflict Burning. |
Red Mordred | Sacred Mountain Temple | Three phases of fire attacks, adding elite bear enemies each phase. |
White Morrigan | Volor's Sanctuary Relic Hall | The guardian seen in the campaign's visions. Summons golems, burrows, and takes flight. |
Raid Encounters
Not every floor boss is a duel. The first floor boss is fought as a large-scale raid in which a group of players holds the frontline and your role is support: the boss cannot be approached directly, and your job is to clear the smaller enemies that spawn while the raid grinds its health down. The boss refills its bar once, so the support phase runs twice before the encounter resolves.
Raids are also where the campaign's story turns, and the fallout from the first one drives much of what follows.
See Also
Illfang the Kobold Lord
Monsters
Switch System