

This article is a stub
It lacks sufficient information and needs to be expanded. You can help by adding more content.
The Labyrinth is the enormous tower visible in the distance from the fields of Floor 1, and it is the structure that physically links one floor of Aincrad to the next. Reaching its summit is what opens the way upward, which makes it the campaign's central objective rather than an optional dungeon.
Two Names for One Tower
The game's published location line-up describes the Labyrinth as a giant tower that connects Aincrad's many floors, and it records two names for it. Players who arrived from outside call the structure the Maze. The people who live inside Aincrad call it the Tower of Heaven. Both names point at the same building, so a quest description or an NPC using one of them is not sending you somewhere new.
The naming split is a small piece of world-building with a practical use: it is a quick way to tell whether a line of dialogue is coming from a trapped player or from an Aincrad native.
Getting There
The Labyrinth entrance sits north of Tolbana, the staging town where the raid on the first floor boss is planned. The approach is dense with strong field enemies and is a reliable place to level before committing, since elite enemies on the path give substantially more experience than the ones nearer the Town of Beginnings.
Chamber Structure
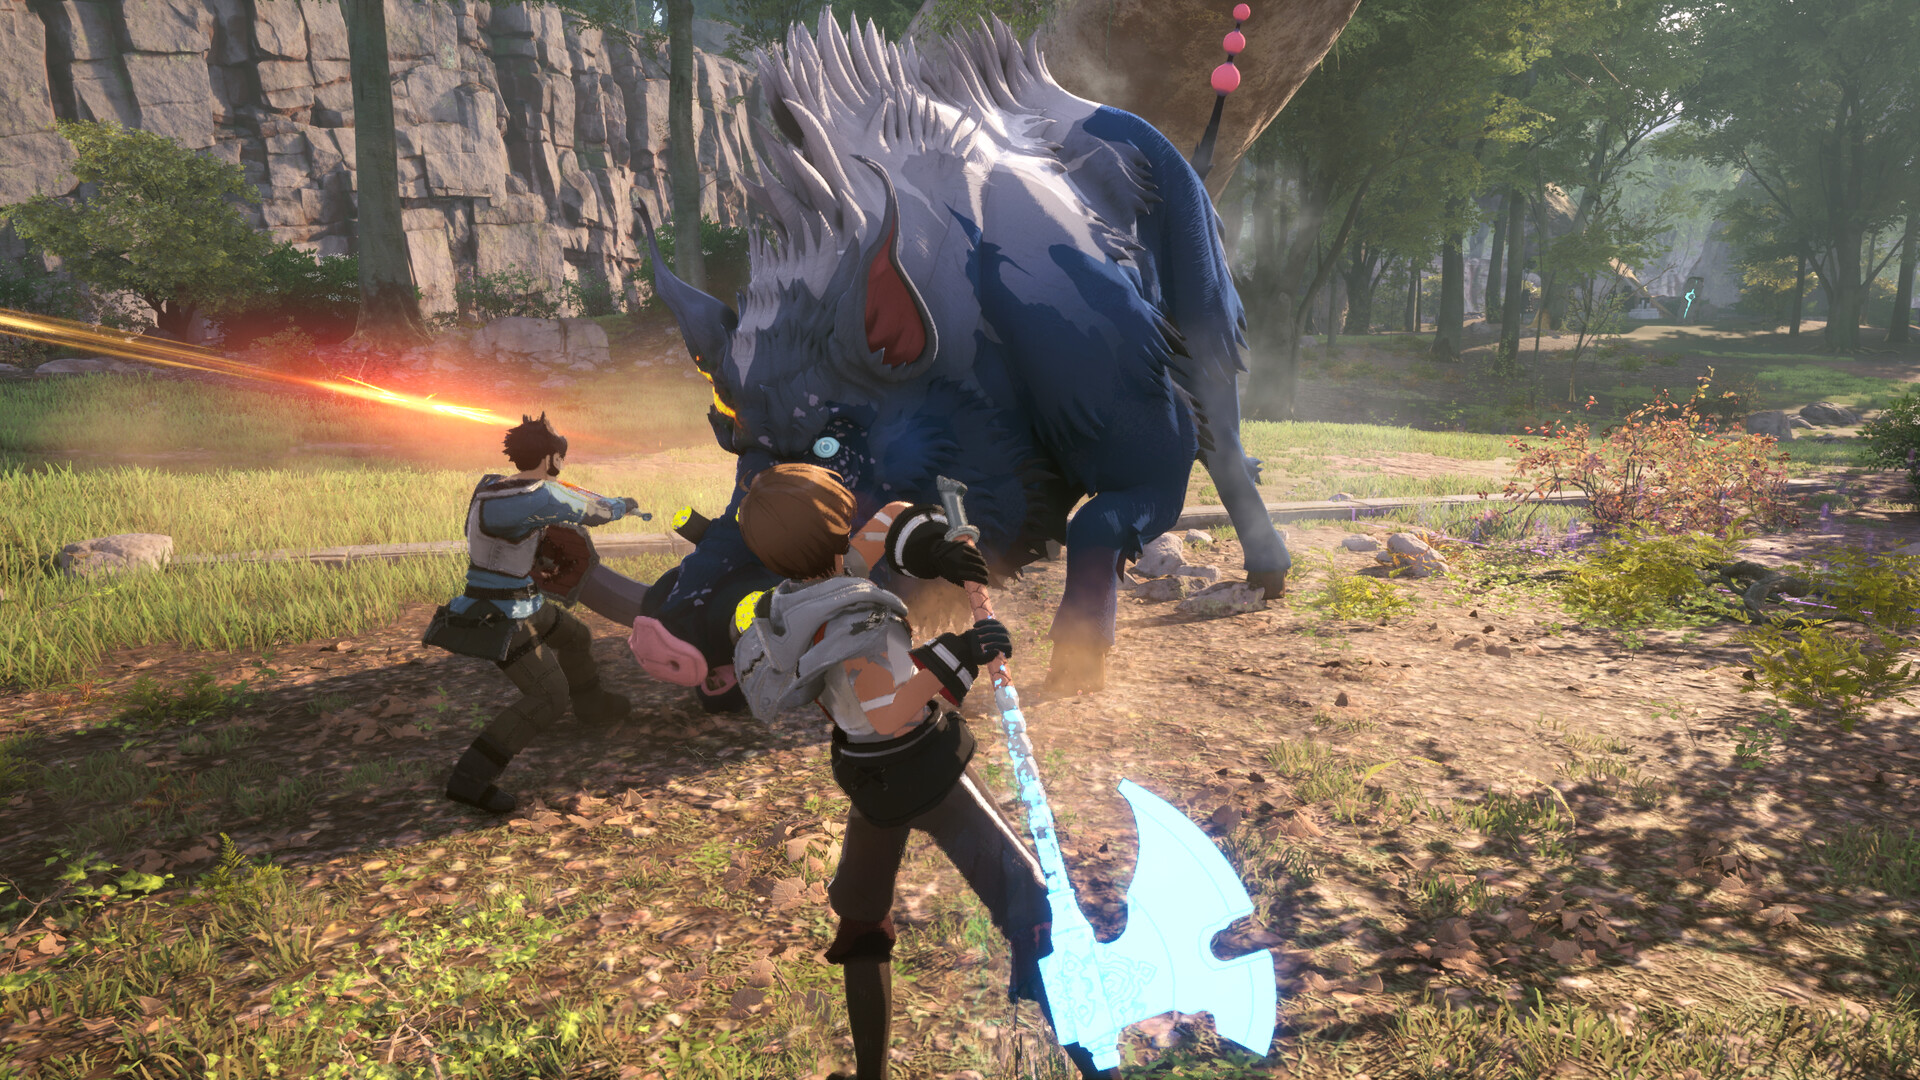
The interior is divided into named chambers stacked vertically, with a resting point between most of them. Progress runs upward from the bottom.
Chamber | What Is There |
|---|---|
Bottom Chamber | The entry section, and where you begin on a return trip. |
Middle sections | Further dungeon stretches leading toward the floor boss chamber. |
Boss chamber | Where the raid on the floor boss takes place. Empty on a later revisit. |
Upper Middle Chamber | A randomised dungeon section where finding the exit is the objective. |
Crucible Chamber | A resting point that gates the final stretch, guarded by its own boss. |
Randomised Sections
The Labyrinth's dungeon sections are randomised, so a route learned on one run does not transfer to the next. The connective tissue between sections is consistent, though: passages are blocked by a black material that has to be struck with your weapon to open. Learning to look for those blocked walls rather than trying to memorise a layout is the practical skill the dungeon asks for.
This same design appears in the game's other dungeons, where the blocking material differs by location. Cave sections use walls of leaves that are cut down the same way, and a sanctuary interior uses red roots.
Enemies and Guardians
Encounter | Notes |
|---|---|
The floor boss, fought as a large-scale raid the first time. A dungeon version is fought solo on a later trip, weaker than the raid form but still a hard fight, and it opens flanked by Elite Kobolds. | |
Kobold Champion | A single-phase guardian encountered before a resting point on the way up. |
Ruin Kobold Chieftain | A two-phase guardian at the Crucible Chamber, noticeably more nimble than the other kobold enemies. |
Elite Kobolds | Reinforced versions of the standard kobold enemies. Present throughout, and the main reason multi-enemy control matters here. |
The Raid
The first ascent culminates in a raid rather than a solo duel. A large group of players engages the floor boss on the frontline while your own role is support: the boss cannot be approached directly, and your job is to hold off the smaller kobolds that spawn while the raid whittles its health down. The boss refills its bar once, so the support phase runs twice before the fight resolves.
The raid is also the story's turning point, and the fallout from it drives the campaign that follows. See Boss Battles for how it fits the wider boss structure.
Practical Advice
Bank a resting point whenever you pass one. Sections are randomised, so a checkpoint is worth more here than in an open field.
Bring crowd control. Adds are the real threat in almost every Labyrinth encounter, not the boss on its own.
Expect no fast travel out mid-run. Return to Checkpoint is disabled during dungeon quests.
Enhance before you enter. Walking a labyrinth in starter gear is the most common cause of a stalled run.