

Bosses are the standout combat encounters in Farever, designed to test your skill, your build, and your coordination with other players. They are not simple damage races. Each boss is built around multiple phases, and clearing one means learning its patterns, reacting to the mechanics it throws at you, and adapting as the fight changes shape. Many of them reward, and at times demand, teamwork.
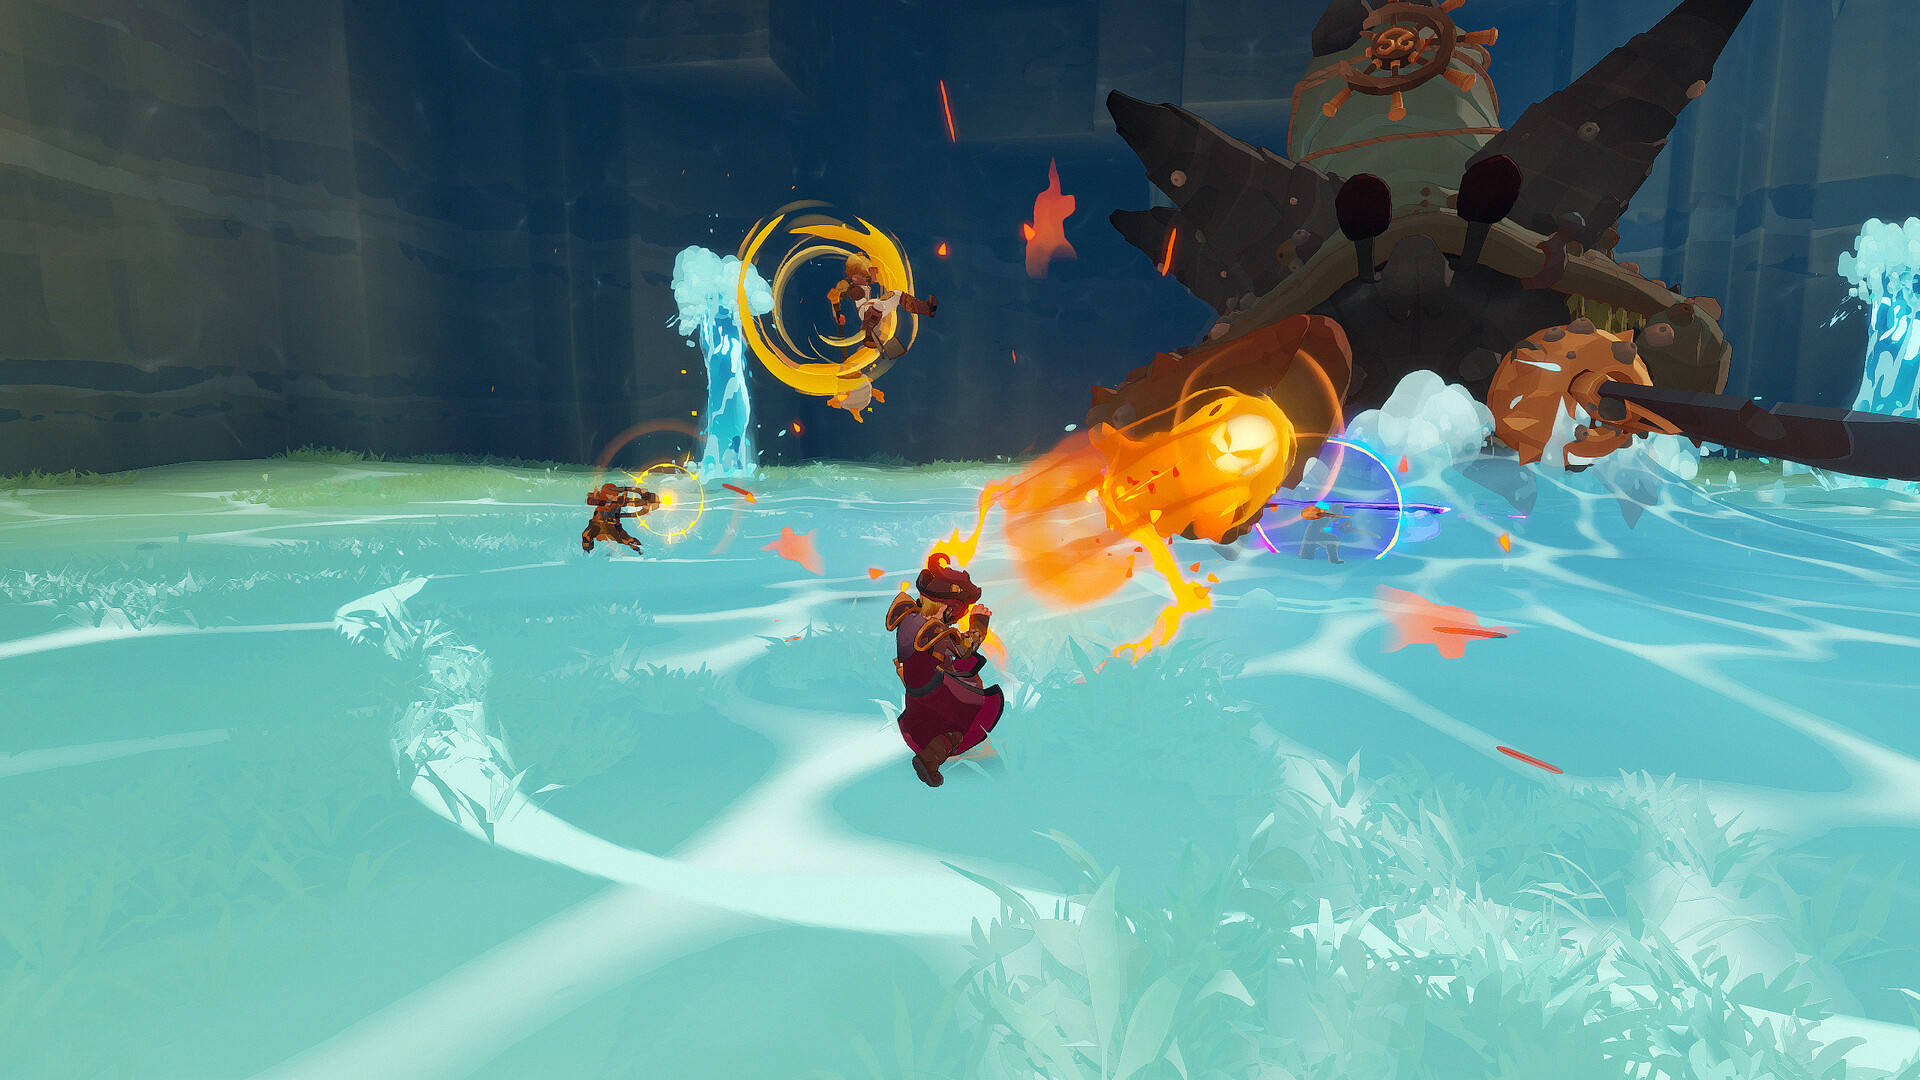
Most bosses live inside their own instances. Some appear at the end of a full dungeon you clear room by room, while others wait alone in a dedicated lair, a single dangerous foe you face head-on rather than a sprawling level to explore. Either way, the fight is the focus. Because activities and enemies in Farever scale to your party size, bosses can be approached solo or with a group of up to four, and several of them use group-scaled health bars so the challenge holds up no matter how many players turn up.
How Boss Fights Work
A boss fight in Farever is a sequence of phases rather than one long health bar. A boss may change behavior partway through, retreat, summon reinforcements, or open up a new mechanic that you have to deal with before you can keep dealing damage. Some bosses cannot simply be out-damaged: you may need to interrupt a shield, bring down a barrier, or use a piece of the arena such as a cannon to make them vulnerable.
Multiple phases: bosses shift tactics as their health drops, so the fight you start is not the fight you finish.
Teamwork: many encounters are easier, and some are clearly built, with a coordinated group in mind.
Group-scaled health: several bosses adjust their health bars when fought as a party, keeping the fight fair across group sizes.
Lair instances: a number of bosses sit in single-boss instances rather than at the end of a multi-room dungeon.
Adds and arena mechanics: expect summoned enemies, environmental hazards, and interactive objects you must use to win.
Rewards
Defeating a boss is one of the most reliable ways to earn powerful gear in Farever. Bosses can drop strong weapons and equipment, and some of that loot unlocks brand-new skills for you to master, making boss kills a meaningful step in growing your character. As with other instance content, parties are looked after on the loot front: every player who takes part in an instance is meant to walk away with at least one piece of gear.
Confirmed Bosses
The table below lists the bosses confirmed so far, along with where they are found and what stands out about each fight. Some locations are still unconfirmed in official material and are marked as such.
Boss | Faction | Region | Location | Level | Notable Drops |
|---|---|---|---|---|---|
Nepsilon | Manfish | Level 5 | Ghost Clams of the Low Tide, Iron Fins of the Leviathan, Antelimbian Wingfish, Fin Armor | ||
Reblochonk | Kobold | Level 7 | Flame of Argol, Cheese Moon, Navelian Bat, Tungstene Ore | ||
Manfish | Level 8 | Crabgantua's Kneecap, Clawdius, Meropsian Crab, Antelimbian Crab | |||
Kobold | Level 10 | Twin Fangs of Ratsar, Martyr of Enripit, Krisomalese Bat, Tungstene Ore | |||
Bee | Level 12 | Thornlace, Lady Bee’s Ceremonial Stinger, Semeruian Moth, Zerzurean Leggybug | |||
Bee | Level 13 | Ipheion, Star Blossom, Beefury, Blessed Blade of the Farseeker, Nescentine Leggybug, Zerzurean Leggybug | |||
ul'Serous, Herald Avatar | World | Arena of ul'Serous (Bel-Etir) | Level 13 | No fixed drop table | |
Crimson | Level 25 | Aegis, Censer of Wool Hollow, Amon Ram, the Creator, Ramgold, Breastplate of Recklessness | |||
Golem | Level 15 | Gorgon Ratsay’s Toothpick, Magma Mia, Ebral Dragoon, Tungstene Ore | |||
Sponge Blob | Manfish | Level 16 | Book of Mi'Mizan, Horns of the Wind, Acidic Wingfish, Tungstene Ore | ||
Bee | Level 19 | Pocket Hive, Wingsabers, Ponogian Leggybug, Zerzurean Leggybug | |||
Kobold | Level 19 | Twin Pillars of Justice, Judgement, Rinuhrian Skunk, Tungstene Ore | |||
Crimson Captain Agamemnon | Crimson | Crimson Rams forces | Level 10 | Ramgold and the shared Crimson Rams armour pool, plus the Fountrailian Hound mount | |
Robin Hoof | Crimson | Level 23 | Original Paramglider, Ramulus & Ramus, Horns of the Wind, Ramgold. Fights alongside charging Crimson hunting hounds | ||
Shaarlize Te'Ror | Nightling | Rift | Level 25 | Hateful Oculurk, Mirrors of the Nightgoddesses, Silhouette of Almaz, Fiendish Eye. Illusions, clones, damaging clouds, and Chaos Orbs | |
Nightking Maat Demon | Nightling | Rift | Level 25 | Hateful Nightdog, Worldsplitter, Nibsham's Liberators, Fiendish Eye, plus Soulstones |
Two things are worth knowing when reading the drop column. First, bosses of the same faction share a common pool of rare armour, so a Crimson Rams boss and a Crimson Rams captain can hand out the same chest piece; the entries listed above are each boss's own signature rewards, which are the two weapons and the mount or glider that only that fight awards. Second, Crimson Captain Agamemnon is an elite captain rather than an instance boss: he is not the boss of any instance, and he sits far below the endgame at level 10.
The Nightling Update added Ramburg's High Inquisitor Chakram as a Cathedral boss fight, and the Rifts world event ends in one of two Nightling bosses: the Nightqueen Shaarlize Te'Ror or the Nightking Maat Demon. Both Rift bosses scale their health to the number of players in the event. Chakram was tuned down two days after launch, with the Gate to Niflhel phase starting at 25% health instead of 30%, one gate spawning instead of three, no rifts opening on players during that phase, and the Eternal Night shield reduced from 15% to 12%. For the demon invaders behind these fights, see Nightlings.
Bosses are tied closely to the factions and creatures of the world, so it is worth reading up on who you are fighting before you go in. See Enemies and Factions for the groups behind these bosses, and Dungeons and Instances for the instance structure that houses most boss fights.