Taming Dragon
A mandatory encounter during the Shackles of Fate quest in Chapter 9 where Kliff must mount a wounded dragon (the Blackstar), hold on during its flight, and remove mystical spears from its back using Focused Force Palm. Completing this encounter unlocks the dragon mount.
On This Page
Overview
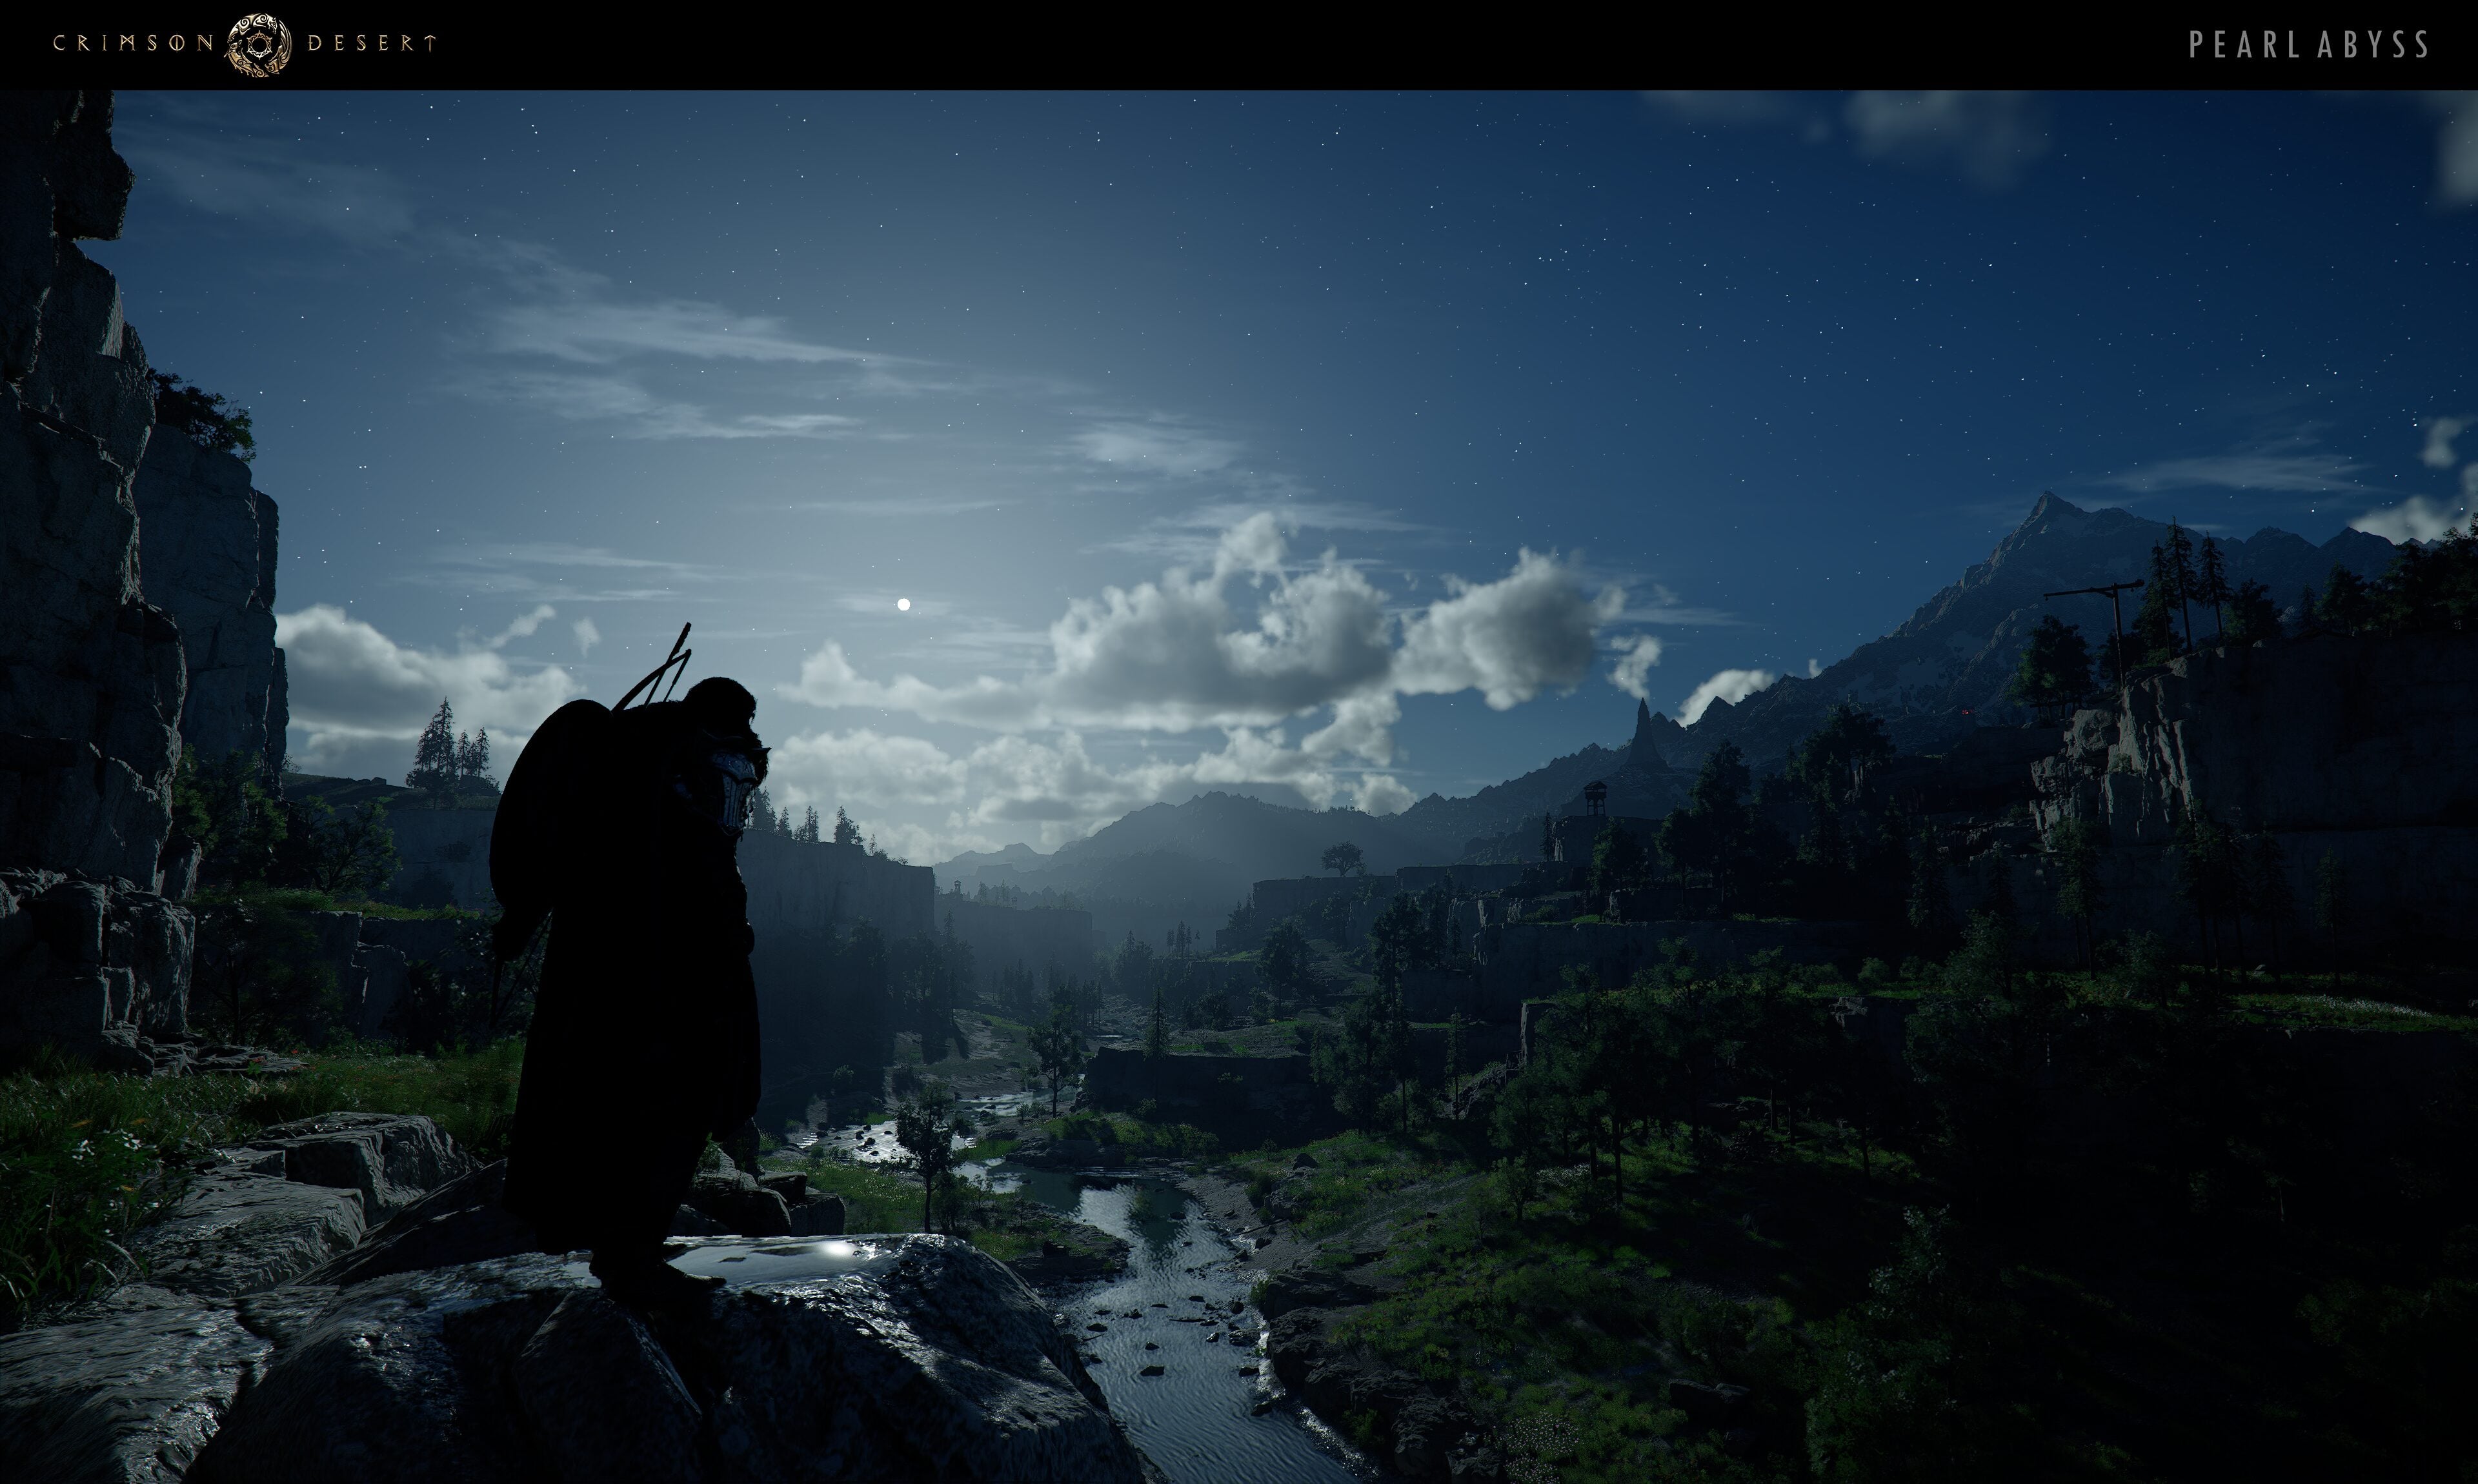
Taming Dragon is a mandatory encounter in Chapter 9: The Sage of the Desert of Crimson Desert, part of the Shackles of Fate main quest (the 122nd mission in the campaign). Unlike most boss encounters, this is not a conventional fight. Instead, Kliff must mount a wounded dragon, hold on while it thrashes through the air, and remove mystical spears from its back to heal it.
The scene: "Trying to survive from the mystical spears that crippled this gigantic beast, the dragon soars and tries to flee from where it fell down on the vast arid desert, and will be needing your help to recover." The dragon, later known as the Blackstar, is in agony from spears staked into its body. Rather than fighting it, Kliff must rescue it.
This encounter takes place at the Great Gate of Urdavah in the Tashkalp region. Completing it is a milestone moment in the campaign, as the Blackstar becomes available as a permanent dragon mount afterward. The encounter tests movement mechanics, Axiom Force timing, and stamina management rather than traditional combat skills.
Encounter Stats
Stat | Details |
|---|---|
Quest | Shackles of Fate (122nd main mission) |
Location | |
Chapter | Chapter 9: The Sage of the Desert (Shattered Ties) |
Encounter Type | Rescue / Traversal (not traditional combat) |
Playable Character | |
Axiom Force, Focused Force Palm, Glide | |
Level 5 minimum recommended | |
Boss Type | Mandatory |
Encounter Walkthrough
Phase 1: Reaching the Dragon
Travel to the quest marker on the bridge atop the Great Gate of Urdavah. You can reach it quickly from the fast travel point atop Urdavah Mountain that unlocked during the previous quest, Mark of the Scar.
Once you arrive near the bridge, a "Wait" prompt appears in the bottom-right corner. Hold the appropriate button (Options on PS5, ESC on PC) to trigger the wait. A tutorial screen explains the upcoming controls, and the dragon spawns in the distance, flying toward the bridge.
Phase 2: Mounting the Dragon
When the dragon approaches the bridge, jump off and activate Glide (Square on PS5, Spacebar on PC). While airborne, use Axiom Force by holding the appropriate input (L3 on PS5, TAB on PC) to launch a tether toward the dragon. A blue glowing line appears when you aim at the dragon, indicating your connection range.
Axiom Force has a limited range of only a few meters, so you need to be close to the dragon when you fire it. Watch for a blue impact zone indicating you are within range. When the Axiom Force line briefly glows red, press the mount button (Square on PS5, TAB on PC) to land on the dragon's back.
The timing for this sequence is described by multiple guides as "very finicky." You may need several attempts to get the distance and timing right. Falling off simply restarts you at the bridge with no penalty, so keep trying until the tether connects.
Phase 3: Holding On
Once mounted, the dragon attempts to throw you off by performing barrel rolls and sudden altitude changes. When these maneuvers happen, hold the Resist input (L2 on PS5, Q on PC) to maintain your grip. The dragon makes approximately two major throw-off attempts during roughly two minutes of flight.
Stamina management is critical. Resisting drains stamina, so hold the resist input only when the dragon is actively trying to dislodge you, not continuously. If you hold resist the entire time, you will run out of stamina and fall off. Level 5 stamina is the recommended minimum for this encounter. With precise resist timing, the standard starting stamina is sufficient, but the margin is tight.
Phase 4: Removing the Spears
After approximately two minutes of riding, a tutorial popup teaches the Focused Force Palm technique. Activate it by holding the specified inputs (L3+R3 on PS5, Left Stick+Right Stick then hold Right Stick on gamepad, or the X key on PC).
When using Focused Force Palm, the screen turns blue and a golden glowing dot appears on the dragon's body, marking the location of a mystical spear. Aim the Force Palm at the golden dot and release to strike it. A successful hit removes the spear and purifies the taint within the dragon.
there are three spears total to remove, requiring you to cast Focused Force Palm at the dragon's heart twice per spear to neutralize the toxic venom. After the final spear is removed, a cutscene plays showing the dragon's breathing steadying as its gaze lands on you, and the quest completes.
Rewards
Completing the Shackles of Fate quest grants the following rewards:
Reward | Details |
|---|---|
Accessory | |
Knockledge: Blackstar | Unlocks the Blackstar dragon in your Knockledge |
Region Liberated: Great Gate of Urdavah | The Great Gate of Urdavah region is marked as liberated |
Tashkalp Contribution EXP +300 | Reputation experience for the Tashkalp region |
Unlocked by performing the move three times during the encounter |
Dragon Mount Unlock
The Blackstar is not immediately usable as a mount after this quest. The dragon mount becomes permanently available later in the campaign. During Chapter 11's main quest "Foreboding Shadow: Whispers in the Wind," the Blackstar returns to save Kliff during the Golden Star boss fight. After that battle concludes, the Blackstar can be found waiting at the Nest of Valor in the Abyss and can be summoned as a permanent mount from that point forward.
Tips
Get your stamina to level 5. Lower stamina makes the holding-on phase nearly impossible. Invest stamina upgrades before attempting this quest if you are below level 5.
Only resist when the dragon actually tries to throw you off. Holding resist continuously drains stamina unnecessarily. Release the button between throw-off attempts to let stamina recover.
The mounting tether is finicky. Expect to fail the Axiom Force connection a few times. Each failure respawns you at the bridge with no penalty, so treat the first attempts as practice for the timing.
Watch for the blue-to-red glow on the Axiom Force line. The blue glow means you are in range. When it shifts to red, immediately press the mount button. This brief color change is the timing window.
During Focused Force Palm, aim for the golden dot. The screen turns blue and a golden glow marks the spear location. Take a moment to aim accurately rather than rushing the shot.
This encounter has unlimited retries. Falling off the dragon or failing any phase respawns you at the bridge. There is no death penalty, so take your time learning the mechanics.
The dragon mount unlock happens later. Completing Shackles of Fate unlocks the Blackstar in your Knockledge, but you cannot ride it as a mount until the events of Chapter 11.
See Also
Dragon Mount (how to unlock the Blackstar)
Boss Battles
Axiom Force
The Abyss
Kliff (playable character)
Stamina