Loading...
Loading...
Boarding
April 15, 2026 at 09:40 PM
Append death-penalty warning, pre-damage threshold, and fleet-fire rules
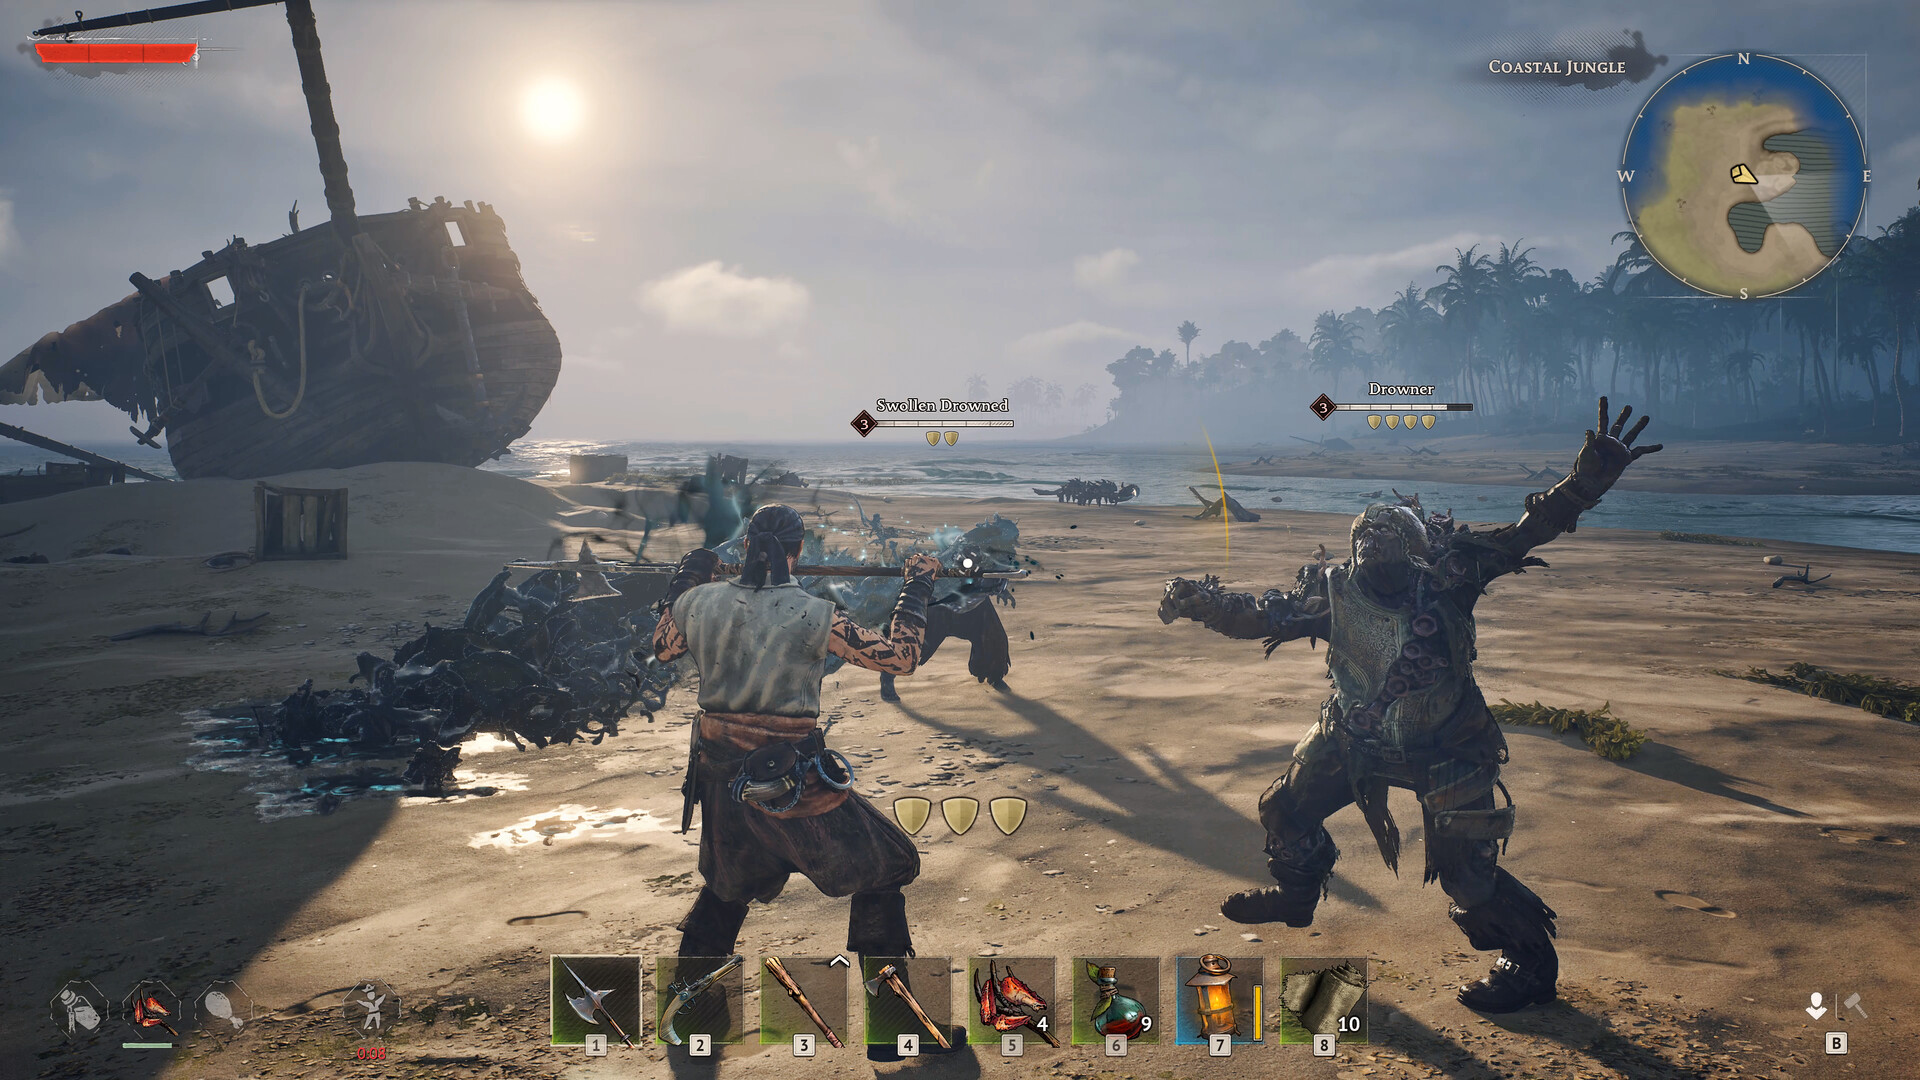
Boarding is a core phase of naval combat in Windrose. After weakening an enemy ship with cannon fire, players can pull alongside and board it, transitioning seamlessly to on-deck melee combat against the enemy crew. The transition happens without loading screens, consistent with the game's seamless ship-to-shore design.
Weaken the enemy ship with cannons. The goal is not to sink the ship but to wear it down enough for boarding. Start with bar shot into the enemy sails (5 to 6 volleys) to slow them, then switch to regular cannonballs to damage the hull.
Position your ship alongside the enemy. Dock as close as possible, keeping the enemy on your port or starboard side. Reduce speed to roughly 3/4 sail for tighter turning during approach.
Wait for the boarding prompt. When the enemy ship's health is low enough and you are close enough, a boarding prompt appears on screen. Do NOT jump onto the enemy ship before this prompt appears.
Press Space to initiate boarding. Your NPC crew boards the enemy ship alongside you. A progress counter appears in the top-right corner tracking how many enemies remain.
Fight the enemy crew. Defeat all enemy sailors in close-quarters combat. In the Seafarer quest, this means defeating 7 enemies.
Take the helm to end the boarding action once enemies are defeated or have surrendered.
Loot the ship for trade goods and rewards.
Jumping onto the enemy ship before the boarding prompt appears is one of the most common mistakes in the game. If you board early, the entire enemy crew will surround you while your own crew remains on your ship, resulting in a near-certain death in a 1-versus-6+ situation. Always wait for the formal boarding prompt so your crew boards alongside you.
When boarding is initiated, your NPC crew joins the assault on the enemy ship. Key details about crew performance:
Behavior | Details |
|---|---|
Crew serve primarily as tanks. | They absorb enemy hits effectively but deal minimal damage on their own. Let them take aggro while you attack from behind. |
Crew boarding can be delayed. | Community reports indicate inconsistent timing, with delays of up to 30 seconds in some cases before all crew members board. |
Without upgrades, crew dies quickly. | Unupgraded crews get overwhelmed rapidly, leaving you in a 1-versus-6+ fight. |
With fully upgraded Boarding Party Gear, crew is very effective. | One community member confirmed: "I fully leveled mine and my crew reliably handles most of the enemy sailors; I just mop up behind them." |
Boarding Party Gear is ship equipment that improves your NPC crew's combat performance during boarding. It is crafted at the Shipwright's Workshop and equipped via the Wharf's ship management interface.
Detail | Information |
|---|---|
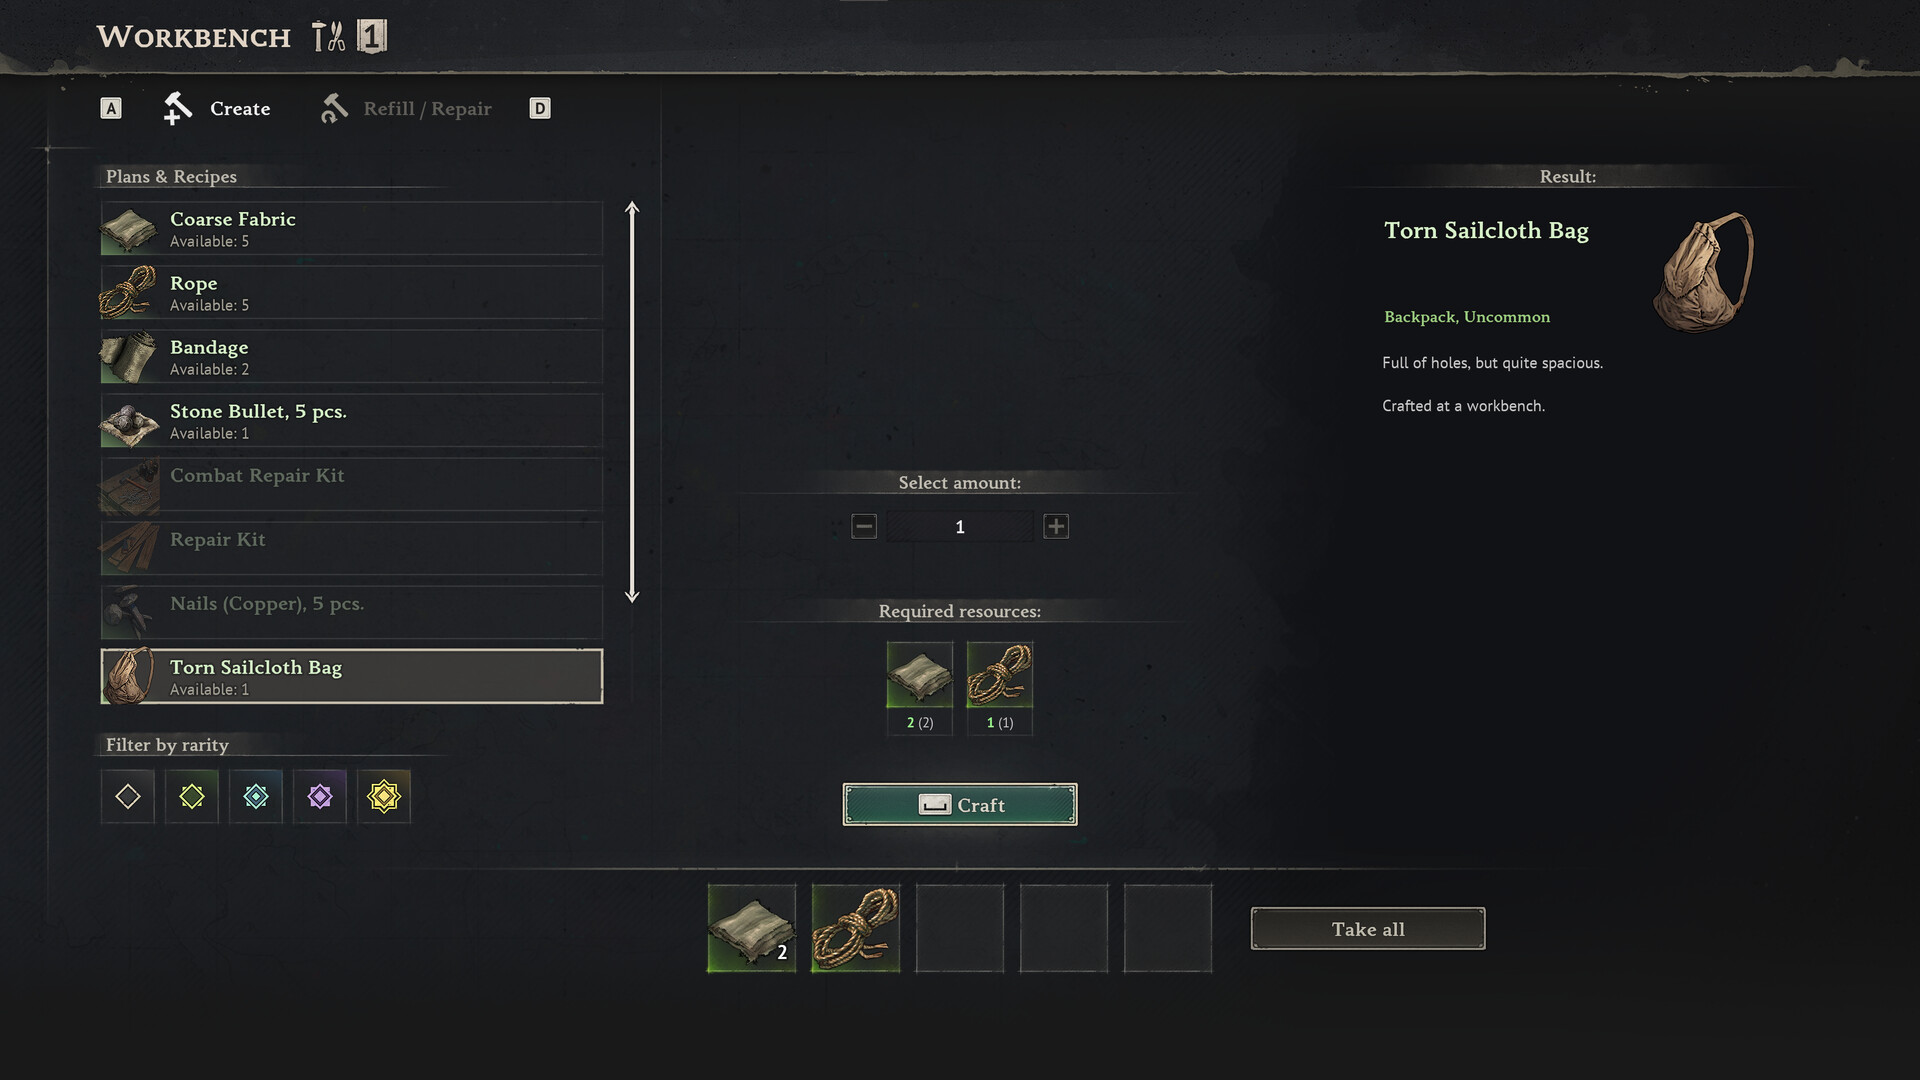
Crafting Recipe | 7 Copper Ingots + 7 Rough Hide + 7 Coarse Fabric |
Crafted At | Shipwright's Workshop |
Equipped At | Wharf (Manage Ship interface, Ship Gear slots) |
What It Upgrades | HP, Defense, and Attack of your NPC crew during boarding |
Upgrade Location | Shipwright's Workshop Upgrade tab (same bench as cannons) |
Upgrading Boarding Party Gear is the single most impactful preparation for boarding encounters. Even the first upgrade noticeably improves crew performance, and at maximum level the crew can handle most enemy sailors almost independently.
Successful boarding yields trade goods that can be sold to Traders:
Item | Type |
|---|---|
Insignia of a Blackbeard Lieutenant | Quest-specific reward (Seafarer quest) |
Naval Supplies | Trade good |
Medical Crates | Trade good |
Contraband | Trade good (high value) |
Piastres | Currency |
These trade goods cannot be opened or used directly. They are meant for sale to dedicated Traders at Tortuga (not accessible in the demo). Store them at your base until Tortuga becomes available in Early Access.
A confirmed combat mechanic: enemies cannot attack players on elevated or high ground positions. During boarding, players can climb to elevated areas on the enemy ship and use ranged weapons from safety while crew members hold aggro at deck level. This works as long as enemies have aggro on you or your crew. The same mechanic applies to land combat.
Community-recommended equipment for boarding encounters:
Slot | Recommendation |
|---|---|
Melee | Epic-tier saber or cutlass for fast, close-quarters fighting |
Ranged | Epic musket for opening shots before closing distance. Fire at 2 enemies before the boarding prompt to soften them up. |
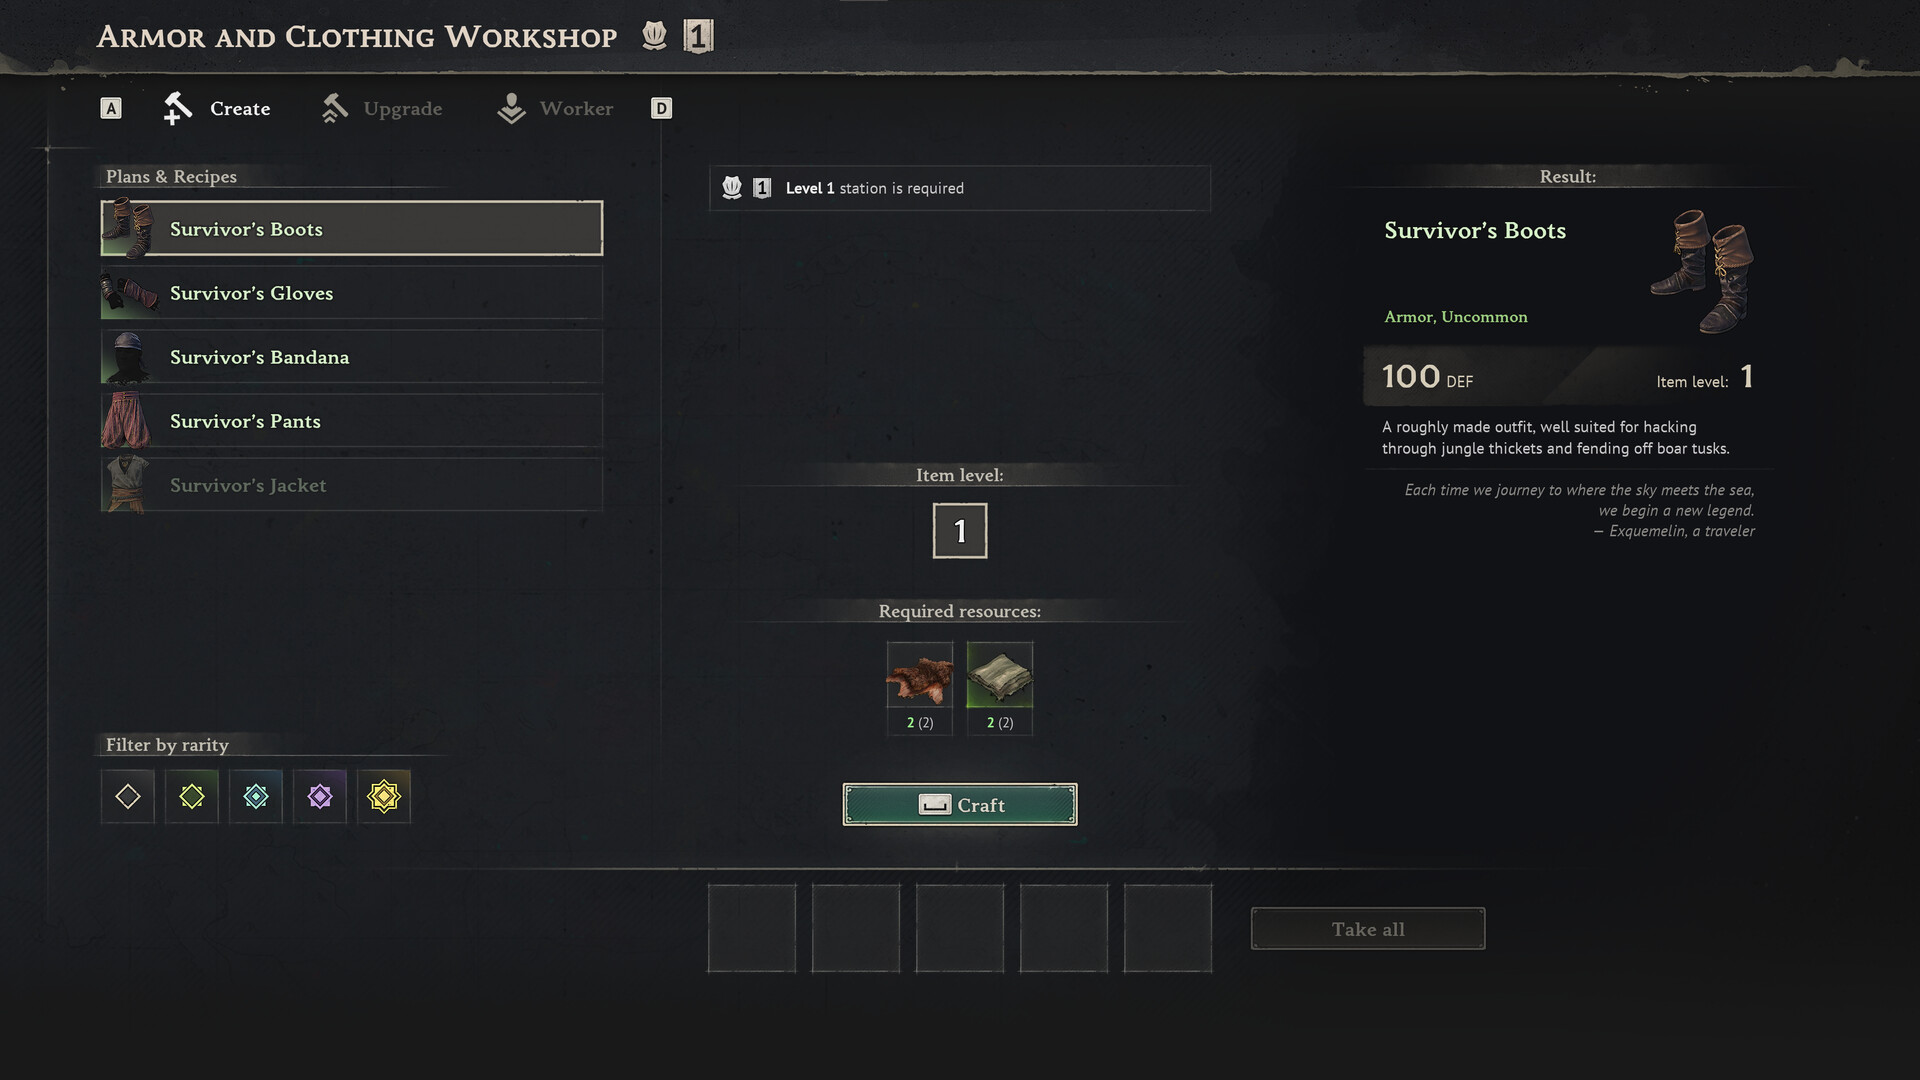
Armor | Best available armor set, upgraded evenly across all pieces |
Food buffs | Spicy Chicken with Sweet Potato (+20 Strength), Coconut Milk with Bananas (stamina boost) |
Alchemy buffs | Melee damage potions and weapon oils |
The Blunderbuss is particularly effective during boarding. Its in-game description calls it "a boarding crew's favorite weapon." It deals high close-range damage and has a chance to knock enemies down. The Dragon's Breath variant spits flame in a cone. The trade-off is limited range; it is best used after closing distance.
In co-op multiplayer (up to 4 players), each player commands their own ship. Co-op boarding has a confirmed limitation: if one player has already boarded an enemy ship with their crew, other players cannot initiate a second formal boarding with their own crews on the same ship.
Community workarounds:
All players ride on one ship. Non-drivers board enemy vessels to fight sailors while the captain stays at the helm.
Each player takes their own ship to swarm enemies with overwhelming force across multiple targets.
Individual players can still jump aboard to assist during another player's boarding action, even without a formal boarding prompt for themselves.
Upgrade Boarding Party Gear fully before attempting harder encounters; this is the most impactful preparation step
Never jump in before the boarding prompt; wait for your crew to board alongside you
Do not board ships higher level than you; the level difference makes combat extremely punishing
Use chain shot first to slow the enemy ship during the cannon phase, making positioning easier
Let your crew take aggro first; position behind your allies rather than leading the charge
Use ranged weapons before closing in; fire your musket at 2 enemies before boarding initiates
Exploit high ground; climb elevated positions and fire ranged weapons while crew holds deck-level aggro
Eat food and drink potions before boarding; stamina and damage buffs make a significant difference
Practice parrying; blocking and parrying during boarding reduces armor damage and tires enemies
Stock healing items; bandages and potions prevent one-shot deaths from elite enemies
The Seafarer quest is where players first experience boarding. After building the Shipwright's Workshop, crafting 12-Pounder Cannons (10 Copper Ingots + 10 Wood), constructing a Wharf, and equipping their ship, players sail to engage Blackbeard's fleet. The quest culminates in boarding a Blackbeard's Pirates' Ketch and defeating 7 enemy sailors. Completing the quest triggers the "To be continued..." screen that ends the demo.
The boarding prompt appears once the enemy hull drops to roughly 30% remaining (around 70% damaged). Below that threshold, trying to board does nothing; above it, the target becomes boardable but will still sink under sustained cannon fire if you keep hammering. Aim for the threshold and then stop shooting: one extra volley after the icon appears can tip a boardable ship into sinking, which voids the loot and forces you to re-engage from scratch.
After the icon appears, pull alongside on the port or starboard, match their heading, and press SPACE. Grappling hooks throw automatically, your crew boards with you, and you can simply jump across to the enemy deck. The whole transition is seamless with no loading screen, the same as land-to-sea movement everywhere else in the game.
If you die during a boarding fight, there is no respawn on the ship. The entire naval encounter restarts, even if you had already cleared six of the seven sailors. This is one of the harshest penalties in the game and it is why experienced players rank Boarding Party Gear as the single most important ship upgrade, ahead of cannon damage and even hull bracing.
An unupgraded crew melts in under 30 seconds, leaving you alone against six or seven hostile sailors. A fully upgraded crew can reliably handle the majority of the enemy deck, leaving you free to mop up stragglers or to climb to high ground and pick off targets with ranged weapons. Upgrade Boarding Party Gear at the Shipwright's Workshop Upgrade tab before attempting any fight tougher than the first Seafarer-quest ketch.
When you successfully initiate boarding, any other hostile ships in the engagement are supposed to hold fire. Once the boarding animation starts, you can usually finish the melee without taking cannon splash from the rest of the fleet. Community testing during Early Access has confirmed one occasional bug: in rare cases, escort ships continue firing during boarding. If that happens, break off the boarding attempt, clear or drive off the escorts, and then re-board the original target.
When a convoy includes a visible loot-icon flagship surrounded by gunships, prioritize damaging the flagship to the boarding threshold as fast as possible. The flagship holds the valuable contraband and naval supplies; the escorts only drop basic piastres and occasional insignias.
Cleared ships drop cargo that cannot be opened or used directly. Everything is meant for sale. Most items go to Traders in Tortuga or the hideouts of the Brethren of the Coast, Buccaneers, or Smugglers of Port Royal for piastres. Talisman bones, silver spoons, and ancient chalice loot must instead be sold at the Smugglers' Archipelago, which is unlocked through a follow-up quest after your first Tortuga visit. That vendor pays guinea for luxuries and stacks of piastres for contraband, making the archipelago run one of the highest-value trade loops in Early Access.
Boarding also drops insignias (Deckhand insignia from Blackbeard's sailors, ship-sinking insignias from larger vessels). Turn these in to the Bounty Agent at the Buccaneers' hideout to raise reputation rather than selling them.