Loading...
Loading...
Health and Healing
April 16, 2026 at 05:36 AM
Add temporal HP and rally healing section: talent synergies, herb respawn locations, bandage recipe chain, Greater Healing Potion thresholds
Health management in Windrose involves multiple healing methods, from basic bandages to potions and food buffs. Understanding the healing options and death penalty is essential for survival, especially when tackling dungeons and boss encounters.
Windrose provides several ways to restore health, ranked by reliability:
Method | Effect | Notes |
|---|---|---|
Bonfire | Slow passive health regeneration | NOT interrupted by damage; unlimited uses; build anywhere |
Healing Potion | Instantly restores 75% HP | Crafted at Alchemy Table from 15 Healing Herbs |
Minor Healing Potion | Instantly restores 40% HP | Crafted at Alchemy Table from 1 Alchemical Base |
Bandages | Heals 900 HP over 30 seconds | Canceled by any damage; use only out of combat |
Rally healing | Recover lost HP by counterattacking after being hit | Bloodborne-style; enhanced by talents |
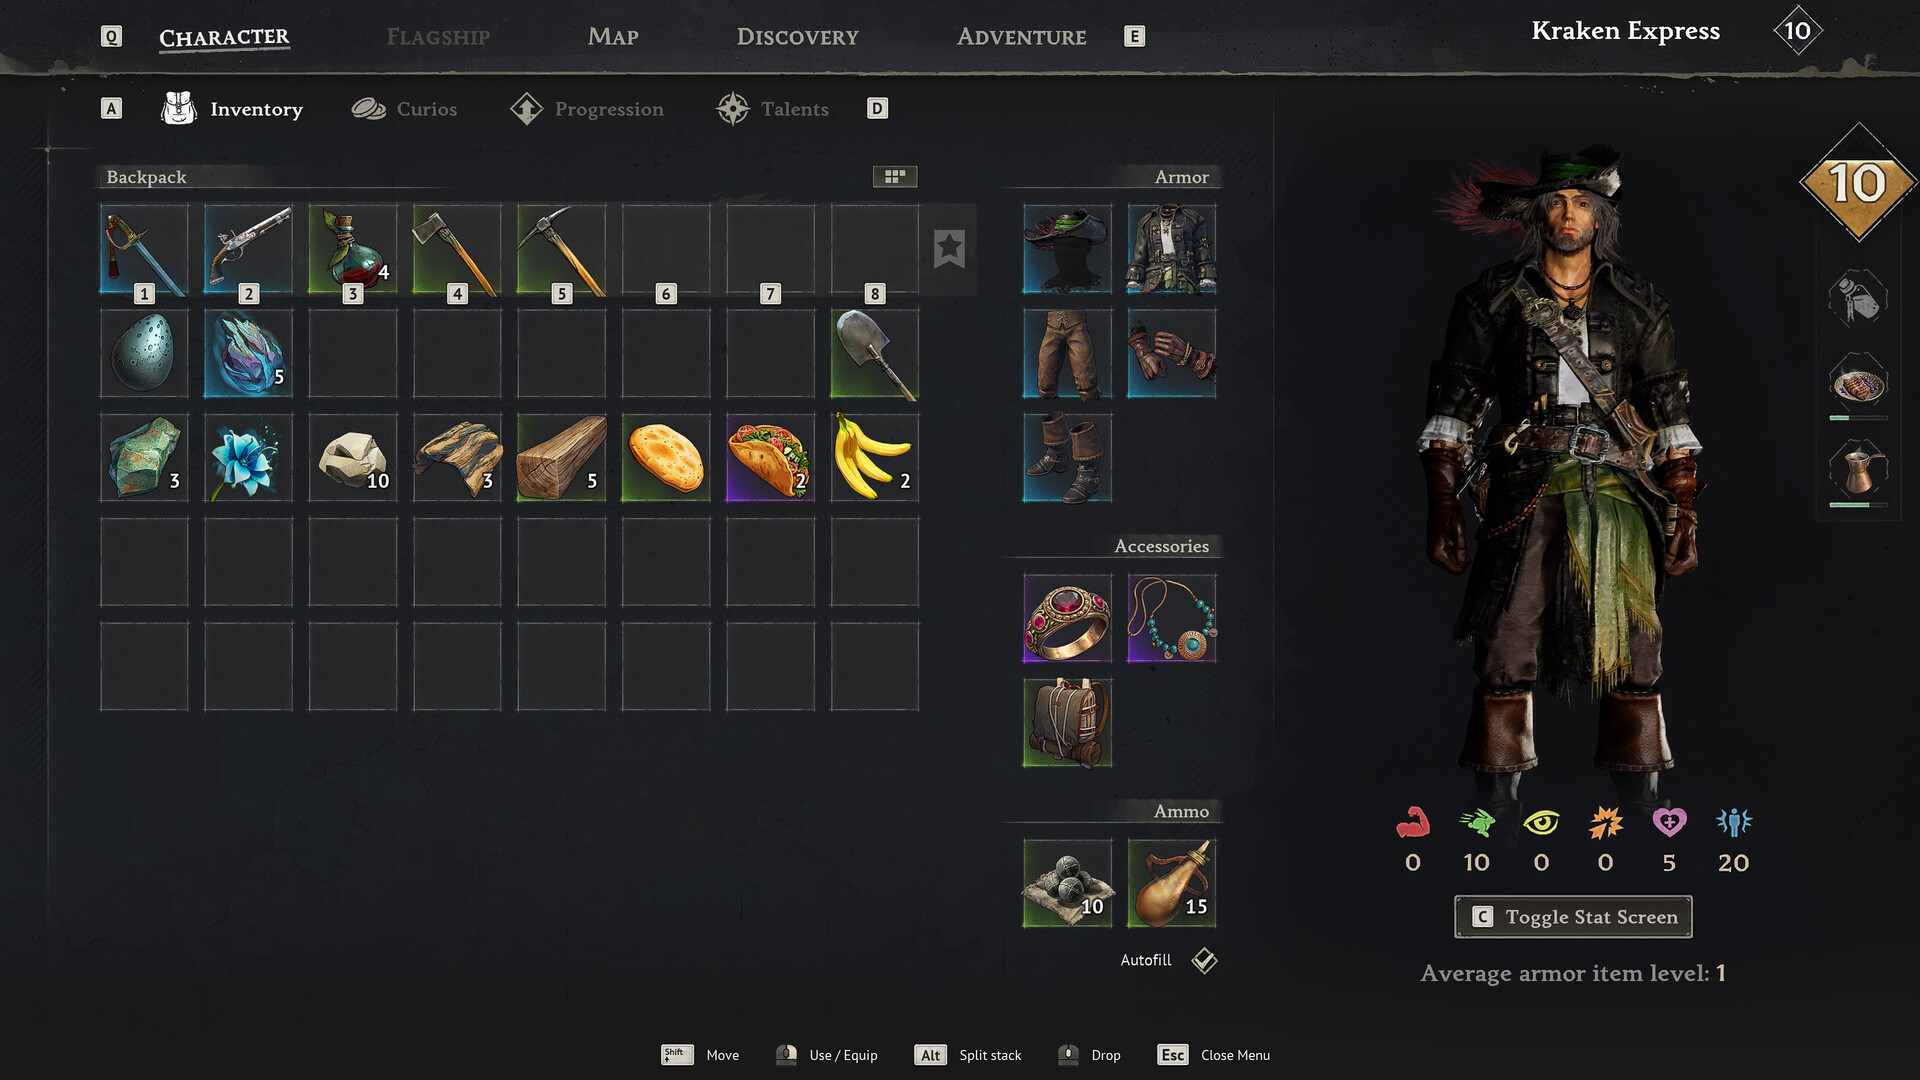
Food buffs | Temporarily increase maximum HP | Two buffs stack; lost on death |
Free healing potion | Approximately every 1 hour of in-game time | |
Coconut (raw) | Small max HP increase for 7 minutes | Found near palm trees on beaches |
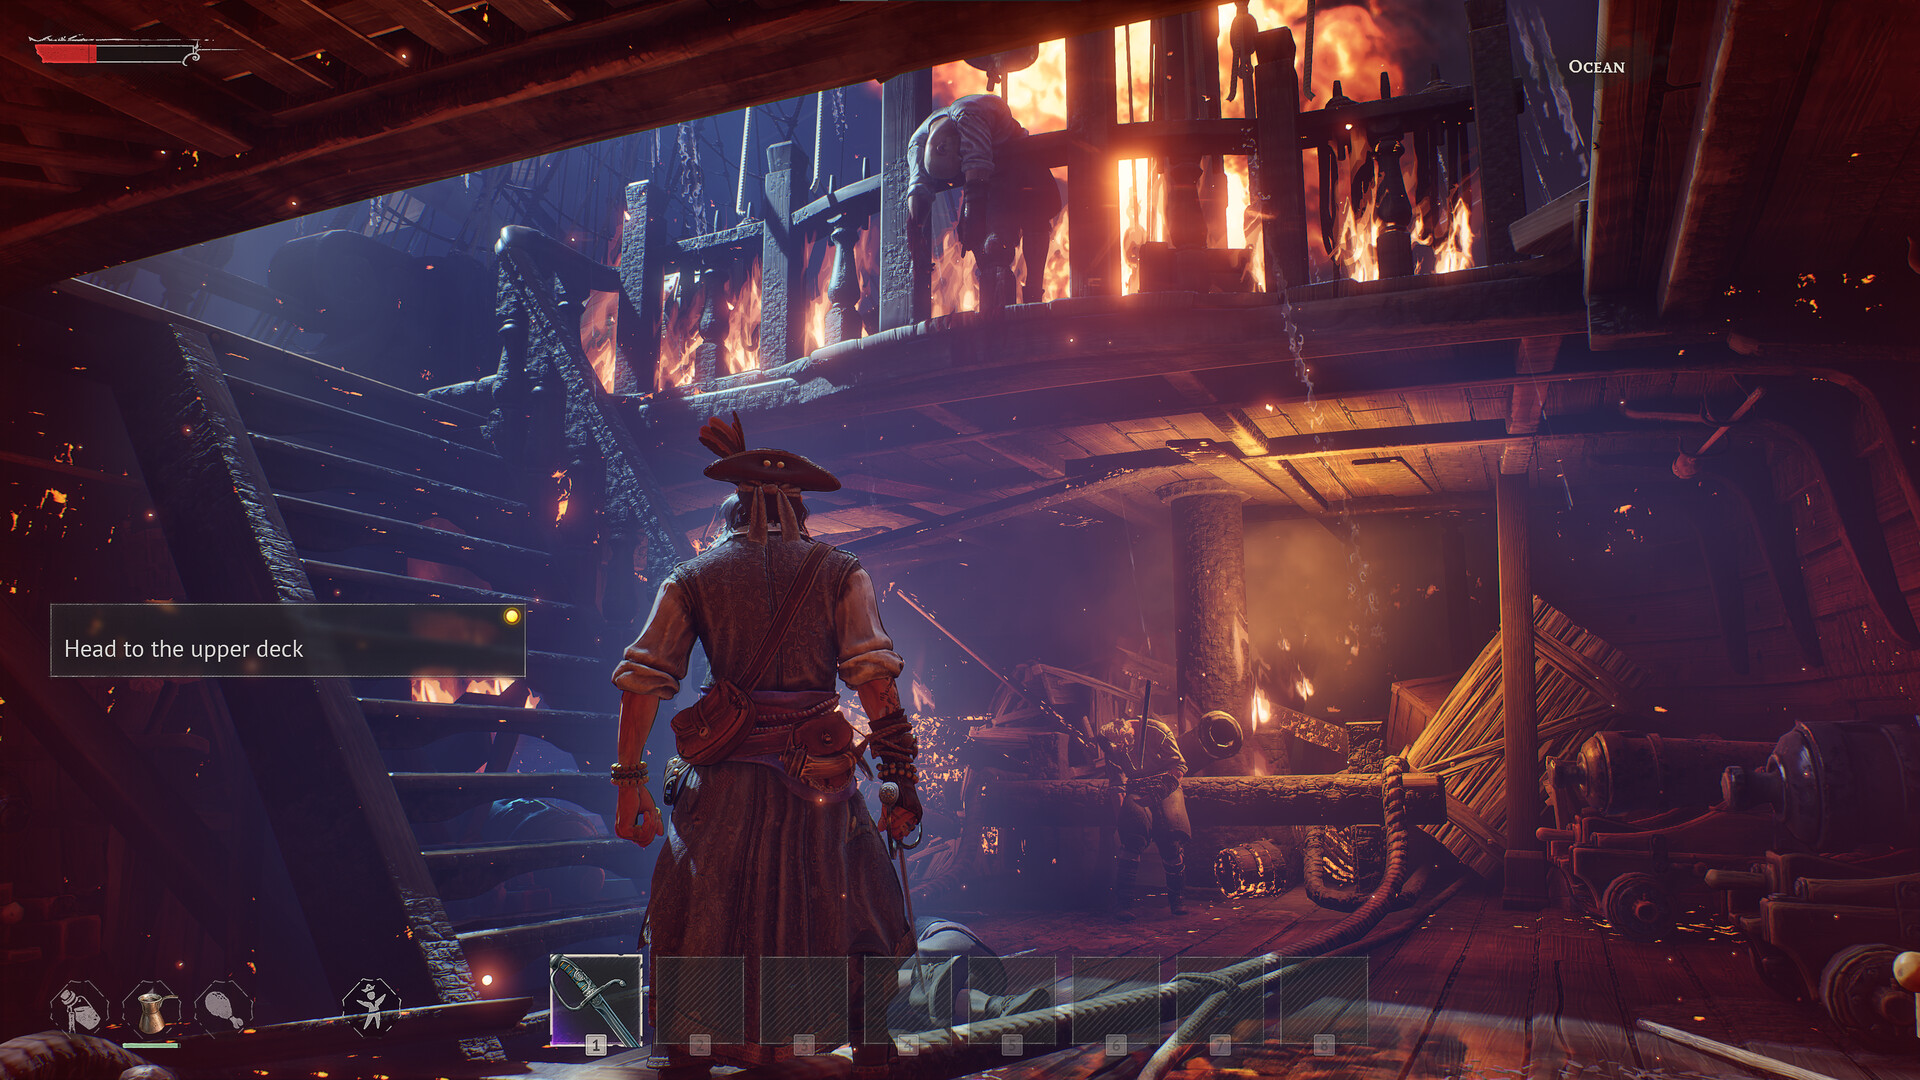
Bandages are the earliest healing item available. They are crafted at the Workbench from 1 Coarse Fiber (itself crafted from 1 Plant Fiber). They heal 900 HP over 30 seconds, but taking any damage cancels the healing effect entirely. This makes bandages useful only out of combat or during safe windows. Place them on your hotbar for quick access.
Potions provide the most reliable combat healing. They are crafted at the Alchemy Table (unlocked by finding a Misty Orchid on islands beyond the starting area).
Potion | Effect | Recipe |
|---|---|---|
Minor Healing Potion | Instantly restores 40% HP | 1 Alchemical Base at the Alchemy Table |
Healing Potion | Instantly restores 75% HP | 15 Healing Herbs at the Alchemy Table |
Pain Potion | Reduces damage received by 20% for 120 minutes | Rare tier; recipe not fully documented |
Minor Healing Potions can also be looted from chests in ruins and enemy camps. The Alchemy Table requires 5 Wood + 1 Clay Pot and must be placed under a roof within Bonfire range. Doctor Galen's flavor text for the Minor Healing Potion reads: "Do not trust potions blindly. Bed rest and peace and quiet are just as necessary for healing."
Standing near a Bonfire provides slow passive health regeneration. Unlike bandages, bonfire healing is NOT interrupted by taking damage, making it useful even near active combat areas if you position carefully. There is no limit on how many bonfires you can build across islands. Build one right outside tough encounter areas (pirate camps, ruins) as a fallback healing point.
After taking damage in combat, a portion of the lost health remains visible on the health bar as a lighter, recoverable section. Dealing damage back quickly converts that recoverable portion into actual health. The faster you counterattack after being hit, the more health you regain.
Works with melee attacks and bleed effects (e.g., Rapier-applied bleed triggers rally)
Talents can increase both the recoverable pool size and the damage-to-health conversion rate
Does not replace dedicated healing items but rewards aggressive play
Described by guides as a "hidden recovery system" that the game barely explains
Food temporarily increases maximum health and grants stat buffs. Two food buffs plus one drink buff can be active simultaneously, stacking their HP bonuses. Food provides more max HP than investing stat points in Vitality. Recommended combo: Spicy Chicken with Sweet Potato (+20 Strength) paired with Coconut Milk with Bananas (stamina boost). Food buffs are lost on death and must be reapplied.
Doctor Galen Skelton provides a free healing potion approximately every 1 hour of in-game time when you speak with him and ask if he has anything for you. He can be resettled at any Bonfire using the Guests tab (press E at a bonfire), making him accessible at multiple base locations.
The game averages defense ratings across all 5 equipped armor pieces (helmet, chest, gloves, pants, boots). If boots show 160 defense but everything else is still level 1, your actual defense is approximately 110 (averaged down). All armor pieces must be upgraded evenly for the best results. The Upgrading Station (built via the build menu) increases weapon damage and armor resistance.
Community consensus: reaching 180 defense "changes everything" for survivability. Prioritize upgrading all armor pieces equally rather than maxing one piece.
The Vitality attribute increases maximum health when stat points are invested. However, food buffs increase health far more than stat point investment. The community Beginner's Guide states that food makes a "MASSIVE difference" and provides more max HP than stat points. Some players recommend investing most stat points in Vitality and Endurance for survivability, relying on gear quality for offensive damage.
Lost on Death | Kept on Death |
|---|---|
Raw materials in inventory (plant fiber, logs, ore) | All equipped weapons and armor |
Uncooked food | Healing items (bandages, potions) |
Active food buffs | Cooked food in inventory |
Tools | |
Hotbar items |
Death penalties are described as "pretty mild." You keep all XP and character progression. Enemies do NOT recover health between your death attempts, allowing attrition strategies for tough encounters.
On death, a grave (post-mortem cache) is created at your death location containing all dropped materials. The grave appears on your map as a light red tombstone icon and in the world as a glowing basket of items. Press E to retrieve contents. Multiple graves can exist simultaneously; dying before collecting a previous grave creates a new one without destroying the previous grave's contents.
You respawn at your last resting point (the most recently set tent or bed) after a 3-second delay. You cannot choose your respawn location. Strategic tent placement is critical: place a tent near dangerous areas before engaging, so the corpse run is minimal.
Tents serve as portable revival points. Place them using the build menu (B key) from the Utilities section. Walk up and press E to designate as your Revival Point. There is no apparent limit on how many tents you can place per island. Combined with a Bonfire (for healing) and a Fast Travel Bell, this creates a full forward operating base near any encounter.
Community guides recommend carrying the following when exploring:
Materials for a Bonfire + Tent + Storage Basket
10 Bandages
10 of each of two food types (for rebuffing after death)
Healing potions if available
Materials for a Fast Travel Bell (for quick returns to base)
Windrose's rally heal system is the single largest difference between players who burn through potion stockpiles and players who leave a fight with a full inventory of healing items. When an enemy lands a hit, the damage is split into two portions: a permanent loss and a temporal HP pool that briefly shows as a lighter gray section on the health bar. Dealing damage back within that short window converts the gray pool back into real HP. Waiting too long, taking another hit, or moving away without retaliating all cause the gray section to fade and the recovery opportunity to vanish.
The conversion window is short (a handful of seconds) but forgiving enough that a committed melee player who follows the standard two-hit-dash rhythm will almost always reclaim at least a chunk of every incoming hit. Bleed effects, particularly the bleed stacks applied by Rapier-class weapons, also count toward the rally, which is why bleed builds can rely on sustained up-time rather than burst healing. Gun hits, on the other hand, rally less reliably because the projectile frame typically lands outside the window that melee counters sit inside.
Multiple talent system nodes stack with rally healing. Recommended picks for melee players include:
Temporal Health Gain (tier 1): increases the percentage of incoming damage that enters the gray pool rather than being permanent. Three ranks roughly double the recoverable fraction.
Retribution (tier 2): boosts the conversion rate of temporal HP to real HP when counterattacking. Especially strong with two-handed weapons.
Two-Handed Recovery: lowers the stamina cost of two-handed swings while simultaneously increasing the rally conversion on those hits. Effectively turns a Hellbart or heavy club into a sustained self-sustain weapon.
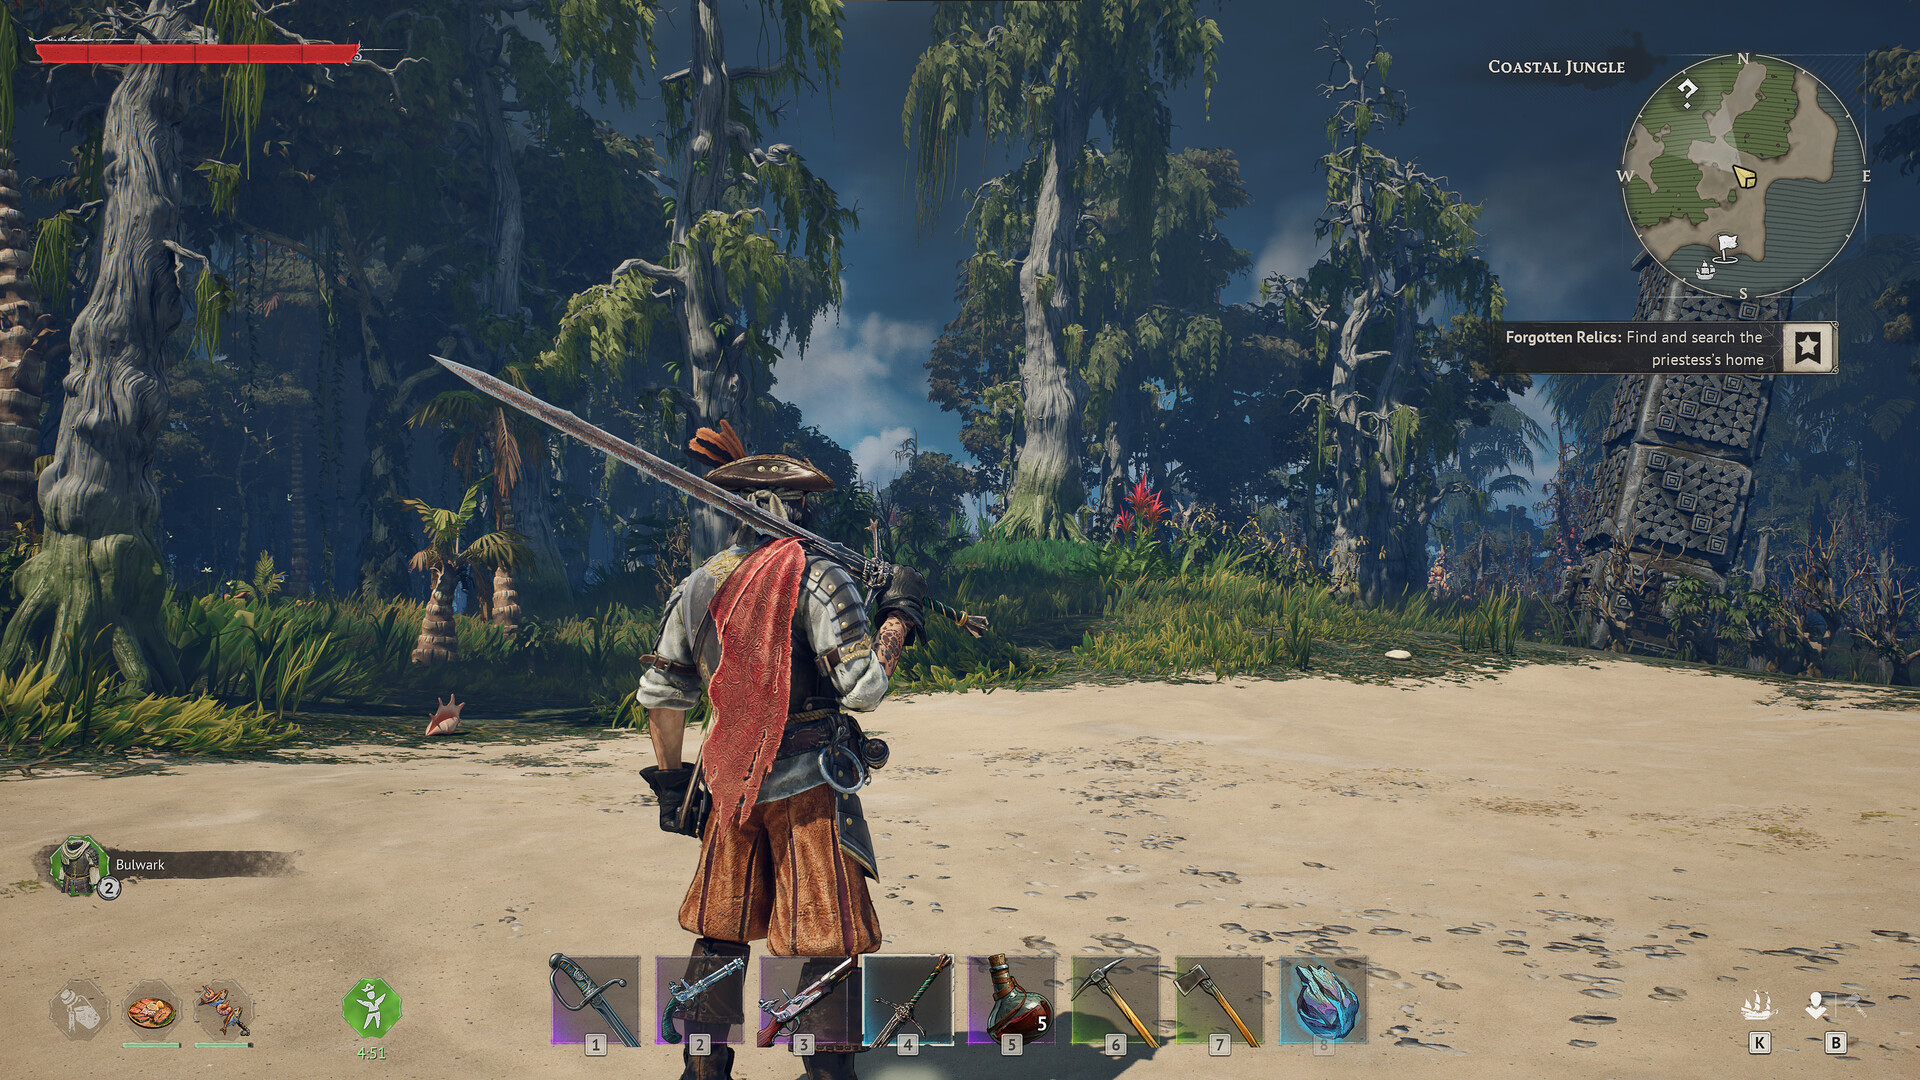
The full temporal-recovery build sacrifices straight damage scaling for fight economy. It excels against long boss encounters like the coastal jungle boss, where trading one hit for three retaliatory hits keeps the HP bar near full while bosses with punishing combos shred conventional healing supplies.
Healing Herbs are the gatekeeper ingredient for Greater Healing Potions. They drop in two places and, critically, they respawn after the point of interest is cleared. The two sources are:
Drowned dungeons: watery ruins inhabited by the Drowned enemy type. Healing herbs grow in the side chambers around the main loot chest. After the POI is marked complete, the herbs (and the Drowned) respawn after the server reset window, typically 3-6 real hours in single-player worlds.
Ancient ruins: jungle and coastal ruins often have herbs growing near the entrance or along stone walls. These respawn on the same cycle as the drowned dungeons.
Players running low on herbs should revisit POIs flagged as green (fully cleared) rather than searching for new ruins. The respawn pattern means the same three or four ruins can supply an indefinite herb stockpile, which is why veteran players keep fast travel bells anchored at their favorite farming sites. This is also the reason doctor Galen is such a strong passive healing source: his free Minor Healing Potion every in-game hour stacks on top of the herbs you are already cycling through from ruin respawns.
Bandages are the cheapest healing item in the game and the one most new players underutilize. The full crafting chain is:
Harvest Plant Fiber from bushes and shrubs (press E, infinite respawns).
Craft Coarse Fabric from plant fiber at the workbench (one-to-one or low-cost conversion).
Craft Bandage from coarse fabric, also at the workbench.
The resource cost is negligible, so the community recommendation is to leave the base with a full stack (20+) at all times. The 900 HP heal over 30 seconds is interrupted by any incoming damage, so the practical use case is to bandage immediately after disengaging, not during active combat. On long exploration runs, a stack of bandages outperforms a stack of Minor Healing Potions on a per-resource basis because plant fiber is essentially free while potions require clay, alchemical base, and misty orchid per craft.
Minor Healing Potions are the workhorse consumable for pre-Tortuga content. Once players reach the second and third islands and start finding Healing Herbs consistently, the upgrade to Greater Healing Potions pays off quickly. The recipe requires:
Alchemical Base (clay + misty orchid at the alchemy table)
Healing Herbs harvested from drowned dungeons or ancient ruins
Empty Clay Bottle produced alongside every clay batch
A greater healing potion restores 75% HP versus the Minor's 40%, so for boss fights (Blackbeard crew leaders, the jungle boss, Foothills elites) the upgrade is essentially mandatory. Stockpiling 10-15 before engaging a new boss gives enough buffer to attempt the fight several times without a supply trip.
Related pages: alchemy and alchemy table for potion crafting; healing herbs for drop locations; food and potions for the full buff-stacking routine.