Windrose's dungeons are better understood as the deeper end of its hand-crafted point-of-interest system. The live Steam store description says the Early Access build contains over 90 hand-crafted points of interest and the main store pitch rounds that broader exploration count up to over 100 hand-crafted dungeons and points of interest. The important part is not the exact marketing number. It is that curated interiors and curated encounter spaces are a major part of how the game works.
What Counts as a Dungeon in Windrose
Space Type | How It Usually Plays |
|---|---|
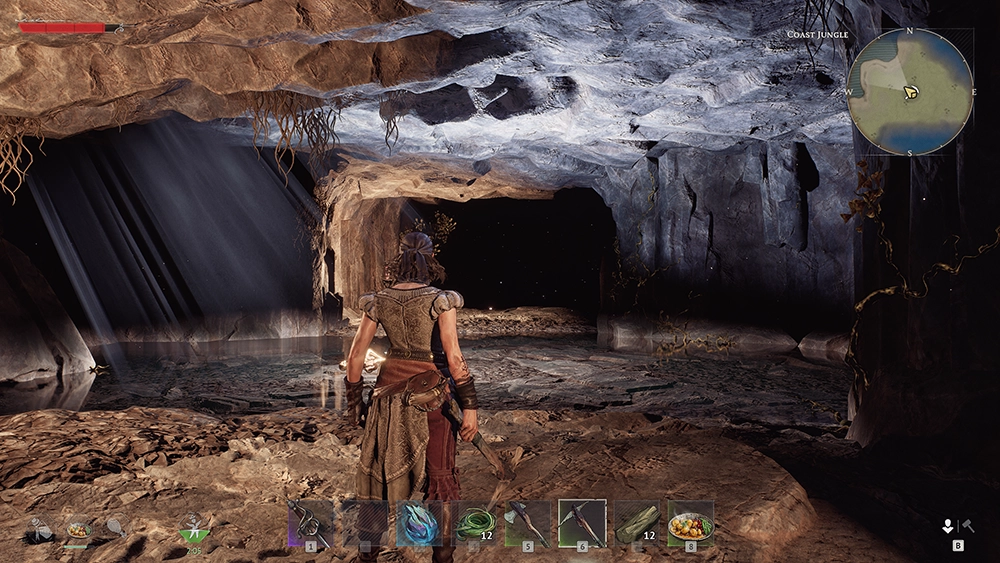
Caves and mines | Dark routes, ore gathering, narrow fights, and utility-heavy exploration |
Ruins and buried interiors | Loot, lore, treasure notes, environmental storytelling, and occasional keys or puzzles |
Pirate-held interiors | Camp networks, guard clusters, chests, and reputation or trade-good loot |
Quest dungeons and boss spaces | Named progression fights like Thomas Richards or Israel Hands |
Hidden caches and sealed chambers | Smaller but still curated spaces that reward close observation rather than broad map travel |
Known Launch-Build Examples
Example | What It Shows |
|---|---|
Hidden access and reward-focused early exploration | |
Ruins, lore, and resource-heavy exploration | |
Combat-first curated spaces scattered through the world | |
A story boss route built around a curated interior encounter | |
A larger mid-game quest route that culminates in a sealed temple fight |
Starter-Area POI Rhythm
Site Type | Why Players Remember It |
|---|---|
These are where darkness, mining, and hostile interruptions first come together as one activity instead of separate chores | |
They teach salvage value and tie exploration directly to repair and ship progression | |
Treasure-note camps | They show how a quiet campsite can still be the start of a real treasure route |
Small hidden caches | They reward players for reading foliage, rock lines, and weird dead ends instead of only following the obvious path |
Dungeon Families by Biome
Biome | Dungeon or POI Character |
|---|---|
Starter caves, ruins, treasure-note routes, caches, and lighter camp spaces that teach the rhythm of the game | |
Harder camps, elevated ruins, sealed interiors, and the stronger story dungeon route tied to Israel Hands | |
Later-biome plague spaces where visibility, attrition, and supernatural enemies matter more |
How Dungeons Fit the Procedural World
Windrose does not use a totally hand-built world map. Instead, it layers hand-crafted spaces into a procedural archipelago. That means the travel context around a dungeon can change from world to world, while the reason the place exists stays much more deliberate than a random cave mouth on an empty island.
That is the main reason dungeon coverage can feel confusing if you only look for fixed coordinates. The better question is not 'where is the exact same cave in every save.' It is 'what kind of curated space does this biome keep generating opportunities for.'
Common Dungeon Mechanics
Mechanic | How It Usually Appears |
|---|---|
Darkness | Caves, mines, and enclosed interiors make light a real preparation step instead of a cosmetic choice |
Puzzles and hidden access | Caches, ruins, and story spaces often reward reading the environment rather than rushing the first visible route |
Multi-stage combat | A camp or ruin may be easy at the entrance and much worse once ranged enemies or a named target joins in |
Return value | Many places are worth revisiting for treasure, farming, or because a new quest changes why the site matters |
Hazards That Keep Reappearing
Hazard | Why It Matters |
|---|---|
Low visibility | A bad route in the dark turns minor enemies into bigger problems than they should be |
Inventory pressure | One good chest or salvage run can overload a player who arrived with no carry plan |
Mixed enemy groups | A dungeon fight often stops being simple the moment ranged or elite enemies join the room |
Long return routes | If you did not plan a bell, tent, or ship route, even a small mistake can become a long recovery walk |
What You Actually Need Before Going In
Oil Lamp or another reliable light plan for caves and interiors that stay dark enough to hurt visibility
Food buffs and healing, because dungeon runs punish sloppy stamina management more than casual overworld gathering does
Fast Travel Bell or another respawn and resupply plan if you expect repeat attempts
Enough inventory space that one good chest or boss drop does not force an immediate retreat
That prep list is also why dungeons feel so different from a casual shoreline resource run. You are not just walking into another patch of trees. You are committing to an authored space with a stronger chance of combat, weight, and route friction.
A calm entrance can still hide a bad run.
A Good Dungeon Routine
Restock light, healing, and food before you sail or fast-travel in.
Clear the outer route slowly enough that one hidden ranged enemy does not start the real fight with free damage.
Loot in layers instead of vacuuming every container mid-combat and overloading yourself too early.
If the run turns into a repair or healing spiral, leave and reset cleanly instead of pretending the next room will somehow fix it.
What Dungeons Usually Reward
Reward Type | Examples |
|---|---|
Story progression | Boss clears, quest steps, and access to later content |
Plans and named loot | Treasure maps, special chests, and crafted-gear routes |
Trade and faction value | Chests, plunder, or other drops that feed the wider economy |
Discovery progress | New locations, new routes, and better understanding of biome structure |
That reward mix is why dungeons stay relevant even when a single individual loot drop is no longer exciting. A run can still matter because it advances a story step, confirms a route, or unlocks the next practical piece of the map.
Why Early Dungeons Still Matter Later
Starter-biome spaces do not stop mattering once you unlock harder areas. They remain useful for teaching routes to newer friends, restocking easier materials, or simply using a lower-pressure environment to test a new weapon or build. In Windrose, an early ruin can still be relevant hours after you stop needing it for pure progression.
Solo Versus Co-Op
Dungeon content is fully compatible with the game's optional co-op structure, but the launch build still rewards patience over chaos. Whether you are solo or in a party, most bad dungeon runs come from poor prep, blind rushing, or entering with no answer to darkness, weight, and healing pressure.
Co-op helps most when the group is actually prepared to move like a group. If half the party arrives with no light, no healing, and no carry space, the extra bodies do not fix the run. They just make the wipe louder.
Best Way to Read the Current Build
Do not split Windrose too rigidly into 'surface overworld' and 'real dungeon content.' The game's stronger moments come from how it blends them. A coastline leads to a cave. A cave leads to a treasure clue. A clue leads to a buried site. A quest route ends inside a boss interior. The hand-crafted spaces matter because they are where the procedural world becomes specific.
See Also
Points of Interest - the wider POI structure that dungeons sit inside
Bosses - the main launch-build boss ladder
Coastal Jungle - where many players first learn the game's dungeon rhythm
Foothills - where dungeon routes start feeling more like mid-game content
Dungeon-Type Taxonomy
Windrose uses the word 'dungeon' loosely across community guides. In practice there are multiple discrete POI classes, each with different loot profiles and boss presence.
Type | Boss? | Primary Loot | Example |
|---|---|---|---|
Ancient Ruin | Usually no | Tumbaga Ingots, ancient artifacts | |
Temple | Yes (named) | Unique weapons, Charon's Obol drops | Ghost Captain temple |
Cave / Copper Cave | Rarely | Copper, Iron, Hewn Stone, chests | Resource caves |
No | Coarse Fabric, Rope, Curios | Coastal wrecks | |
Excavation Site | Sometimes | Tumbaga, quest items, Gunpowder Crates | Blackbeard Ruins Excavation |
Pirate Camp | Sometimes (quest-named) | Crew, Letters of Favor, weapons | |
Buccaneer Outpost | No | Glorious Hunters loot | |
Blackbeard Outpost | Sometimes | Blackbeard camps at sea |