Loading...
Loading...
Getting Started
April 19, 2026 at 09:54 PM
Removed deleted image
Windrose is rough if you wander off immediately, and much easier if you treat the first hour like a guided tutorial. The current Early Access build wants you to finish the first-island onboarding, unlock the first crafting chain, stabilize stamina and health through comfort and food, and only then start roaming freely. This guide is written for the live Early Access build, not the older Steam Next Fest demo.
The fastest route to a good start is to stay focused on the opening quest chain instead of wandering immediately. The tutorial teaches the full first-island survival loop, introduces Doctor Galen, unlocks your starter transport, and puts you on the path toward the first proper ship and the early faction hub.
Build the Bonfire first. It defines the useful build radius for most of your early stations.
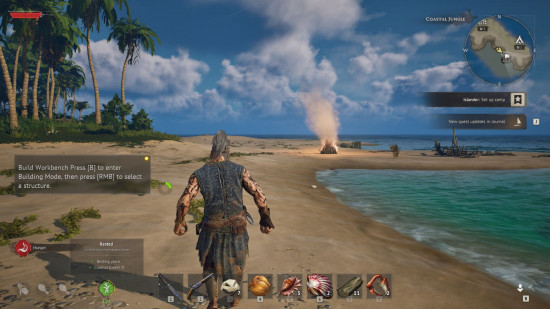
Build the Workbench immediately after. Tools, bandages, bags, and several early fixes all flow through it.
Place your shelter pieces early enough that you have a stable respawn point before you start fighting boars and pirate packs.
The opening beach is more valuable than it looks. A quick full pass along the shoreline saves time later because it front-loads several resources and buffs that new players often miss.
Pick up coconuts for an immediate early food buff.
Break small shipwreck debris for extra wood and a chance at early nails.
Grab easy creature drops from dodos and crabs before you graduate to harder fights.
Collect more plant fiber than you think you need. Early bags, ropes, cloth, and healing all chew through it.
One of the most important launch-week lessons from creators and community guides is that the comfort system is not optional fluff. Comfort raises the quality and duration of your rested-style stamina support, which directly changes how long you can sprint, gather, dodge, and fight before you feel miserable.
The key trick is variety. Do not spam one decoration piece. Place one item from several different decoration subcategories instead. A bed, stool, table, shelf, and similar early pieces move the needle much faster than stacking duplicates.
Build your bed early for both respawn safety and comfort value.
Add one piece from each decoration category you can afford instead of many copies of the same object.
Refresh your comfort bonus before cave runs, pirate camps, and boar-heavy objectives.
Windrose does not use hunger and thirst as punishment meters. Food is a power system. That means the correct habit is to leave base with your buff slots filled, not to save food for emergencies.
Launch-week guides consistently recommend keeping two food buffs active as your normal state. Better food extends the duration, but even starter food changes your survivability enough that you feel the difference immediately.
Use two active food buffs whenever you head into combat or a long gathering route.
Use drinks and elixirs to specialize rather than to solve every problem at once.
If you are constantly being one-shot, revisit food and vitality before blaming your weapon choice.
The live Early Access start still revolves around the same essential resource chain: find clay, mine copper, build the charcoal and smelting line, and turn that into your first meaningful unlocks. Until you do that, everything feels smaller and more constrained than it really is.
Use the Stone Pickaxe to mine early copper inside caves and marked cave spaces.
Gather enough clay for both the Charcoal Kiln and Smelting Furnace.
Once copper starts flowing, your mobility and build options expand quickly through better stations, bags, tools, and the Fast Travel Bell.
One small but practical cave note from current guides: caves are dark enough that quality-of-life lighting matters. If you plan to live in copper caves for a while, start thinking about lamp fuel early instead of stumbling through them blind.
Boars are the first enemy family that teaches many players Windrose is not a face-tank game. Current player guides repeatedly warn that boars can delete underprepared characters, especially when you arrive with weak food buffs, low stamina, and no lock-on discipline.
Practice on dodos and other light enemies before taking the boar step too casually.
Lock on to harder targets so your dodges and spacing stay coherent.
Release block between enemy swings. Holding block too long stalls your stamina recovery.
If a fight feels bad, disengage. Windrose punishes panic mashing more than patience.
Multiple launch-week video guides make the same recommendation: if target lock on T feels awkward, move it somewhere easier before you build bad habits. Middle mouse or another easy-reach option is a common choice because lock-on is central to clean defensive play.
The same principle applies to dodge. If Left Ctrl is causing hand strain, move it before the game trains you to hate your keybinds. Windrose asks you to dodge and lock on constantly. Ergonomics matter.
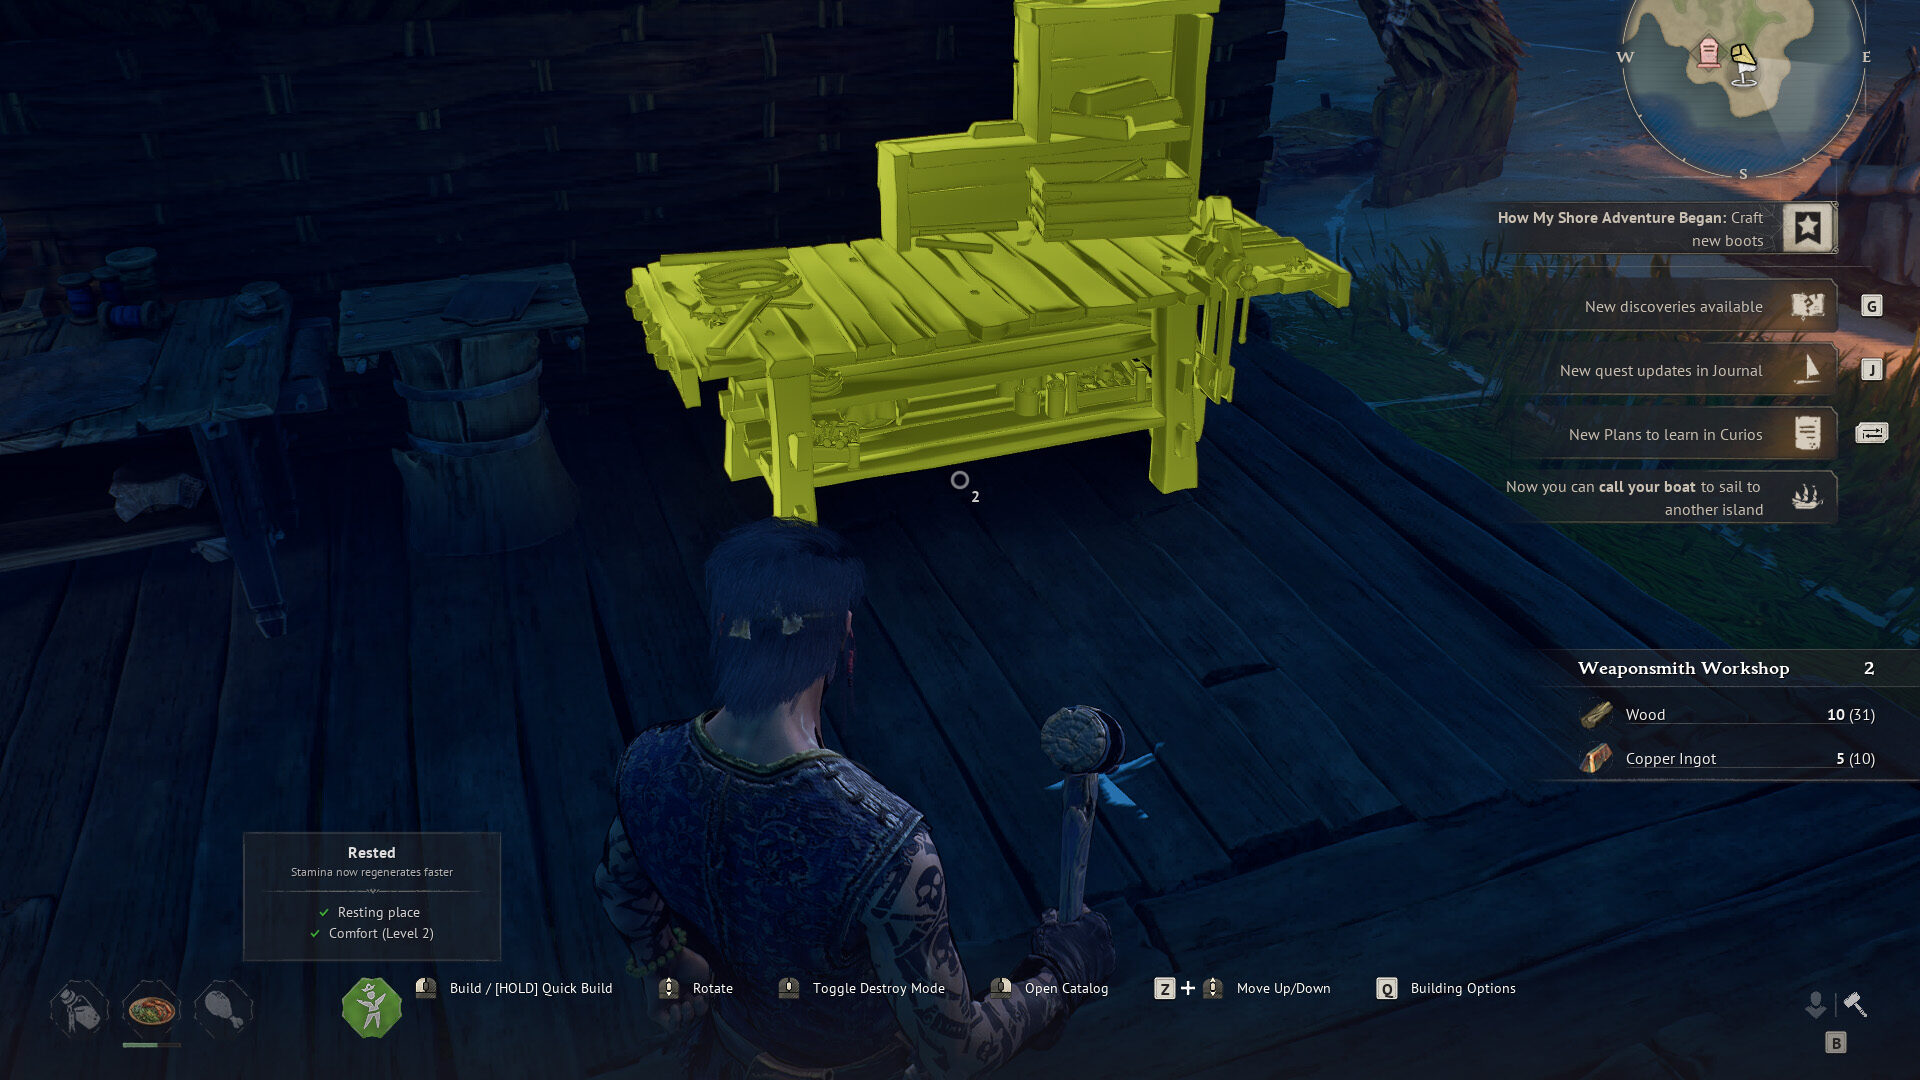
Several useful stations will not behave the way you expect unless they are under a roof. New players often assume the station is bugged when the real issue is simply structural coverage.
Weaponsmith Workshop - roof it before you plan around weapon crafting or upgrades
Alchemy Table - also expects a sheltered setup
Shipwright's Workshop - your long-term ship gear station, also happier in a proper structure
Doctor Galen is the first NPC who really changes your progression. Meeting him shifts the game from stranded-survival mode into crew gathering, ship recovery, and wider exploration. If Galen does not appear where you expect, interact with the bonfire area and finish the current objective state instead of assuming the quest is broken.
Once Galen is in the loop, the game opens into the three early priorities that matter most: rescuing your crew, getting the larger ship online, and placing your first travel infrastructure so you stop wasting time retracing coastline.
The current launch-week consensus is simple: once you can build a Fast Travel Bell, put the first one next to your main bonfire. That single choice makes every later outpost bell more useful because every route now connects back to your storage, comfort setup, and repair base.
Do not overcomplicate your first network. Home first, then add bells near the places you actually revisit: caves, pirate camps, shoreline hubs, or faction routes.
Finish the tutorial objectives instead of free-roaming too early.
Sweep the beach thoroughly before settling.
Stabilize comfort and food so your stamina stops feeling awful.
Push clay, copper, charcoal, and smelting quickly.
Treat boars seriously and fix your keybinds before bad habits stick.
Roof the stations that care about shelter.
Meet Doctor Galen and get onto the crew-and-ship progression path.
Place your first Fast Travel Bell at home, not at a random field location.
Islander Quest - the full opening tutorial breakdown
Tips and Tricks - broader launch-week habits and mistakes to avoid
Fast Travel Bell - the specific building that changes your travel flow
Multiplayer - how to start together cleanly if you are playing co-op
A handful of specific tricks short-circuit the first few hours of Windrose. None of them require late-game unlocks, and all of them are the sort of thing the game does not explain up front.
The instinctive way to collect
plant fiber is to hack at bushes with a sword or axe. That path wastes tool durability and caps out at a handful of fiber per bush. Craft a Shovel early and dig the ground directly under a stand of foliage instead. A single dig yields a stack of plant fiber in one action, with no durability cost on your weapon.
Dismantling any structure you built returns every resource you spent on it, not a partial refund. This changes how you approach exploration: a tent and a
Fast Travel Bell on a far island are not permanent investments, they are a portable safety net.
When approaching a dangerous new area, drop a tent nearby to set a respawn point you can reach if you die.
Add a temporary Fast Travel Bell if you expect to refill storage, repair gear, or deposit loot during the expedition.
Once the area is cleared, dismantle both, pocket the full refund, and sail on. You carry the safety net with you.
Fast travel is normally tied to bells. Ships have a hidden extra option: while actively holding the wheel and steering (not just standing on the deck), opening the world map allows you to fast travel from the water. Summoning the ship to the nearest shoreline and taking the wheel is enough to satisfy this, so the rule effectively lets any coastline double as a fast-travel point. See
Fast Travel for the full list of travel methods and cooldowns.
A cleared point of interest only awards its completion experience if every container in the area is empty. Killing every enemy inside does not count. A single untouched chest or a crate you did not open because the loot looked bad blocks the XP payout. The reliable habit is to open every container before leaving, even if you dump unwanted items on the ground to keep inventory weight under control. See
Points of Interest for the full list of POI types and their rewards.
Build a
Disassembly Table as soon as the recipe unlocks. Obsolete weapons and armor pulled from early pirate camps break down into nails, copper, and component materials that are painful to farm manually. Tossing stacks of lower-tier loot into the table on your way past the base is the cheapest source of mid-tier crafting ingredients in the early game, and it keeps the inventory clear for fresh pulls.
A
Boar pack can delete an underleveled character in seconds. When a fight turns ugly, pull out the building hammer and drop a short wooden fence between you and the pack. Most wildlife and the drowned-undead enemy family cannot navigate fences; they will stand on the far side while you poke them to death through the gap with a spear or polearm. The same trick works on single dangerous targets that outrun a kite.
None of these techniques replace the core tutorial path, the comfort-variety rule, or the two-food-buff habit already covered above. They are additions to the same early-game toolkit, meant for the first ten to fifteen hours of play.
Opening the inventory, map, crafting, or build menu does not freeze the world around you. Windrose keeps enemies, timers, ships, and the environment running even while the tab is open. The practical rule is to step behind cover, break line of sight, or ride back to a Bonfire before you open any long-form menu. Sorting a full backpack on the beach while a Drowner is still chasing you is one of the most common early-game deaths.
Pistols and Blunderbusses are slow to reload, but a single close-range shot strips a large chunk of an enemy's shield, which is what forces their stagger window. A Blunderbuss shot before closing to melee usually opens a full combo punish that would otherwise need several careful perfect blocks to earn. For most Coastal Jungle encounters this is the fastest way for new players to trivialize groups, especially pirate patrols that arrive with two shield layers.
Each Point of Interest on the map and minimap displays a small number next to its icon when you first discover it. The number is the count of loot containers in that location. Every chest, crate, and cache must be opened for the number to fall to zero; only then does the icon change to a check mark and the completion XP trigger. Killing every enemy inside does nothing by itself. If a POI stays at 1 after a clean sweep, there is a container still hidden (often behind a wall, under a ramp, or inside a side room): keep searching rather than moving on, because the XP and Discovery credit only land on full clear.
Two build-mode controls are not in the tutorial but save most of the early base frustration. Press Q while holding a piece to fine-tune its placement in small increments instead of snapping to the grid. Press V to raise the camera angle so you can see second-storey walls and roofs without wrestling the default over-the-shoulder view. Combined with the existing hold-and-drag batch placement on walls and foundations, these two keys turn base construction from a piece-by-piece chore into a smooth sweep.
Single shrubs and isolated bushes return very little Plant Fiber per swing. The efficient pattern is to look for stands of Ficus Trees, which cluster in tight groups on the starting island and in the Coastal Jungle interior. A single stand often drops more than an hour of scattered bush farming, and the Shovel trick for root-digging under the same cluster extends the yield further. Stamp the fiber chest near the cluster and run shorter loops instead of dragging fiber across the whole island.
Caves, nighttime biomes, and the deeper sections of most dungeons render dark enough that a light source is a practical requirement rather than a luxury. The Oil Lamp is the mobile light source that most players settle into using, and its first copy is a fixed-location pickup rather than a craft.
First Lamp location: the Smuggler's Cache on the starting island. The cache is one of the early-game fixed points of interest and usually gets discovered during the opening coastline sweep. Pick the Lamp up on the first pass and fuel it before heading into any cave.
Animal Fat fuel economy: the Lamp burns Animal Fat as its fuel, which drops from Boars and Sows on the Coastal Jungle islands. Drop rate is roughly one Animal Fat per three animals killed, so a Boar-and-Sow hunting circuit that already provides Rough Hide and Meat also tops up the Lamp fuel stockpile as a side benefit. A single fuel refill burns for approximately seven to eight minutes of continuous use. Most cave clears or dungeon runs stay well inside that window, so one refill before leaving base is usually enough.