Overview
Instanced group content in Lord of Mysteries comes in three sizes: 6-player Dungeons, 12-player Raids, and large-scale Faction Sieges (covered separately under Faction Warfare and PvP). Each instance type uses the holy-trinity composition (tank / healer / DPS) and supports AI companion fill so groups can launch even outside peak hours.
Pathway-to-role mapping for all six Crimson Test Pathways is covered under Pathway Roles: Warrior tanks, Spectator heals, and Bard / Apprentice / Seer / Hermit cover damage and party support.
Dungeon Structure
A dungeon is a short-to-medium-length instance with a linear or semi-branching path through three to five mini-encounters and a final boss. Mini-encounters typically involve one of three patterns: a kill-room (clear all spawns in a confined arena), a ritual room (interact with a multi-step ritual while waves attack), or a chase / puzzle (avoid a hunter or solve a Sequence-themed puzzle).
The final boss is the dungeon's signature encounter. It scales mechanically with difficulty: every difficulty step adds at least one new mechanic or meaningfully changes how an existing mechanic plays.
Difficulty Modes
Each instanced encounter has multiple difficulty tiers. The tier ladder progresses from Easy to Nightmare, with the highest difficulty hard-favouring full human parties:
Easy: solo or duo accessible with AI companion fill. Loot is daily currency and gear-fragment material.
Normal: balanced for a six-person party. The standard reward target.
Hard: gear-checked. Adds a mechanic and tightens DPS / healing pace. Drops mid-tier ritual ingredients and rare cosmetics.
Nightmare: the apex tier. Multiple new mechanics and a strict DPS / healing race. Drops top-tier ritual ingredients and the rarest dungeon cosmetics. Recommends a full human party; AI companions can complete it but at meaningfully lower clear rates.
Raid Structure
Raids are 12-player instances pitched longer than dungeons. Raid roster: 1 main tank, 1 off-tank, 2 healers, 8 DPS-or-hybrid roles. Raid bosses scale with the dungeon-difficulty ladder (Normal, Hard, Nightmare) and add raid-specific mechanics (concurrent two-team objectives, mechanic split-handling, sanity pressure during multi-phase fights).
Raid loot is locked once per week per character per difficulty bracket. The lockout rolls back to free at the weekly maintenance reset. This means nightly raid-running of the same content has diminishing returns.
Sanity Pressure
Boss-tier encounters apply flat sanity hits during cosmic-horror set-pieces. Standing through a high-Sequence ritual cutscene, taking the gaze of a high-Sequence boss, or surviving an ultimate phase all cost sanity. Successful raid groups budget sanity tinctures and tea consumables before the pull and pace pulls so the bar can recover between attempts.
AI Companions
AI companions are competent stand-ins. They follow simple priority rules per role: tanks hold aggro and rotate cooldowns on telegraphed hits; healers triage by missing-HP percentage and apply major heals on damage spikes; DPS rotate baseline ability priority. They do not improvise around new mechanics, so high-difficulty content increasingly leans on human players. Players can summon AI companions in any combination (six AI for solo, three AI for half-fill, etc.).
Currency and Progression
Each clear awards instance-specific currency: dungeon coins, raid tokens, and Nightmare seals. These trade at NPCs in Backlund and the player's home base for gear, gear-upgrade material, ritual-ingredient bundles, and cosmetics. Long-tail progression is tied to weekly soft-cap currency, not raw farm hours.
Crimson Test Scope
The Crimson Test surfaces a small dungeon roster targeted at Sequence 9-7 progression. Raid-tier content is built but gated; full raid testing is reserved for a later beta phase.
The one instance publicly named so far is May Manor, an aristocratic country estate adapted as a dungeon. Its boss is the Viscountess, an estate owner whose corruption is tied to the Red Moon. May Manor also appears as a marker on the game's official world map, so it doubles as both an explorable location and an instanced boss encounter. Other early instances pit groups against deliberately eldritch, hard-to-perceive bosses in line with the cosmic-horror Sanity System that frames the rest of the game.
Boss Design Framing
High-end dungeon bosses are designed as unspeakable, eldritch encounters rather than conventional health-bar fights, and the studio places them in the same high-stakes category as cross-map battlefields and world bosses at the top of the combat ladder.
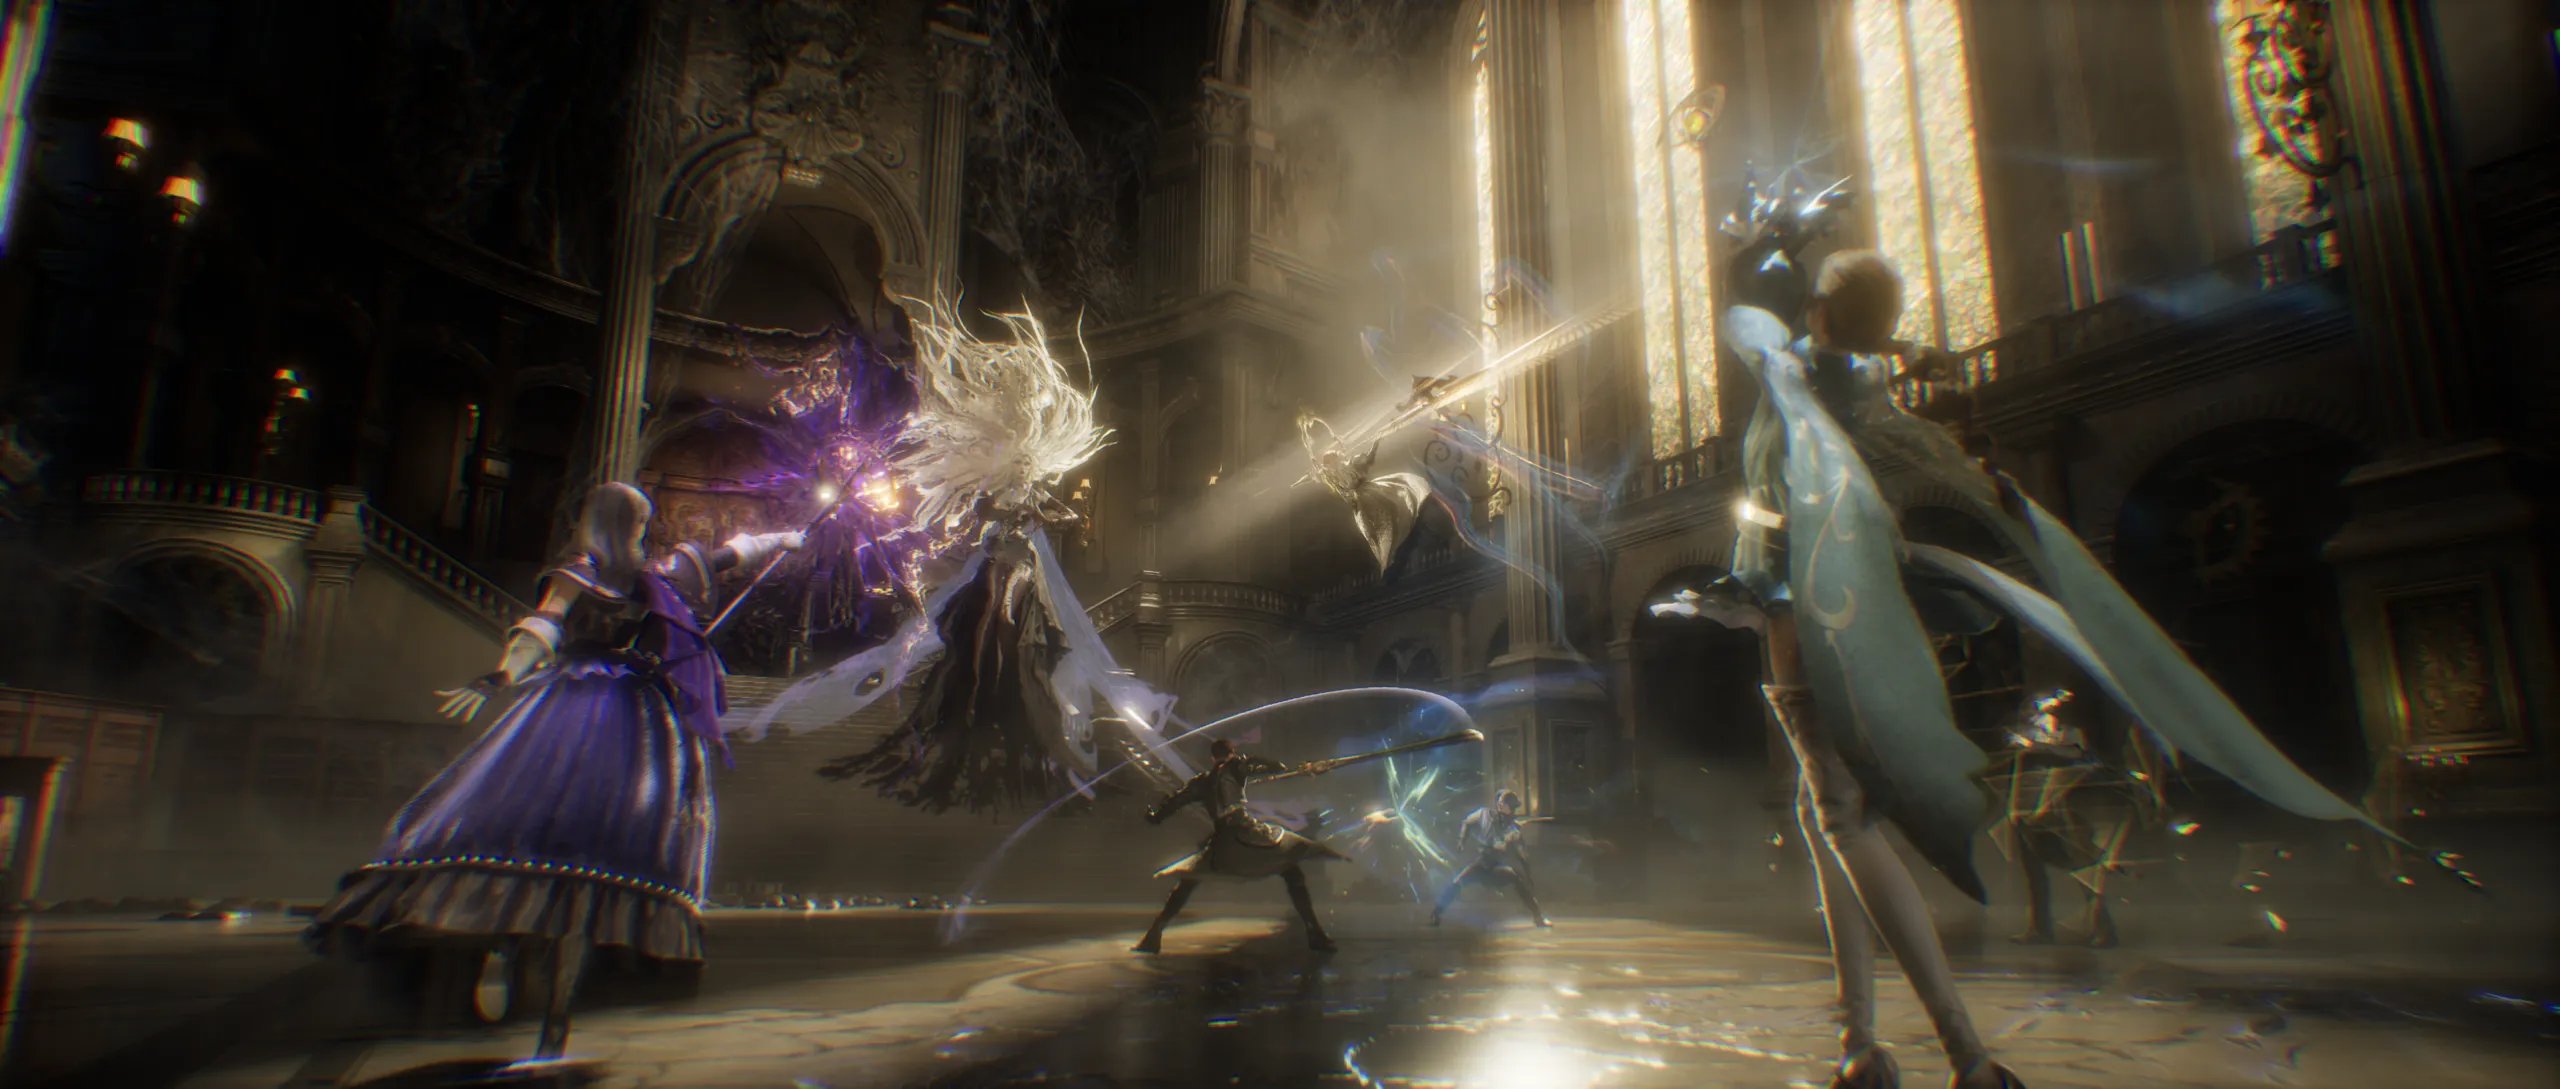
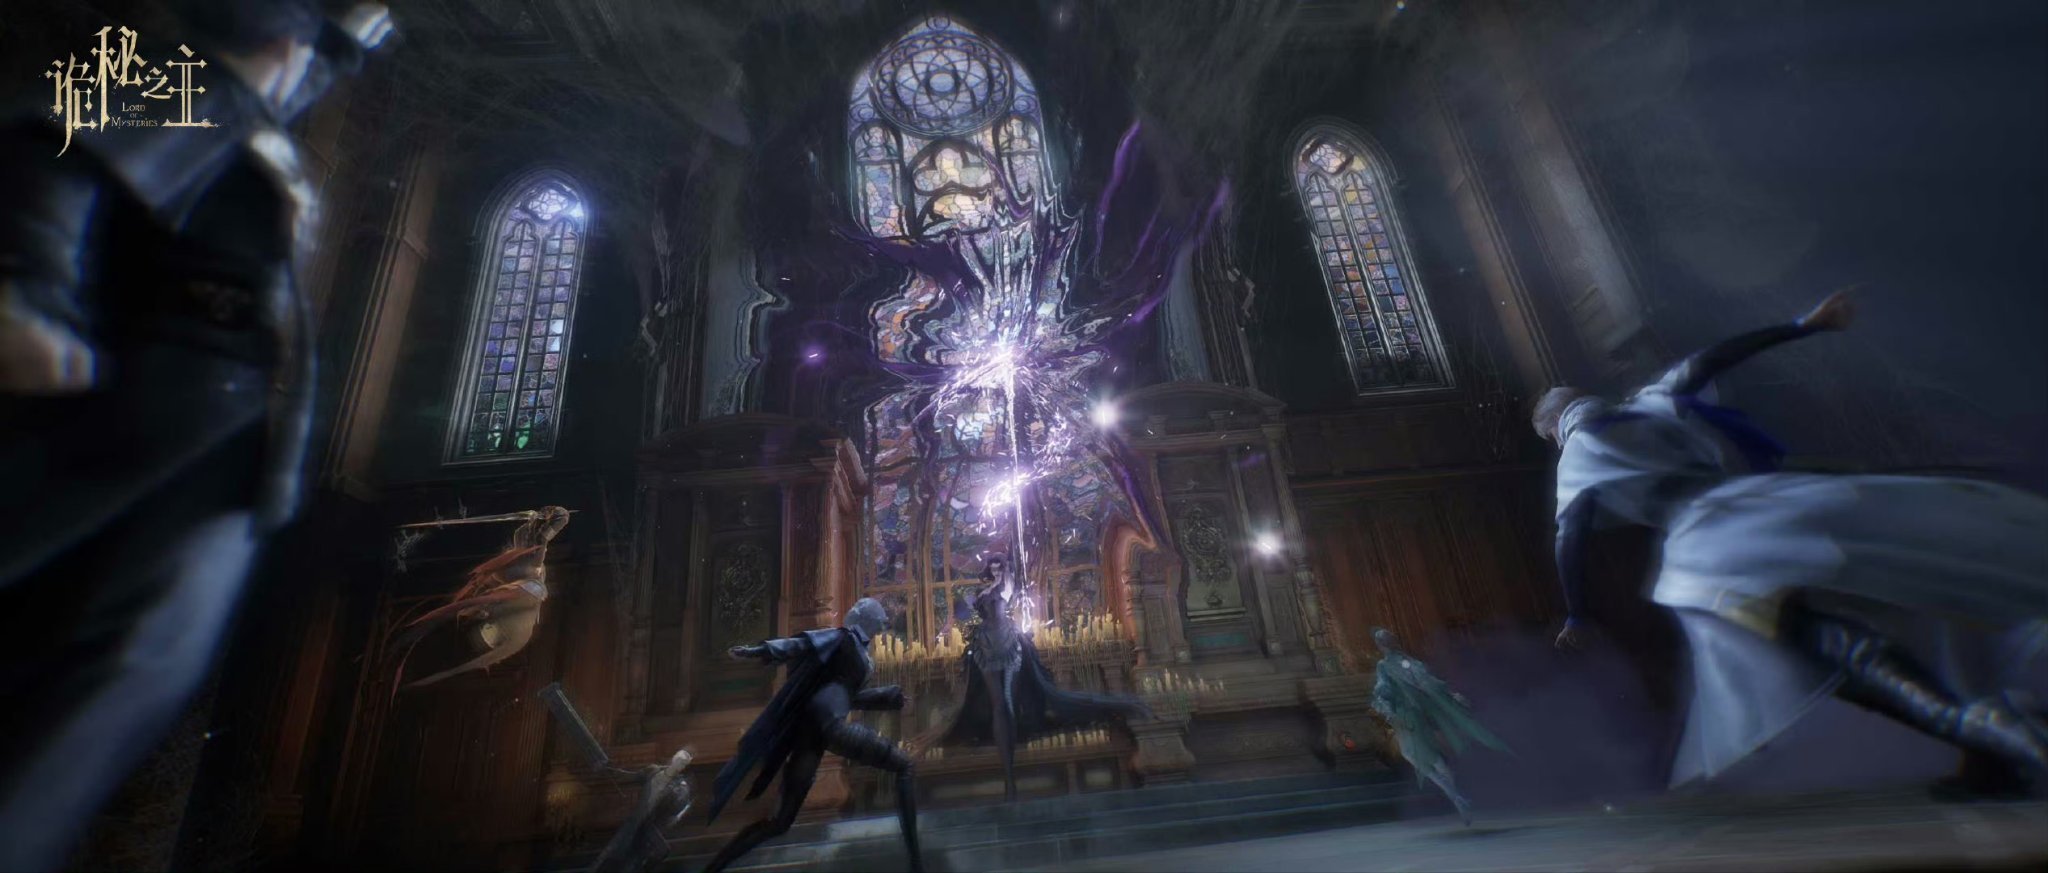
Instance bosses are designed as explicit cosmic-horror set-pieces that read as eldritch encounters rather than reskinned MMO health-bar tanks. The studio's note tied dungeon bosses, arena opponents, and world bosses into a single category of high-stakes Beyonder content, all of which carry the Sanity cost framing described below.
The same framing carries into the world-boss tier. Open-world world bosses are positioned as cosmic-horror cap-tier encounters, sitting at the top of the combat ladder for full pickup-party clears and rewarding the highest-tier ritual ingredients and cosmetics for the participating server. The fact that arenas (instanced, smaller-scale) and dungeons (instanced, 6-player) and world bosses (open-world, mass-party) all share the same 'incomprehensible Boss' identity is intentional in the dev framing.