
Loading...
Loading...
Roguelite Mode
September 16, 2026 at 04:29 AM
Corrected the 0.2.0 target window after the second delay
Roguelite Mode, called Somu's Dream in game, is the dream-diving side mode added to Alabaster Dawn at the May 2026 Early Access launch. It is a roguelite layer built on top of the main combat system: each dive descends through procedurally arranged layers, Juno drafts a temporary loadout from Blessings along the way, and the currency carried back out buys permanent Perks on the main save. The developers have been explicit that it is optional side content and that the main story can be finished without ever entering the Dream.
Access to the dream world is gated by the NPC Somu the Dreamer, a strange entity Juno comes across during her travels on Tiran Sol. The mode becomes available towards the end of the plot included in the Early Access release, so a first-time player reaches it late in the current content rather than early. Once it is unlocked, Juno can return to Somu and start a new dive at any later point.
Juno's first entry into the Dream is accidental and doubles as a tutorial: a small four-room version of the first layer, with Somu appearing along the way to explain the basics. Leaving the tutorial dream early changes some dialogue but has no other effect.
Currency | Source | Use |
|---|---|---|
Dream Shards | Dropped by enemies, released by destroying objects in the environment, and awarded for completing objectives inside the Dream. | Spent during the same dive at Shop Rooms to buy Blessings. Whatever is still held when the dive ends is converted into Sleep Tokens. |
Sleep Tokens | Converted from the Dream Shards held at the end of a dive. | Persistent currency. Spent at Somu's menu between dives on permanent Perks. |
This two-currency split is the heart of the roguelite loop. Dream Shards reward in-the-moment decisions about how to build a single attempt, while Sleep Tokens reward sustained play across many attempts.
After the first completed dive, Somu also opens a Token Exchange where Sleep Tokens can be spent directly on items, including divine essences and an artifact that unlocks an additional loadout.
Sleep Token earnings scale with how deep a dive goes and how cleanly it is played. Clearing Layers and bosses pays out bonuses, flawless boss kills and flawless Layers pay extra, and taking damage or quitting a dive through the menu cuts into the total; leaving by any route other than the Boss Room elevator also reduces the conversion. Exact values are community-documented and still shifting, so this page avoids precise numbers.
Inside a dive, Juno picks up Blessings at choice points between fights, and each one lasts only until she leaves the Dream. The pool covers flat stat boosts such as Armor Boost and Life Boost, Aspect-locked combat effects such as Chain Spark and Thunder Clap that only fire while the matching Aspect is active, and utility effects such as Mappa Mundi, which reveals a floor layout and its locked gates. Blessings run from Common up to Legendary, and the higher rarities only start appearing deeper into a dive.
Each dive is segmented into layers, shown in game as Depth Layers. Every layer takes its look and enemy mix from an area Juno has already visited in the main game.
Each layer ends with a boss fight.
The deeper the dive goes the better the rewards get, but enemies grow stronger in step.
How far Juno can dive before she wakes is capped by her story progression, so the depth ceiling rises as the campaign advances.
Levels, gems and weapon upgrades from the main save carry into the Dream.
Healing Bulbs and Boost are reset on entry and handed back once Juno wakes. Boost can be re-activated inside the Dream through special rooms.
In the current build a dive descends through three Depth Layers, themed in order on Koro Valley, the Trial of Aether, and the Aurum Plains. Each layer ends at a boss familiar from the main campaign: Inferna Vespa on the first layer, Rana Lingua Magna on the second, and Grandis Molis on the third.
Each Layer is a procedurally generated maze of rooms, and progress through it depends on Keys. Community documentation has clearing a Combat Room sometimes dropping a Key, with each Layer holding as many Keys as locked doors, and unused Keys carrying forward to the next Layer. The Boss Room door is always locked and is marked by red smoke drifting from under it. A second locked door can appear, always on a dead-end room that grants a Blessing, such as a Blessing, Shop, or Trial Room.
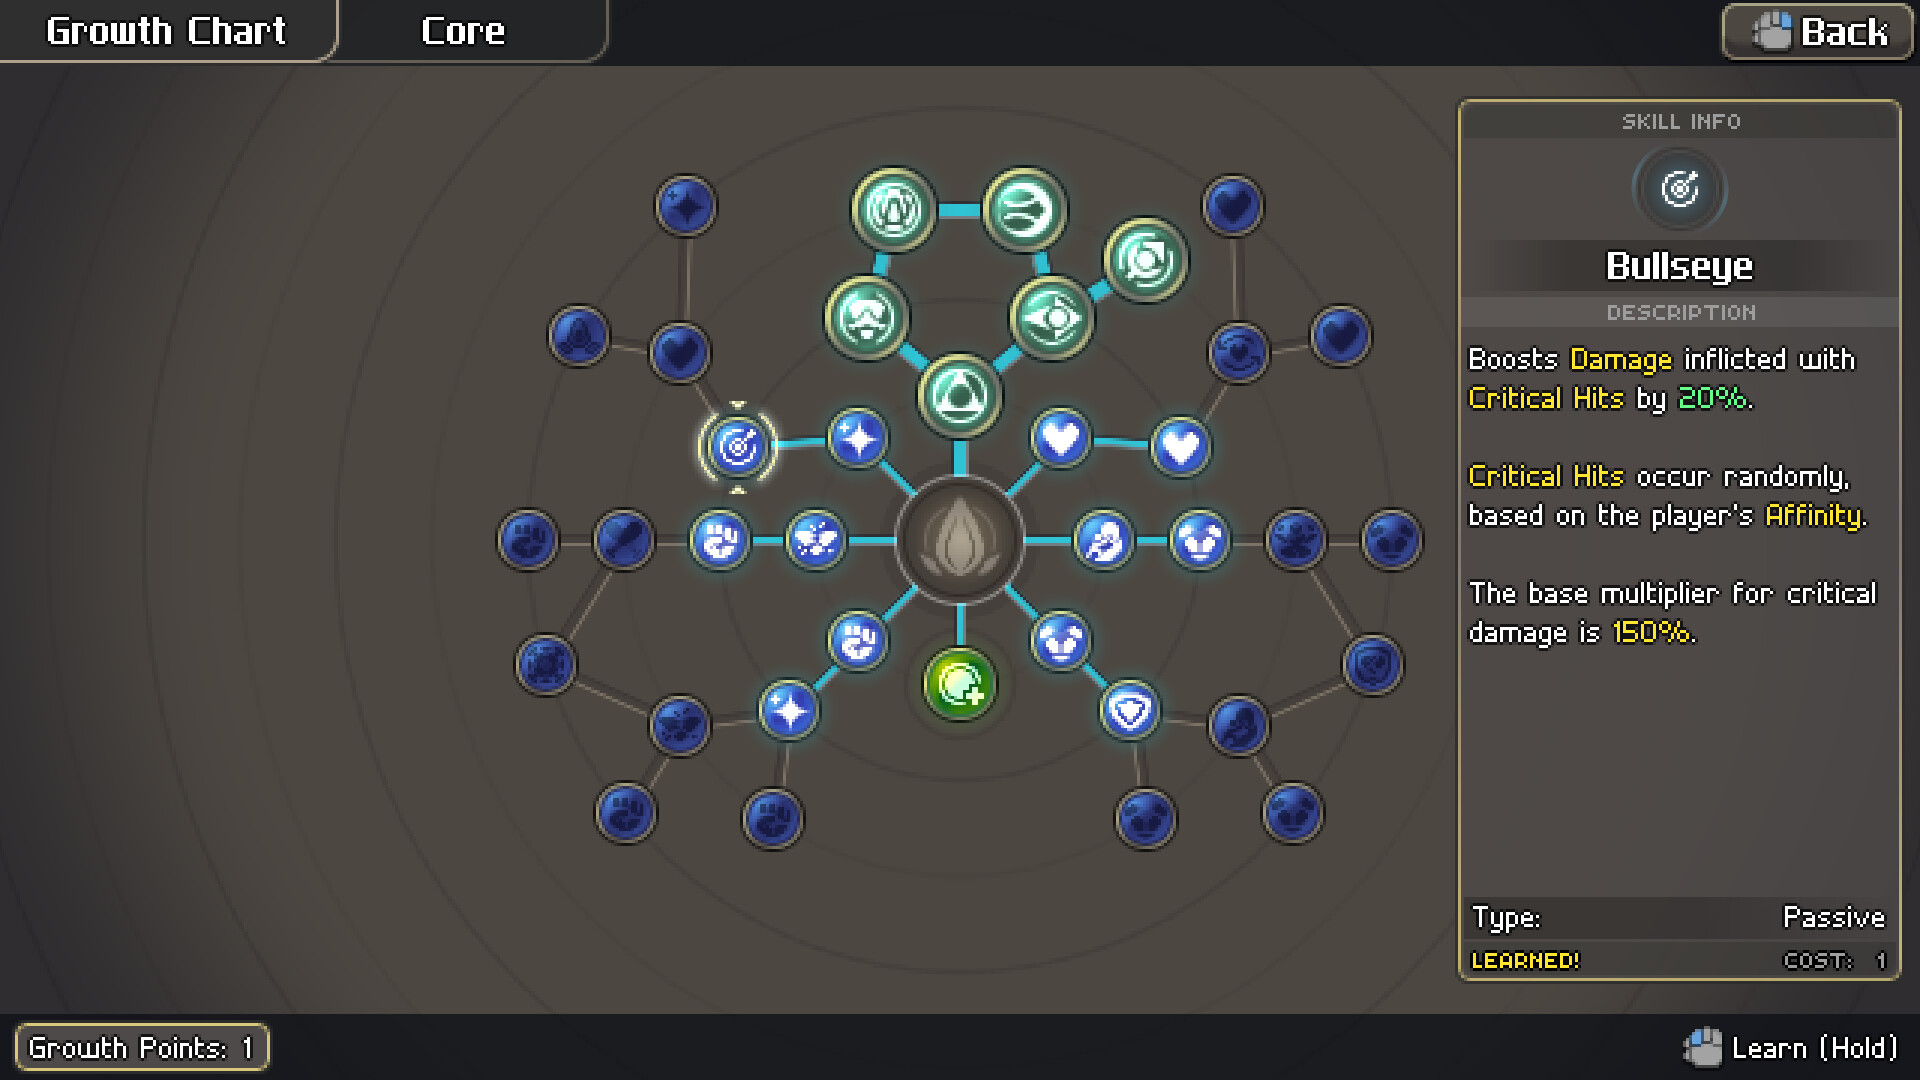
Somu's menu spends Sleep Tokens on permanent Perks. Room Perks add new room types to the Dream or improve ones already in rotation, while Utility Perks change starting resources, rarity ceilings, and the reroll and banish systems. Perks persist across all future dives and can be toggled on and off individually, so an unwanted room type can simply be switched back off. Several perks stay hidden until a prerequisite is bought, and some carry an in-Dream milestone that must be met before they can be purchased.
A dive is built out of distinct room types. Which of them can appear depends on which Perks have been bought and switched on.
Room | Contents |
|---|---|
Start Room | The room each Layer begins in, marked by a stone platform at its center. Aside from the occasional forageable it is empty. Appears once per Layer. |
Boss Room | Holds the Layer's boss fight behind the locked door marked with red smoke. An elevator at the back lets Juno wake up or descend to the next Layer. Appears once per Layer. |
Filler Room | A mixed room with forageables, occasional passive enemies, and simple obstacles such as destructible objects or pits. Filler Rooms top a Layer up to a minimum of eight rooms. |
Blessing Room | Two random Blessings, rising to three with the Inception perk. Spawns on every Depth Layer and is active from the start. |
Shop Room | Exchanges Dream Shards for Blessings. Once unlocked it always spawns once per Depth Layer. Prices scale with the current Depth. |
Rest Room | Two random dishes from owned Recipes. Eating one grants its boosts and Healing Bulb charges, fewer than the same dish gives outside the Dream, and heals 25% of Life. Appears every five Depth Layers starting with the first, so in the current three-Layer Dream it only shows up on the first. |
Combat Room | A standard fight; two or three appear on each Layer. The doors lock until every enemy falls, and clearing the room can drop a Key. With the Midnight Snack perk active it also drops two to three small rewards such as Shards, rerolls, banishes, Life regen or small stat upgrades. |
Trial Room | A tougher combat encounter that rewards a Blessing from the Treasure pool. Base spawn chance is 50%. |
Bounty Room | Packed with forageables that drop large amounts of Shards. Base spawn chance is 25%, doubling to 50% with the second Bounty Rooms perk. |
Rerolls and Banishes swap out reward options during a dive. They unlock through the High Roller and Un-Ban-Lievable Perks, which grant some automatically at the start of a Dream, and both can be used in rooms that offer Blessings or dishes. A Reroll replaces one of the offered options, while a Banish replaces it and also removes that option from the pool for the rest of the run. Banishes cannot be used on Common-rarity options, which keeps item pools from running dry. These mechanics are community-documented for the current build.
It is a more concentrated combat test than the main story, useful for practicing parries and Divine Art timing against tighter enemy pacing.
Permanent perks earned in Roguelite Mode are not story-blocking; the main campaign can be cleared without them, but they offer extra build flexibility.
It is positioned to grow over the Early Access cycle as more Aspects, Divine Arts, and enemy variants enter the dream-world pool.
A confirmed future crossover will add a guest playable character to Roguelite Mode. Zura, the lead character of a separate partner game (SHADE Protocol), is planned as a playable reskin of Juno for runs through Somu’s Dream, alongside a set of themed Divine Arts elsewhere in the game. The developer has stated this content is not in the current build and will be the focus of later development, potentially landing in post-1.0 updates, so treat it as planned rather than available.
Somu the Dreamer
The 0.2.0 update, now targeted for late September or October 2026 after two delays, is the mode's first substantial expansion. The swamp region joins the rotation as a fourth Depth Layer, so a full dive will run four layers instead of three, and more of the campaign's bosses start appearing in Boss Rooms on the layer matching the area they come from. Layers are deliberately kept short so that reaching the deeper ones does not become a slog.
The damage penalty is being removed outright. In the current build, taking hits during a dive eats into the payout, which discourages pushing into the deeper layers where damage numbers climb steeply. A new bonus replaces it, awarded for clearing a combat encounter without being hit.
Blessings get a broad pass. New entries are built to turbo-charge a single Enchantment so that highly specialised builds become possible, and the studio is trialling risk-and-reward entries that pair a drawback with a larger payoff. Shard o' Maniac is the named example, trading Strength for a much larger Dream Shards yield. Blessings for the upcoming Cryo Aspect arrive in the same pass, along with two that were always intended for Physis and Aether but never implemented: Pointy End, which scatters caltrops on every perfect dodge, and Earthen Call, which summons boulders on every charged ranged shot. The studio has said these values are not final.
Perk prices are staying where they are for now, on the reasoning that the other changes already make unlocks come faster. One new Perk grants a free Blessing at the start of a dive. In the finished game Perks are planned to unlock gradually over the main story; for Early Access they all stay available from the start.
Blessings that need extra explanation are also getting context info panels, shown in development previews, so their mechanics can be read in place during a dive.
Two further changes are confirmed but explicitly held back past 0.2.0. Nightmare Mode is a build-your-own-challenge layer that trades added difficulty for better Dream Shard exchange rates and bragging rights; it is waiting on a dedicated menu, opened from the bed beside Somu, that will track a best-run score, a run history and quick Perk toggles. Separately, the bonus system is being reworked so side objectives pay out more the deeper a dive goes, rather than the current flat rates, and so that tougher bosses pay more than easier ones on the same layer. The flawless-layer bonus is currently a flat 1,000 points no matter which layer it is earned on.
