
Loading...
Loading...
Equipment and Crafting
October 23, 2026 at 01:45 PM
Clarified Arbiter enhancement and armour set roles
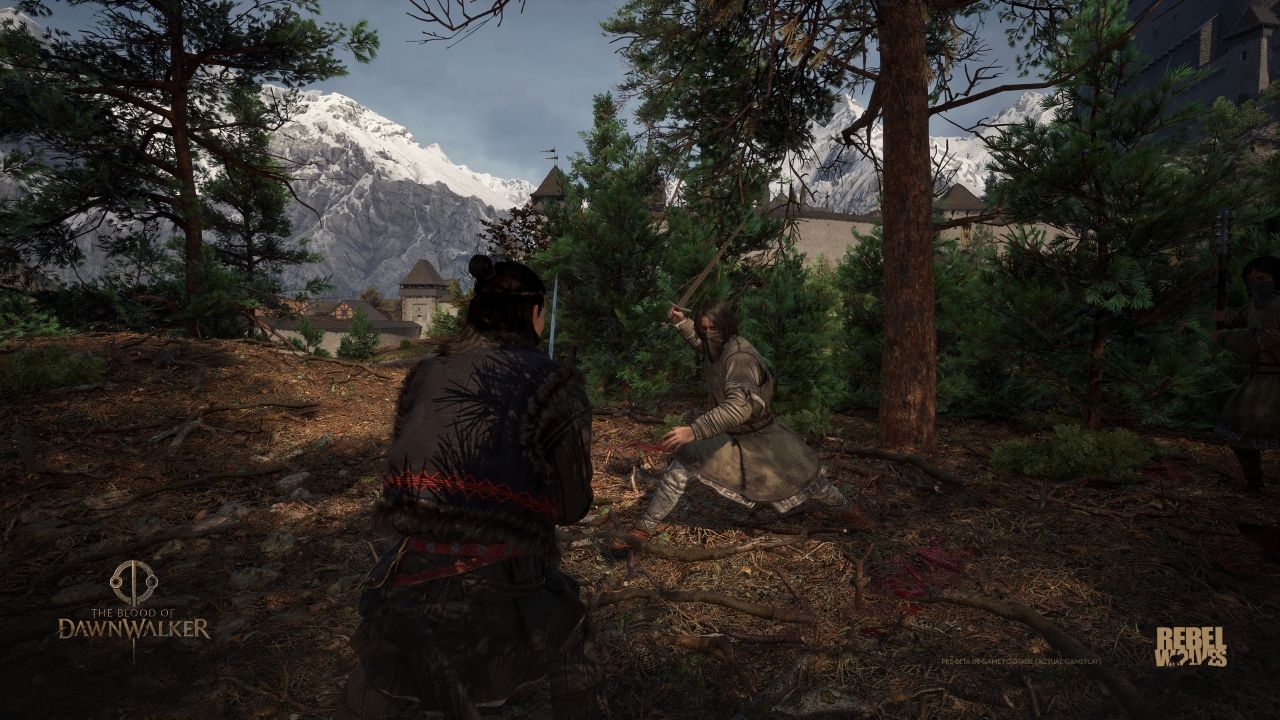
Coen 's starting weapon is Peregrini Aurorae (Dawn's Pilgrim), the sword he carries during the day. It is not the only weapon he can wield. Rebel Wolves confirmed in July 2026 that the game carries several classes of sword, each with its own weight and attack speed, and that Coen can also pick up weapons that are not swords at all.
Weapon Class | Notes |
|---|---|
Short swords | The fastest of the sword classes. Quicker swings at the cost of reach and weight behind each hit. |
Long swords | The middle option, and the class Peregrini Aurorae belongs to. |
Great swords | The heaviest class. Slower to swing, with the trade-off pushed toward damage and reach. |
Axes | Confirmed as pickups found in the world rather than a starting option. |
Other weapons | The studio has said further weapon types can be picked up along the way, and singled out a pickaxe as one of them. The full list has not been published. |
Weapon classes differ in weight and attack speed within the same directional combat system. There are no bows or crossbows. Equipped melee weapons and Swordmastery can be used during both day and night; vampiric claws provide an additional nighttime weapon option.
Armour includes light, medium and heavy types. Coen can equip medium or heavy armour without full proficiency, but penalties apply until the corresponding Second Skin perk is improved. Second Skin I covers medium armour and Second Skin II covers heavy armour. There are no helmets, keeping Coen's face visible.

Magical rings, amulets, and talismans are part of the equipment system. These items have rarity indicators, suggesting a loot quality tier system. Cosmetic outfits are also available, though there is currently no transmog system (the developers have said they are "considering" it).
In the shipped game Coen wears one amulet and two rings at a time, according to one guide, so the accessory slots are the tightest part of a build.
Crafting focuses on consumables rather than weapons or armor. The system is alchemy-based. Players create tinctures and concoctions that are useful both in and out of combat. Recipes are items in their own right: medics sell them alongside ready-made healing consumables, and one walkthrough counts four medics in the valley, one of them Anca. The rarest ingredients come from monsters, and a tatzelwurm's gland is reported as a legendary one.
The currency of Vale Sangora is the denarius, referred to in the plural as denarii. Two achievements confirm both how it is earned and roughly what scale the economy runs at: one for earning 1,000 denarii by selling silver, and one for accumulating 5,000 denarii.
Selling silver being called out specifically fits the valley's economy. The silver mines are why people settled the valley and why Svartrau grew wealthy, so silver is the obvious trade good for a miner's son to move. Merchant access is not constant, though: at night the traders close up, and a high infamy can restrict who will deal with Coen at all.
Coverage of the shipped game adds two complications to that. Silver is contraband, so an ordinary trader will not take it: one dealer in the capital has to be unlocked through a side quest before the silver in Coen's inventory can be sold at all. And prices move with standing. As infamy rises, the cost of goods across the valley rises with it, which makes the Notoriety System an economic pressure as well as a combat one.
One guide adds that the same trader also opens up once infamy reaches its fourth rank, Notorious, and walkthroughs report legendary swords and rings among his stock. Silver itself turns up in the old mine caverns of Laslea Glen, in buried caches, and in the boyars' transports and guard camps.
Four Witchcraft abilities are taught by Anca at the end of the prologue; the rest are unlocked by manuals found in ruins, haunted sites and bookcases, or bought from other practitioners of magic. Finding a manual is not the whole cost: skill points and time at a shrine are still needed to learn or raise the ability. This ties magical progression to both exploration (finding the manual) and character development (spending the points).
Weapon techniques are not bought with points alone. Books found out in the world, sold by fencers, or taken from soldier and bandit camps gate which techniques can be bought at all. The manual makes the technique available; the skill points and the slice of in-game time are still paid at a shrine. That makes searching ruins, libraries and abandoned houses a route to build progress rather than only to loot. Passive perks bought through the Skill Trees then support whichever approach the player is building toward, whether that is defence and counterattacks or mobility and constant pressure.
In the shipped game those books are inventory items in their own right, and they are not a one-off purchase per technique. Coverage of the released version reports that a second and third copy of the same manual is what raises an ability past its first level, which is why the same title turns up in several camps and on several vendors. The same structure applies to the manuals that unlock Hex Magic abilities.
Equipment rarity is colour-coded, running through blue and purple to orange for legendary pieces. Every weapon of blue rarity or above carries a weapon art, a special move on its own cooldown that does not draw on the charge pool. The bracers Coen wears at night carry the same thing for his vampiric form, called claw arts, so the rarity tier of a bracer matters as much as the tier of a sword.
Two full equipment presets can be saved and swapped at will. Most players keep one built for daylight swordplay and one built for the night form, since the passive bonuses attached to each set pull in different directions.
Item | Notes |
|---|---|
Durandal | A legendary longsword recovered in The Cursed Chasm, at the broken bridge in the north-west of the Briar Sloughs. The game's own item text says it is named after Roland's sword, or may be the real thing. |
Imbued Sword of St. Mihai | The legendary greatsword at the end of the Forge It Anew chain, restored from the Broken Sword of St. Mihai and three shards. Reforged but not yet tempered, it is the Restored Sword of St. Mihai. Finishing it unlocks Arbiter's Blade. |
Sangoran Wayfarer's Armour Set | The pre-order armour, obtainable in normal play fairly early for anyone who bought the game later. |
Arbiter Armour Set | Crafted by the uriashi blacksmith at the end of A Bulwark Against Darkness. Gathering and fully upgrading all its parts unlocks Arbiter's Regalia. |
The Vrakhir | A legendary greatsword found in a crypt during Lacra's The Night of Horrors (reported). |
Gladius | A legendary shortsword from a hidden lair on Mount Balaur, reached during The Beast of Balaur (reported). |
Isbrand's Plate | A legendary chestpiece found during Lacra's Hive and Seek. |
Ring of Quick Strikes | A legendary ring behind a locked door in the Rockfalls ruins of The Highland Grave. |
More legendary pieces, with where each is found, are gathered on Legendary Equipment. Filling every slot with legendary items is a goal of its own: the hidden achievement Gear of the Gods is reported to require exactly that.
Two pieces of equipment are described in launch coverage as the end points of long quest chains rather than as loot, and both are covered by two independent accounts.
The sword of Saint Mihai starts as a broken blade recovered from a boss fight under the cathedral, reached through Night Terrors or, once infamy reaches its fourth rank, through a letter that leads to A Dubious Gift; either route ends in A Monk and a Saint (an early guide instead tied it to Anca's questline). Three shards of it are scattered across the map, tied to kobold dens. A blacksmith of the Uriashi in the north-west combines each shard into the broken sword, making it stronger with every one, and then sends Coen to a shrine for a fight against a collective of spirits. Interacting with the altar afterwards imbues the finished greatsword, which is reported to have unusually high damage against supernatural enemies, a raised critical rate, and a weapon art built around spinning strikes that knock nearby enemies down.
One walkthrough puts the full chain at 14 time segments: nine for the shards, two for the hilt and three for the final ritual. Restoring the sword unlocks the achievement Arbiter's Blade.
The Arbiter armour set is crafted rather than found. A smuggler's letter, reached either by reputation or by chance in the capital, lists four components scattered around the valley: a bundle of silk threads, a relic of a saint, a flask of quicksilver and the moult of a large lizard. A blacksmith assembles them, and a ritual closes the quest. One of the four can be picked up for free during one of the Sanzhana encounters rather than bought.
Gathering every part and bringing the set to its full potential carries the achievement Arbiter's Regalia. The blacksmith crafts the Epic Arbiter pieces, then the wolf-and-bear challenge produces the Enhanced Legendary set. The pieces can be worn individually or together.
Blacksmiths matter beyond those two chains. Coverage of the released game reports one in most settlements, and reports that any of them will upgrade a weapon to keep pace with Coen's level, without which a good sword falls behind as he grows.
Rank | Penalty reduction | Skill point cost | Time cost |
|---|---|---|---|
1 | 33% | 1 | 1 segment |
2 | 66% | 1 | 1 segment |
3 | 100%, removing the penalty | 2 | 1 segment |
The same rank costs apply to Second Skin I and Second Skin II. Each takes a total of 4 skill points and 3 time segments to complete. Invest in Vigour to open Second Skin I, then obtain and read the required manual before purchasing its ranks. Armourers and Swordmastery teachers may stock Second Skin manuals, and military camps can also provide them; stock and drops vary.
From Update 1.1 on Steam, the same item can be equipped in both day and night presets at once. Merchants offer Buyback, equipped goods are hidden from the selling list, and item upgrade costs have been rebalanced, particularly at higher levels. Console rollout dates for these changes remain unconfirmed.
Merchants covers vendor services, Silver Trader access and trade-good sales.
Obtain and read an item's recipe before attempting to craft it. Picking up the finished item does not unlock its recipe. Once the recipe and materials are available, open the menu's Crafting tab and select the desired item.
Weapons: Compare sword classes and named weapons, with links to the legendary acquisition routes.
Set and piece | Slot and weight class | Useful bonuses |
|---|---|---|
Breastplate of the Sangoran Wayfarer | Heavy chestpiece | Claw damage, damage against mortals and blood-drinking restoration. |
Chausses of the Sangoran Wayfarer | Medium trousers | Witchcraft damage and charge restoration from blocks and Perfect Blocks. |
Boots of the Sangoran Wayfarer | Heavy boots | Human health, weapon damage and damage against supernatural enemies. |
Enhanced Armour of the Arbiter | Heavy chestpiece | Weapon, claw and Witchcraft damage, with charge restoration from actions. |
Enhanced Bracers of the Arbiter | Heavy bracers | Vampiric health and restoration, blood-drinking restoration and weapon damage. |
Enhanced Shin Guards of the Arbiter | Heavy trousers | Witchcraft cooldown and several sources of charge restoration. |
Enhanced Boots of the Arbiter | Heavy boots | Magical damage reduction, human health and stamina. |
The Wayfarer pieces are Epic equipment. The Arbiter pieces begin as Epic equipment and become the Enhanced Legendary versions through the challenge in A Bulwark Against Darkness. Medium and heavy penalties still depend on the corresponding Second Skin proficiency; an early unlock does not remove those penalties.