

This article is a stub
It lacks sufficient information and needs to be expanded. You can help by adding more content.
The Control Zone moves on its own, and the Hot Zone inside it moves faster. Towers and drills are how a team stops waiting for that movement and starts steering it. Between them they are the clearest example of WARDOGS letting construction change the shape of the match rather than just the shape of a firefight.
A note on sourcing before the detail. The developers have named the towers themselves, publishing a clip titled around an attack on Tower 4, and press coverage of the game lists drilling rigs among the structures a team can build. The step by step mechanics below are documented by players from the launch build rather than published by the studio, and are presented on that basis.
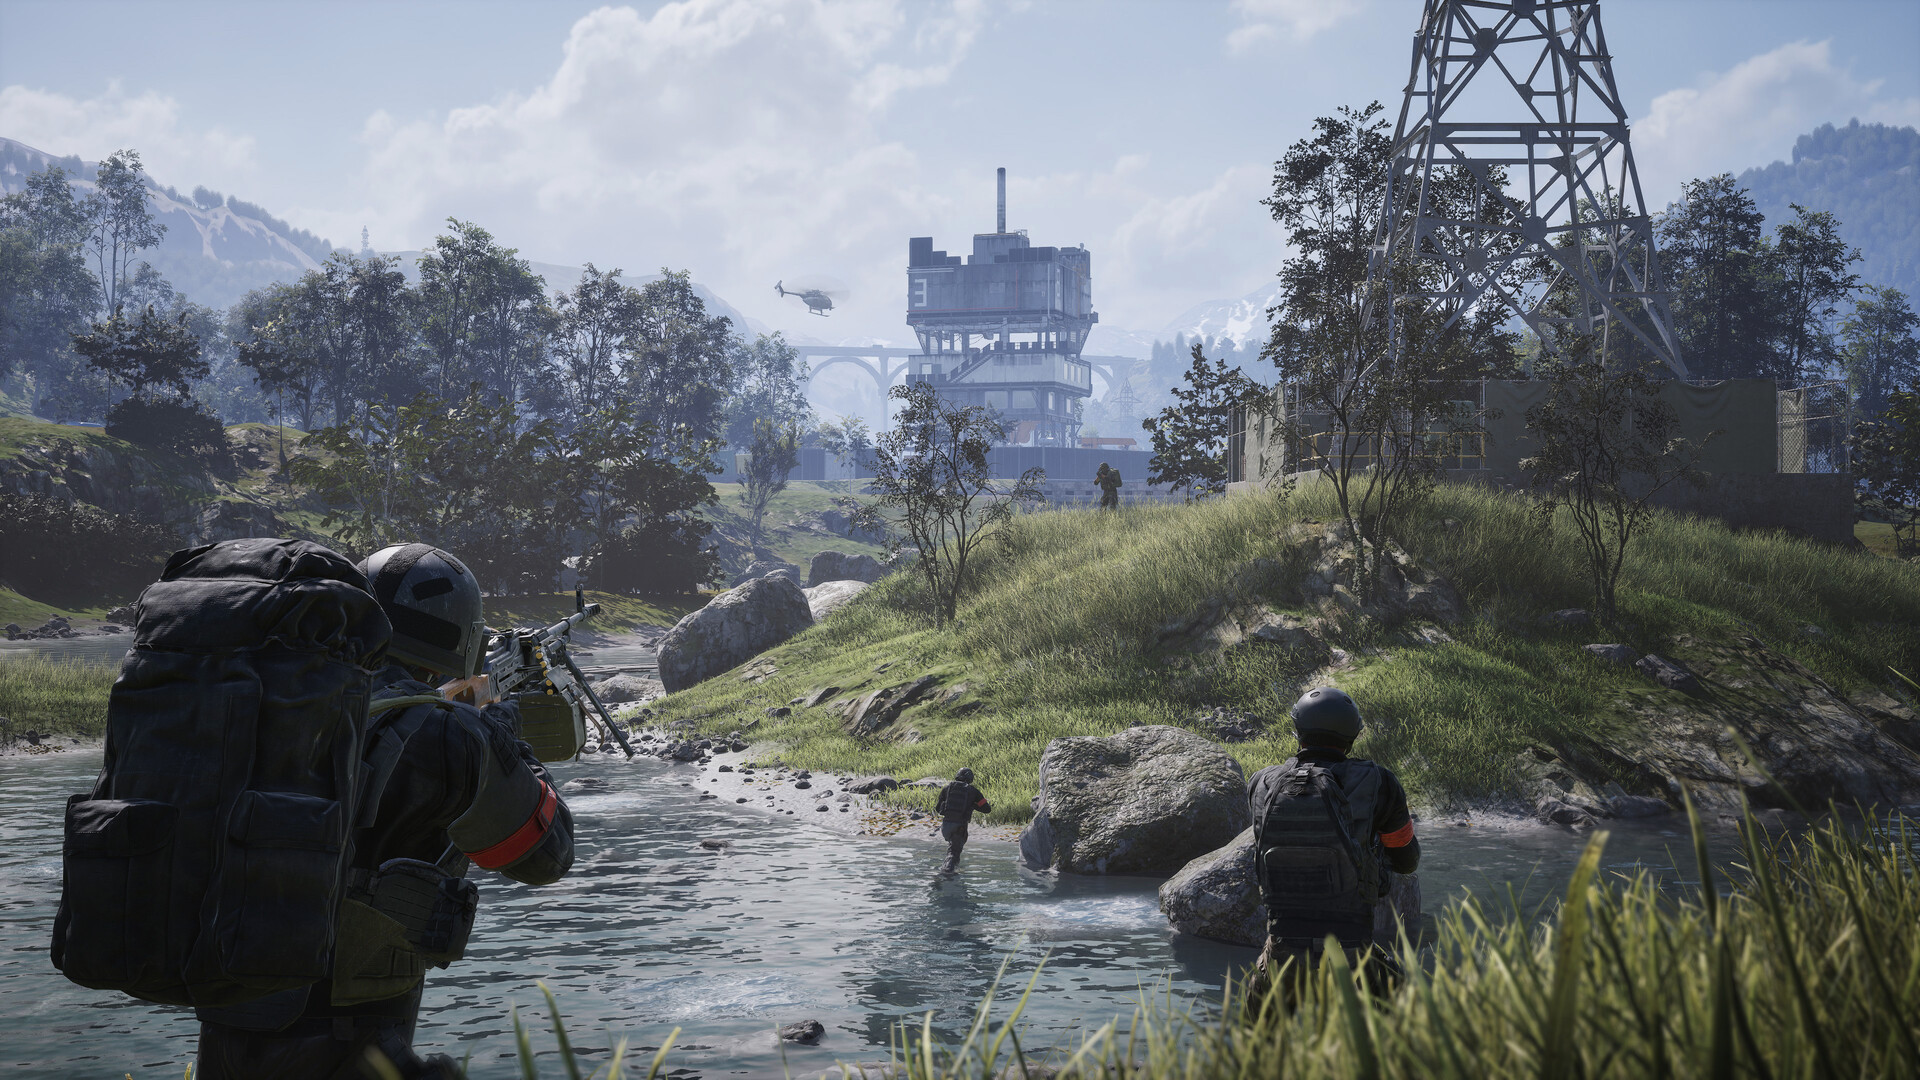
Towers
Each map carries a small number of towers, which players report as roughly three or four per map. They are fixed positions on the terrain rather than anything a team builds, and they are capturable in the same way ground is.
Capturing a tower does two things. It gives the capturing team control of that tower, and it reveals one digit of a four digit code. The code is only useful whole, so a team that wants it has to take every tower on the map, not simply the one nearest to them. That turns the towers into a second front running underneath the main fight for the zone, and it is a large part of why teams put a forward operating base at a tower in the first place.
The Tower Drill
With all four digits revealed, a player enters the code at the tower's keypad and activates the drill built into it. From that point the drill begins pulling the Hot Zone toward the tower.
The pull is not free and it is not permanent. It runs on fuel, supplied from a forward operating base at the tower, so a team that activates a drill has committed to holding and resupplying that position. The Hot Zone moves toward the tower and stays there for as long as the base has fuel to power the drill. If the base is destroyed or the fuel runs out, the Hot Zone returns to moving around the map on its own.
The Buildable Drill
A team does not have to hold every tower to get a drill. The drill rig is also a buildable structure, available through the Large Hammer, and players describe it as working the same way as the tower drill and consuming fuel in the same way. What it costs instead is construction: it takes a lot of supplies and it builds slowly.
Aspect | Tower drill | Buildable drill rig |
|---|---|---|
How it is obtained | Capture every tower and enter the four digit code | Built on site with the Large Hammer |
Main cost | Taking and holding towers across the whole map | Building supplies and build time |
Running cost | Fuel, supplied from a nearby forward operating base | Fuel, supplied the same way |
Effect | Pulls the Hot Zone toward the tower | Pulls the Hot Zone toward the base |
Ends when | The base is destroyed or the fuel runs out | The base is destroyed or the fuel runs out |
Cooldowns and Why Teams Run Both
Players report that the drill cooldown is shared across drills rather than tracked per structure, so a team cannot chain one drill straight into another. That is the practical argument for building a drill rig even after capturing the towers: with both available, a team can keep drawing the Hot Zone toward its own ground while one of the two is cooling down.
Why It Is Worth Doing
The Hot Zone is where the match pays. Players inside it count double toward their team's presence in the zone and earn double cash, so a team that can decide where it sits has taken control of both the scoreboard and the cash economy at once. A base with a working drill is not a defensive position: it is a position that drags the most valuable fighting on the map toward guns that are already set up and pointing the right way.
That also makes it a target. A drilling base announces itself by moving the Hot Zone, and the fastest way for a rival team to stop the pull is to destroy the base powering it. Building and defending them is covered under Fortifications and Structures and Base Building and Destruction.