

The Opening
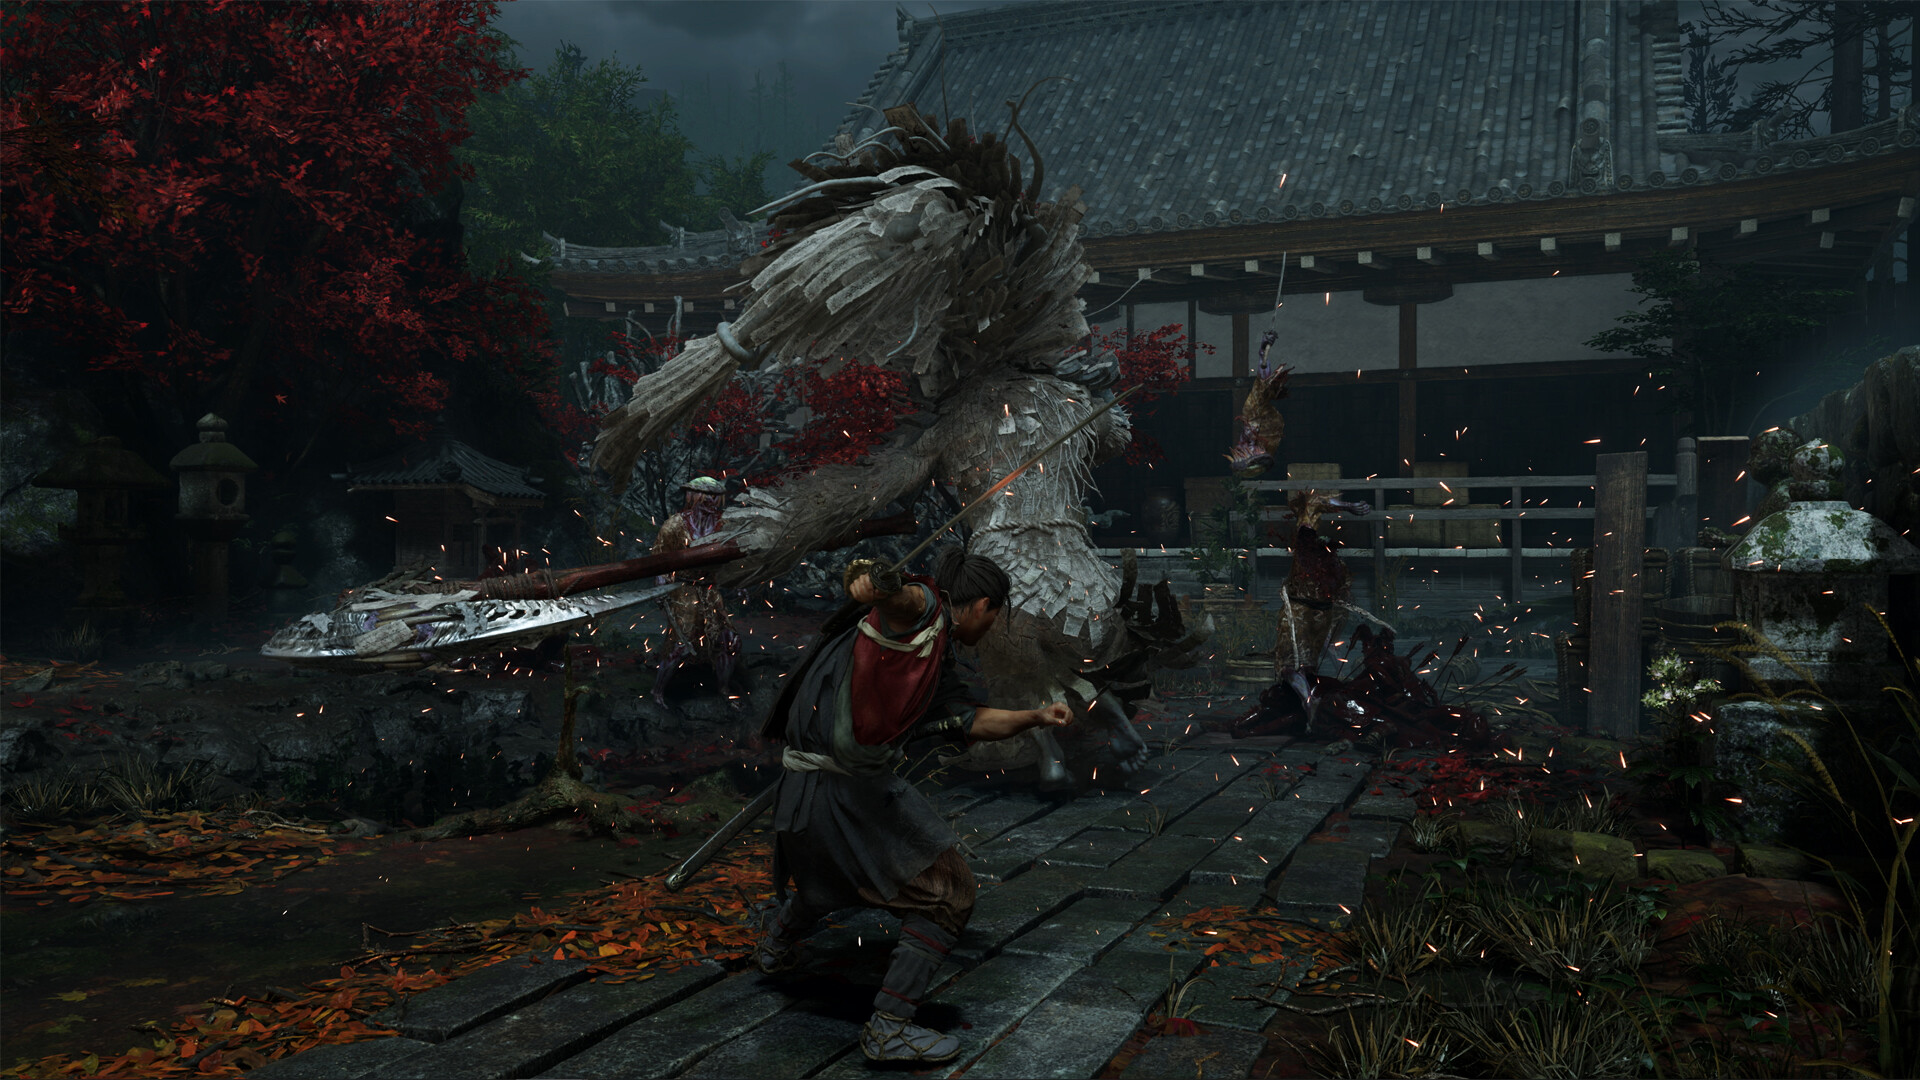
The game opens with Musashi Miyamoto arriving in Edo-era Kyoto and being ambushed by Genma. On the verge of death, he is gifted the Oni Gauntlet, which is the item that frames every combat system in the game.
Choosing a Difficulty
At New Game you choose between two difficulty levels: Story (Storyline Focus), recommended for players new to action games, and Action (Combat Focus), aimed at experienced players. You can change your choice at any time from a Spirit Mirror menu, and if you are defeated enough times on Action, the retry screen offers to drop you down to Story.
Control Layouts
Two control layouts are available from the start. The Defensive Layout splits offensive and defensive buttons between left and right, which makes it easier to play cautiously while fighting. The Aggressive Layout groups most of the action-related buttons to the right for faster, more responsive input. Either can be switched from the settings menu, and Nintendo Switch 2 additionally supports Joy-Con 2 motion controls for attacks and for aiming the bow.
The Core Combat Loop
The moment-to-moment loop stays consistent from the opening fight onward: read an incoming attack and answer it with a block, a timed parry, or a dodge, chip away at the enemy's stamina with strikes and defensive reads, then finish the exhausted enemy with a Break Issen once its stamina is fully drained. Absorb the souls that spill out, spend red souls and materials on equipment and skill enhancement at a Spirit Mirror, and carry the upgraded kit into the next fight. Everything else in this guide builds on that same cycle.
Saving Your Progress
Progress saves automatically at certain points and the autosave slot cannot be disabled. You also have 20 manual save slots, usable from a Spirit Mirror regardless of difficulty level; saved data cannot be copied between slots.
The Retry Screen
Losing a boss fight brings up a retry screen rather than dropping you straight back to the title. From here you can restart the fight from the beginning, retry after enhancing your equipment or skills, retry after changing items or replenishing your inventory from the storehouse, equip a different Hozuki Pouch, or load your most recent save. On Action difficulty, enough defeats in a row also add the option to drop down to Story.
Healing With Hozuki Pouches
Hozuki are the game's healing consumable, carried in a Hozuki Pouch with limited capacity. You find them throughout Kyoto, and any you can't carry go to the storehouse until you next reach a Spirit Mirror. Only one pouch is equipped at a time, but Izumo No Okuni can swap it for another and enhance a pouch's capacity and restorative power with the right materials; pouches can also be swapped directly at a Spirit Mirror.
The Johari Shard
The Johari Shard is a valuable that guides you to locations across Eastern Kyoto. Hold both triggers while exploring to shine a light toward your destination. It isn't carried on your person and is never consumed by use. You receive it at a certain point in the story.
The Practice Ground
The Practice Ground belongs to Ono No Takamura. Ring the bell at Rokudo-chinnoji Temple or use a Spirit Mirror to travel there. It offers Drills that hone techniques you've learned, with new drills added as you unlock abilities, and Boss Rematches against any boss you've already defeated, with adjustable difficulty and raised boss stats. Items can't be used during rematches, aside from Hozuki.
Try the Demo First
Before committing to the full game, you can play a free demo, released in June 2026 on PlayStation 5, Xbox Series X|S, and PC via Steam and the Epic Games Store, joined by a Nintendo Switch 2 version on 25 August 2026. It runs about thirty minutes, drops you into the Kiyomizu-dera Temple area, and ends with a boss fight against Sasaki Ganryu. It is the cleanest way to feel out the parry timing and the soul economy before launch. Your demo progress does not carry into the full game, but saving a demo session unlocks a charm, Kubi Akari, in the full release, so it is worth playing through to the end at least once.
The demo proved popular, passing one million downloads within days of release. Some players found it easy, and the producer responded directly: the demo intentionally equips Musashi Miyamoto with some late-game skills so newcomers can try a wide range of actions, which softened the challenge. In the full game the bosses and the regular Genma are set to put up a tougher fight, so treat the demo as a feel-test for the parry timing and the soul economy rather than a measure of the final difficulty.
The Demo Was Expanded
The free demo is no longer the short slice it launched as. An update extended it past the duel with Sasaki Ganryu that originally closed it, adding a quest through the Oni Refuge that ends in a boss fight, which is the fight against Daidara. Anyone who already had the demo installed only needed to update it.
Two things are worth knowing before starting. Demo progress does not continue into the full game, so there is no benefit to grinding it. What does carry across is a reward for keeping the save: players who hold on to their demo save data can claim a Kubi Akari charm in the full release, claimed in-game through the Spirit Mirror once that system unlocks.
Three Souls, Three Uses
The first thing to internalise is the soul system. Every defeated enemy drops colour-coded souls that the gauntlet absorbs:
Yellow souls top up Musashi's health.
Red souls are spent on upgrades.
Blue souls charge the Oni Armaments, special weapons that deal burst damage.
Orbs drop physically into the arena and disappear if they are ignored for too long. Nearby Genma can also pick them up and turn them against Musashi, so collecting is a small race rather than an optional cleanup.
Learn the Four-Tier Parry Toolkit Early
Combat is reactive. The defensive options sit in a clear rock-paper-scissors hierarchy that is worth internalising in the first couple of fights:
Hold to block is the safety net, but it bleeds posture and should not be the default.
Timed parry drains enemy stamina faster than a held block and costs almost no posture.
Deflect (block plus attack button) sends arrows back at archers and redirects heavier enemies into the environment.
Issen is the series' perfect-frame counter. High risk, but it ends incoming attacks cleanly and opens an immediate strike window.
Break Stamina, Execute
Strikes and parries both chip away at an enemy's stamina. A fully stamina-broken regular Genma is open to Break Issen, an instant execution. On bosses, the body-part targeting variant replaces the instant-kill and lets the player pick red zones for damage or purple zones for extra souls.
Chase the Buff Meters
Three flawless dodges in a row fills a red meter that unlocks a multi-hit follow-up and boosts soul absorption briefly. Consecutive parries fill a blue meter that ignites Musashi's katana with a blue aura, speeding up executions and raising damage for a window. Keeping one or both meters active during boss fights is one of the cleanest ways to spike Musashi's damage output.
Use Oni Armaments on Bosses
Oni Armaments run on blue souls and are powerful enough to chew through large portions of a boss health bar. Saving blue souls for boss encounters or for tough enemy groups is usually a better call than spending them on regular trash.
Turn on Oni Vision in Confusing Areas
The Oni Gauntlet's Oni Vision highlights demonic presences and hidden enemies. In corrupted areas, turning it on before committing to a room is a safe way to avoid surprise ambushes.
Beyond the public Kiyomizu-dera demo, Capcom has shown a separate hands-on demo section to press: a Genma-overrun village where Musashi recovers three monkey statues from a shrine and ends with a boss fight against Rasho-Gan. That section is not part of the downloadable public demo. On Nintendo Switch 2, the game also offers optional Joy-Con 2 motion controls for sword strikes and for aiming the bow.