Loading...
Loading...
Trio Reactions
May 23, 2026 at 02:35 PM
Removed duplicate in-body wikilinks
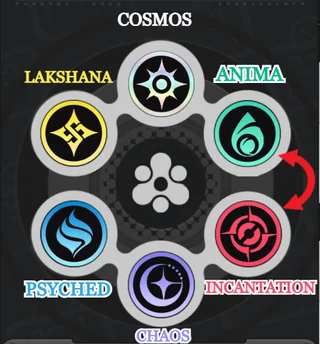
Trio reactions are the most powerful elemental combinations in Neverness to Everness. While duo reactions involve two adjacent elements, trio reactions require three elements to be active on a single target simultaneously. There are exactly two trio reactions in the game: Charge and Discord. Each occupies one half of the elemental ring.
Triggering a trio reaction is more demanding than a duo reaction because it requires coordinating three different element users and maintaining multiple elemental statuses at the same time. The payoff is substantial: Charge accelerates ultimate energy generation, while Discord strips away enemy break meters.
Each trio reaction is not triggered by simply applying three elements. Instead, it requires two specific duo reactions to be active on the same target at the same time. The two duo reactions share a common element, forming a chain of three adjacent elements on the elemental ring.
Trio Reaction | Required Duo Reactions | Elements | Shared Element |
|---|---|---|---|
Charge | Blossom + Remora | ||
Discord | Scorch + Nova | Incantation + Chaos + Psyche |
Each trio reaction's three elements form a contiguous arc on the ring. Charge covers one side (Lakshana, Cosmos, Anima) and Discord covers the other (Incantation, Chaos, Psyche). The shared element in each trio is the middle element of that arc.
Charge activates when a Vita Pistil from Blossom (spawned by Cosmos + Anima) hits a target that is already affected by Remora (triggered by Lakshana + Cosmos). The shared element is Cosmos, which participates in both Blossom and Remora. The team needs at least one character of each element: Cosmos, Anima, and Lakshana.
When Charge activates, the active character receives 10 additional Ultimate Energy per Vita Pistil hit on the Remora-marked target. Because Blossom spawns a Vita Bud that releases 5 Vita Pistils and the Pistils explode every 2 seconds, Charge can generate a significant pile of Ultimate Energy in a short burst. This accelerates access to powerful ultimate abilities, which are often the highest-damage tools in a character's kit.
Apply Lakshana and Cosmos to the target to trigger Remora (target is slowed for 5 seconds).
While Remora is still active, apply Cosmos and Anima to the same target to trigger Blossom (Vita Bud spawns and begins releasing Vita Pistils).
Each Vita Pistil hit on the Remora-afflicted target activates Charge, granting the active character 10 additional Ultimate Energy.
Refresh Remora before its 5-second window expires to keep Charge generation rolling. Remora's decay-on-reapply rule means alternating targets is more efficient than refreshing the same one repeatedly.
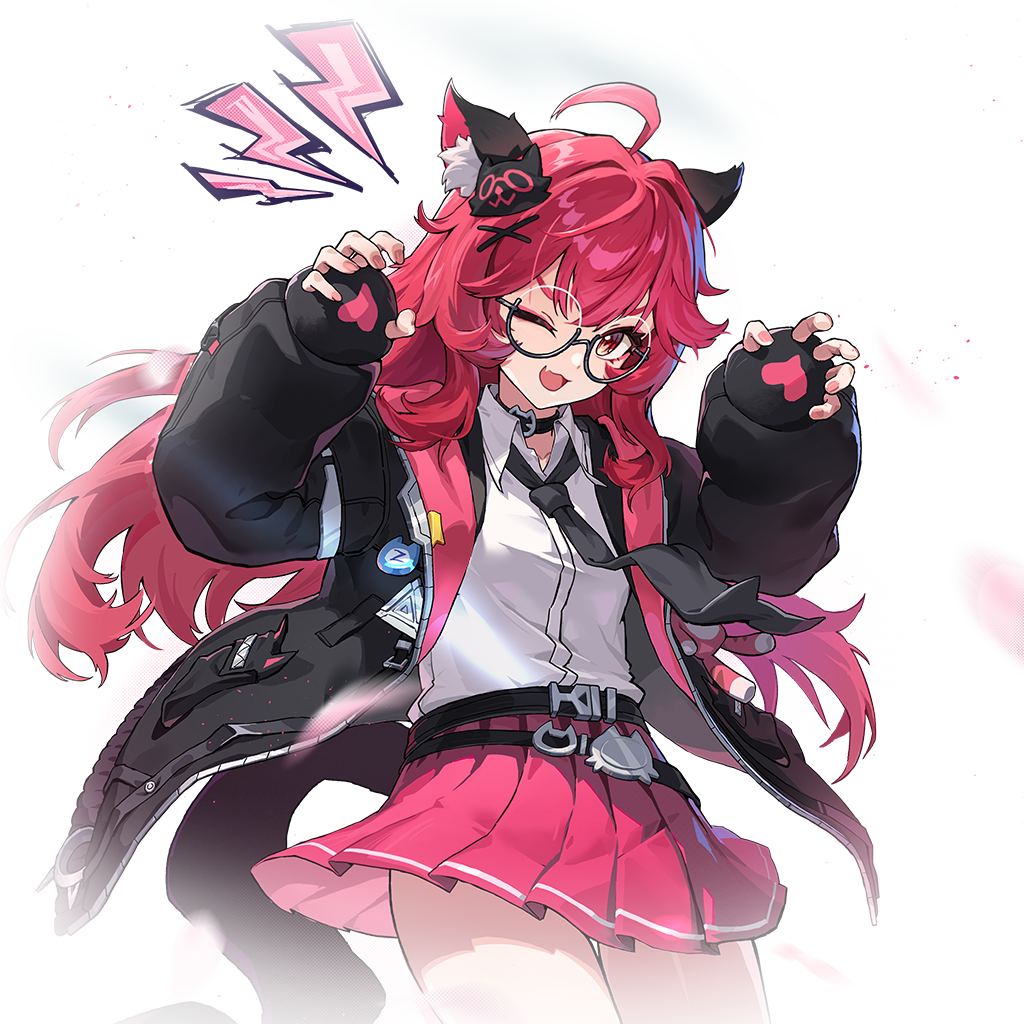
Mint (A-Class, Anima): Esper Cycle Passive 'Transform! Super Mint!' expands each Vita Pistil's damage area, letting a single Pistil hit more enemies clustered around the Remora-marked target. Mint also gains 20% DEF and 30% Interruption resistance while on the field.
Nanally (S-Class, Anima): Esper Cycle Passive 'More Than Passionate' fires 10 Vita Pistils per Vita Bud at 1-second intervals, more than doubling the number of Charge triggers per Blossom.
Hathor (S-Class, Lakshana) provides strong Lakshana element application for triggering Remora. Her 'Delay Warning' passive layers the Excellent Rating Lock debuff on top of Remora-marked targets.
Skia (A-Class, Lakshana) is the budget Lakshana option. 'Suppression' adds heavy damage to enemies attempting to escape Remora restraints, which compounds with Charge's energy gain on the same target.
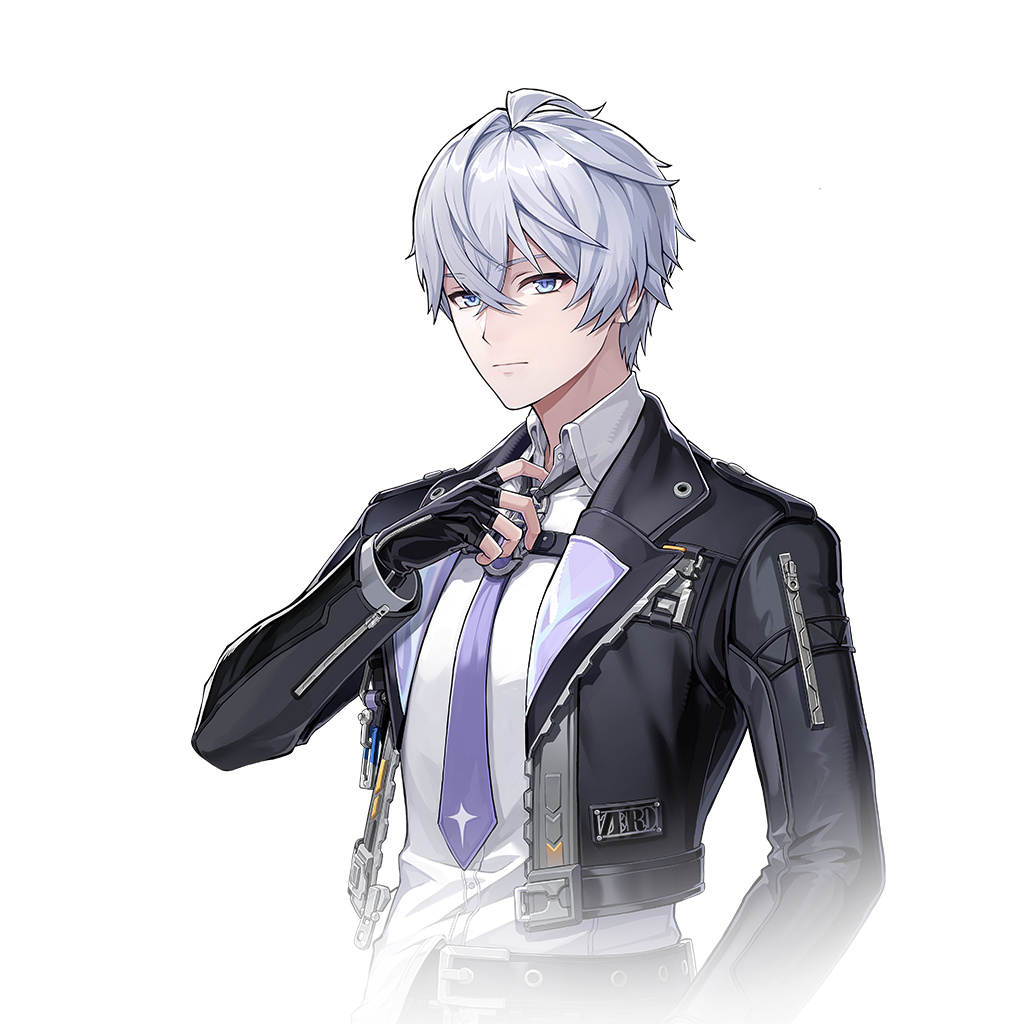
Hotori, Chiz, Esper Zero, and Edgar provide the Cosmos side. Esper Zero and Fadia carry 100 Cycle Rate skills that fill the meter in a single cast, making them efficient at maintaining reaction uptime.
Role | Option 1 | Option 1 Portrait | Option 2 | Option 2 Portrait |
|---|---|---|---|---|
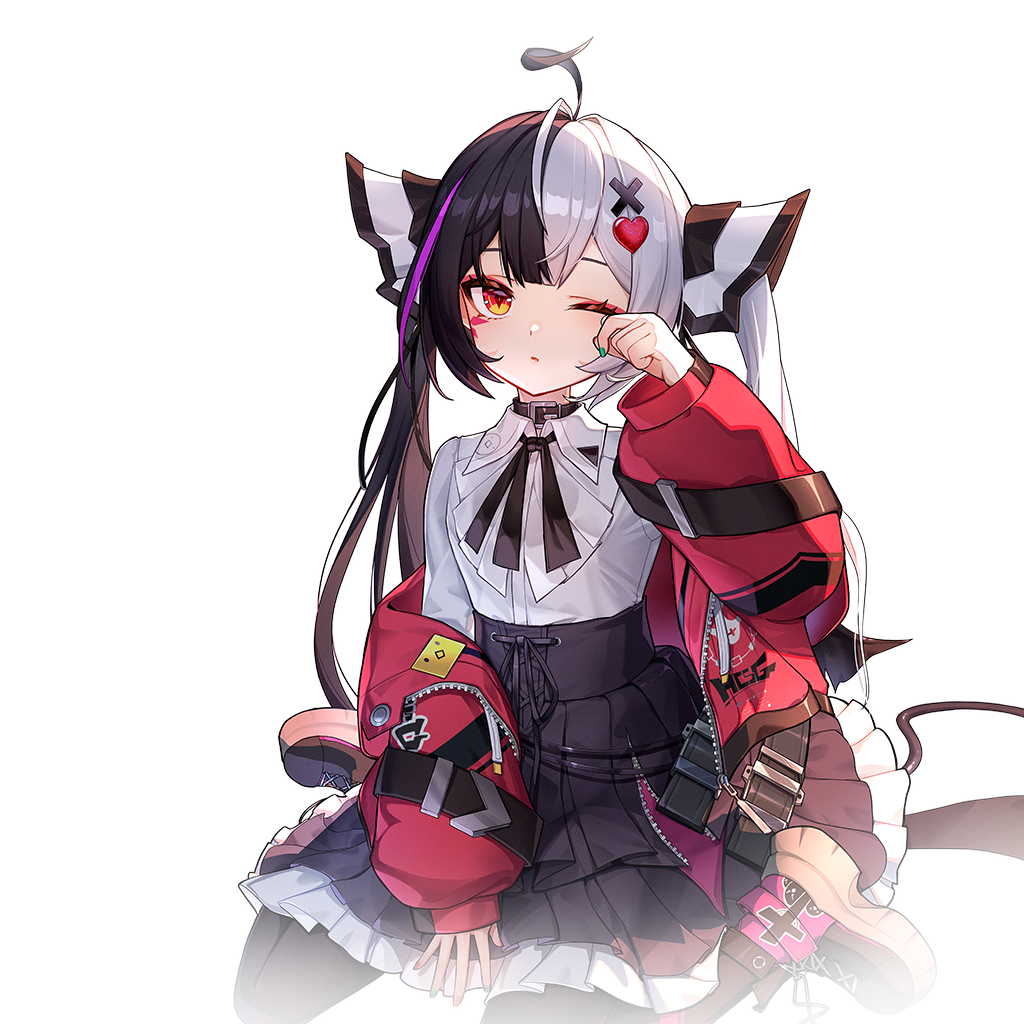
Hotori (S-Class) |
| Esper Zero (S-Class) |
| |
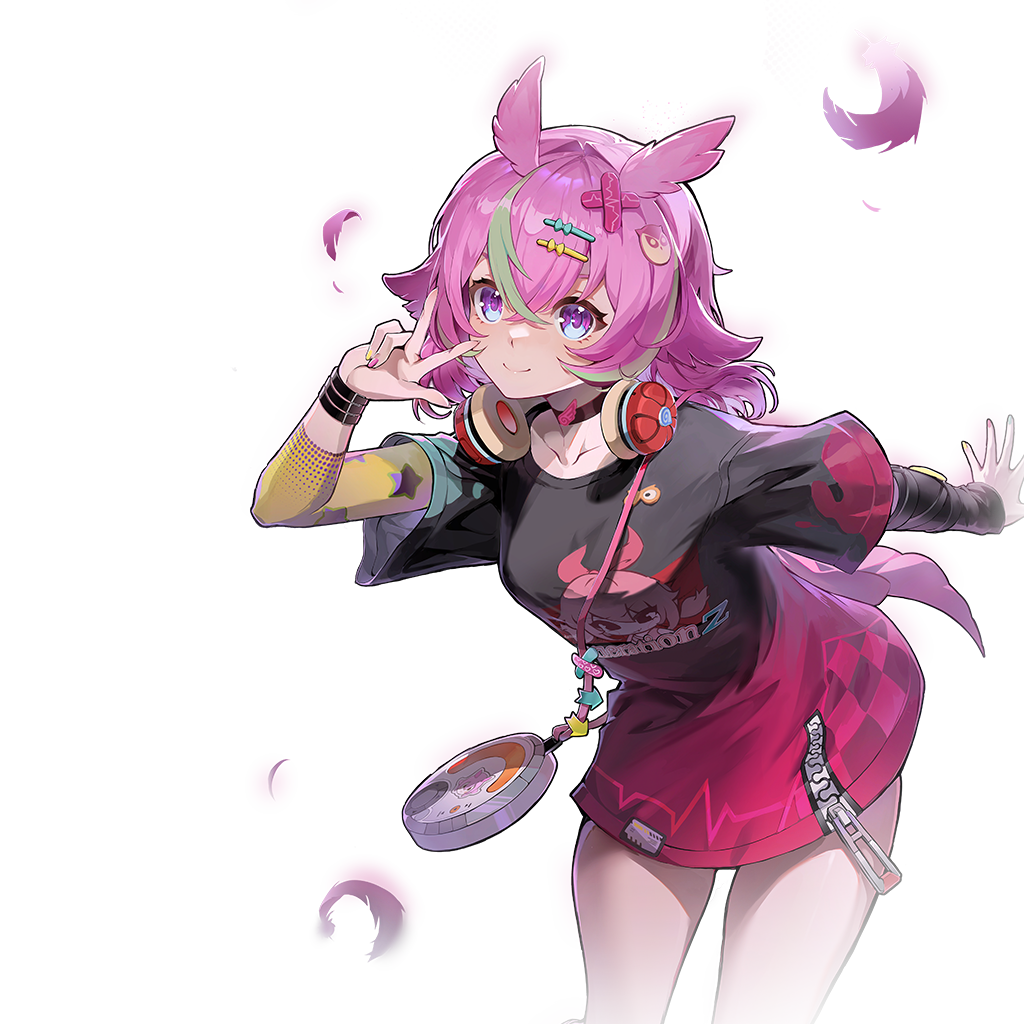
Nanally (S-Class) |
| Mint (A-Class) |
| |
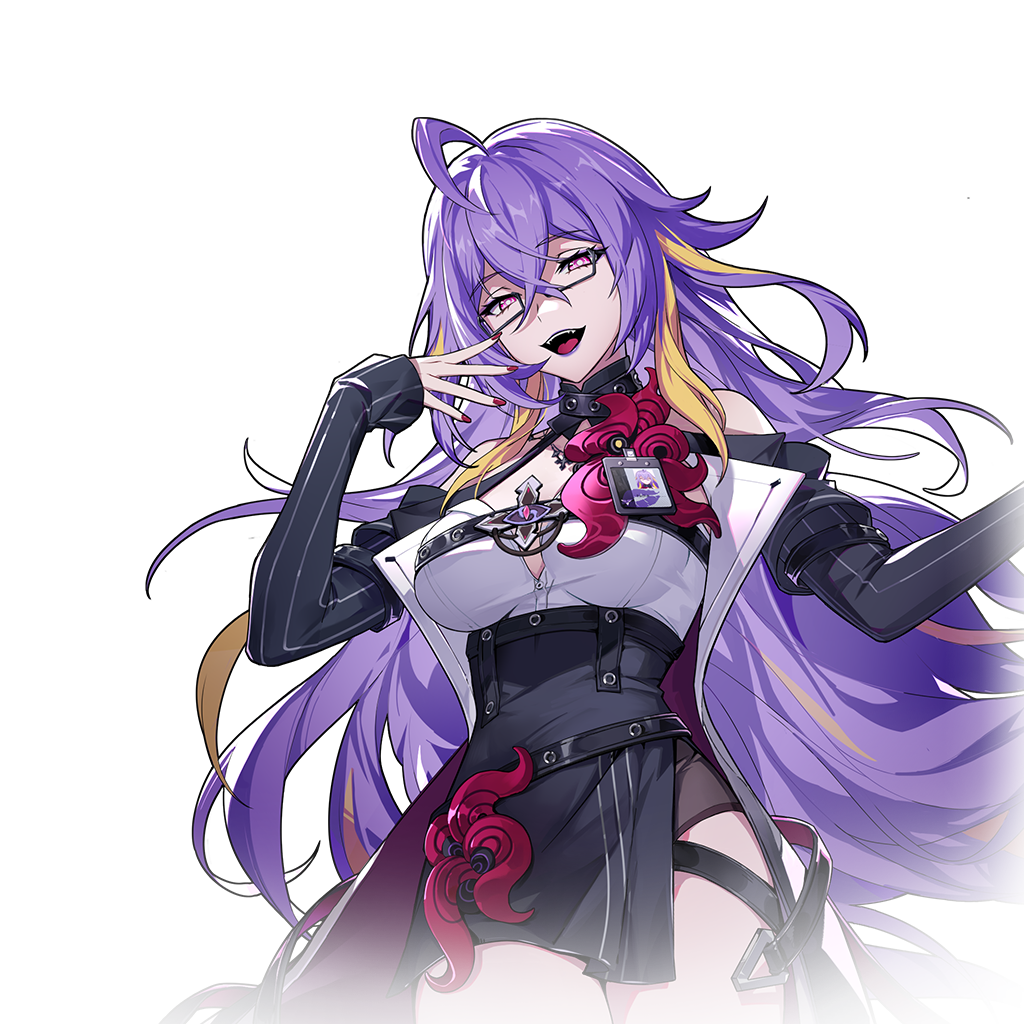
Hathor (S-Class) |
| Skia (A-Class) |
| |
Flex | Any character (healer, shielder, or buffer) | Any character (healer, shielder, or buffer) |
Discord activates when a target is simultaneously under both Scorch (Incantation + Chaos) and Nova (Chaos + Psyche). The shared element is Chaos, which participates in both duo reactions. The team needs at least one Incantation, one Chaos, and one Psyche character.
When Discord triggers, it reduces a percentage of the target's break meter. The break meter (also known as the stagger gauge) determines when an enemy enters a vulnerable stagger state. By chipping away at this meter, Discord pushes enemies toward stagger faster, creating windows for massive burst damage. Discord is especially valuable against boss enemies with large break meters that are otherwise difficult to deplete. Staggering a boss opens them up to full combo damage from all team members, making Discord a key strategic tool in endgame encounters.
Apply Incantation and Chaos to the target to trigger Scorch (15-second DoT begins).
While Scorch is active, apply Chaos and Psyche to the same target to trigger Nova (5-second mark applied).
With both Scorch and Nova active simultaneously, Discord triggers automatically and the target's break meter is reduced.
Timing matters: Scorch lasts 15 seconds and Nova has a 5-second delay before detonation. Apply Scorch first, then trigger Nova within the Scorch window to ensure both are active at the same time.
Lacrimosa (S-Class, Chaos): Esper Cycle Passive 'Tomato Banquet' deals additional damage equal to 400% of ATK to the target when Discord triggers, if the target is already Broken. Lacrimosa is the centerpiece Chaos pick for any Discord-focused team.
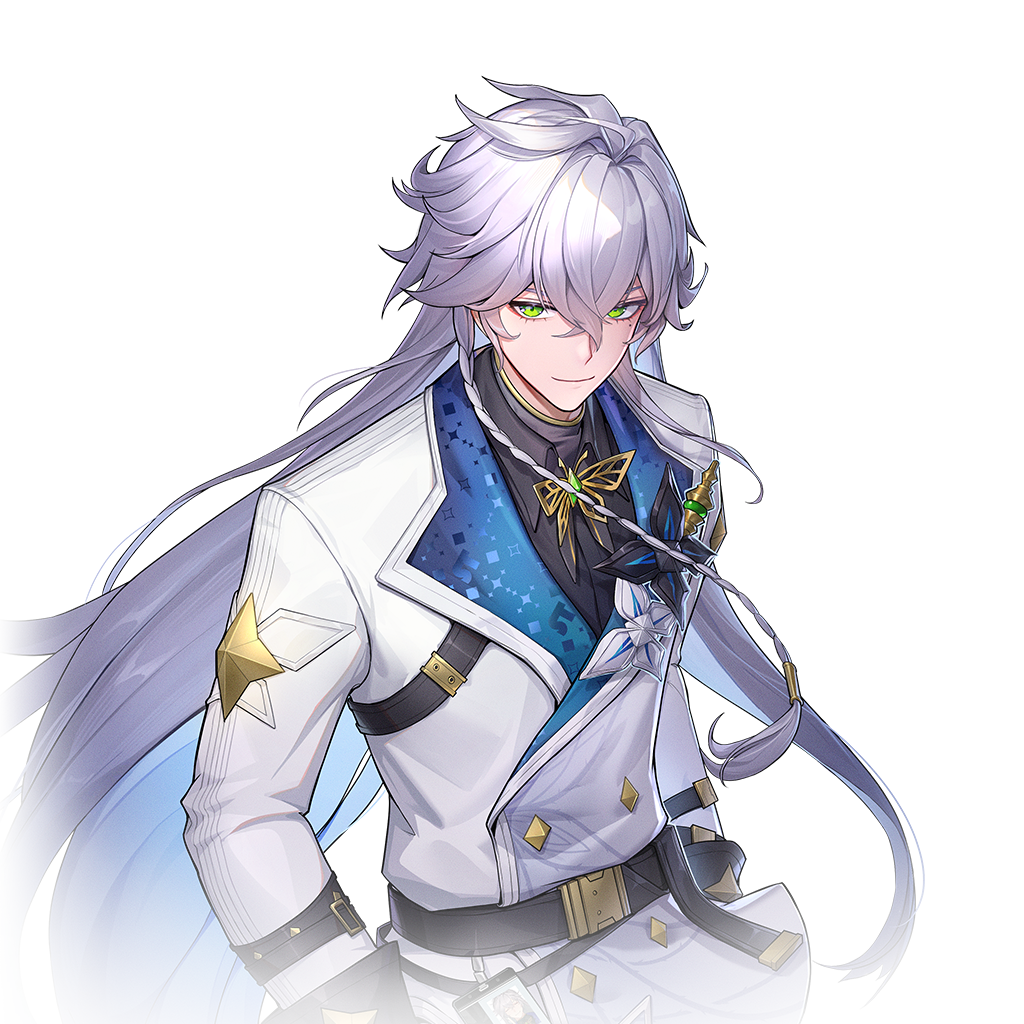
Sakiri (S-Class, Incantation): Esper Cycle Passive 'Can I Eat This?' increases DoT taken by the target by 25% per type of DoT effect while in Scorch state, up to 100%. Stacked with Scorch's own 15-second DoT, this is one of the largest single-passive amplification windows in the launch roster.
Baicang (S-Class, Incantation) is the alternative Incantation 5-star, useful for teams that want a primary DPS in the Incantation slot rather than a debuffer.
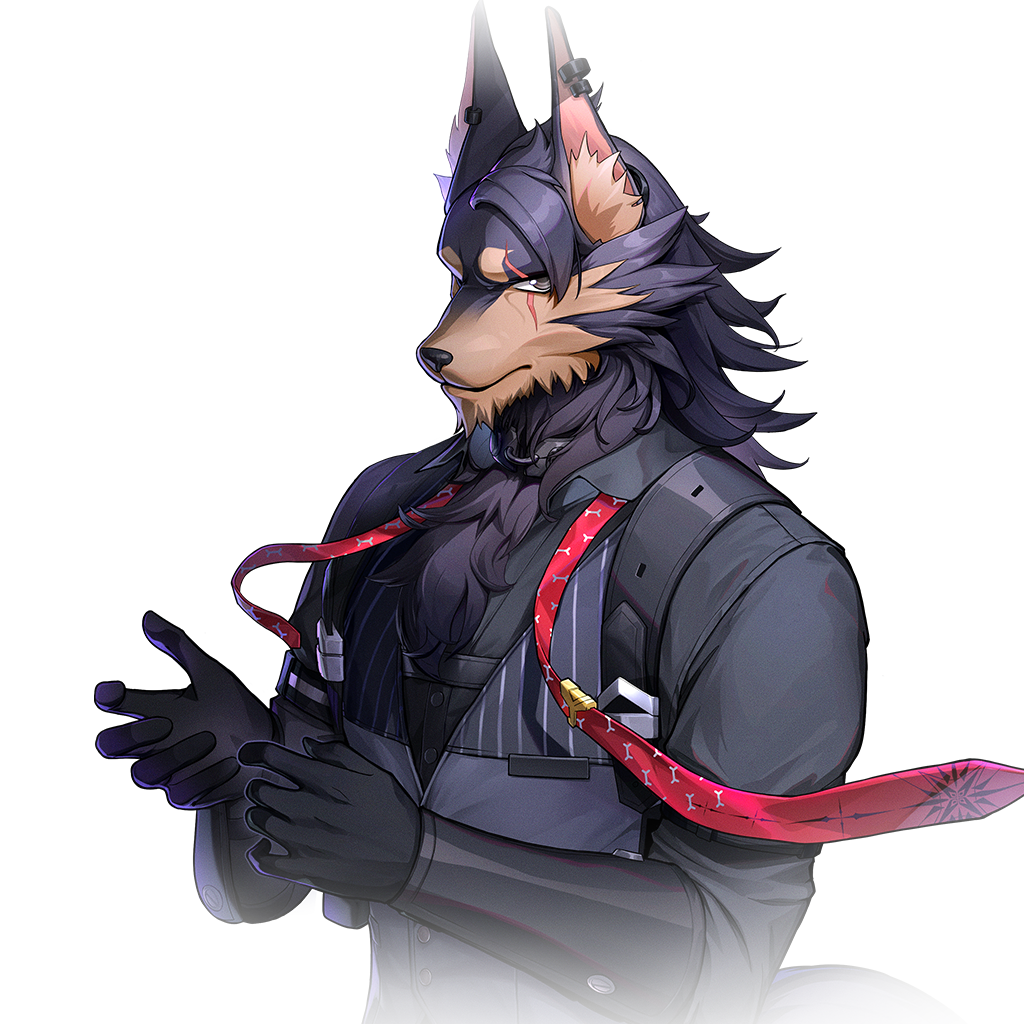
Fadia (S-Class, Psyche) provides the Psyche element while serving as a tank with damage redirection. Her survivability lets the team sustain longer fights while Scorch and Nova overlap.
Haniel (A-Class, Psyche) is the budget Psyche option, available free at launch through pre-registration.
Daffodil (S-Class, Chaos) covers the Chaos slot when Lacrimosa is unavailable, though giving up 'Tomato Banquet' costs the team its biggest Discord payoff.
Role | Option 1 | Option 1 Portrait | Option 2 | Option 2 Portrait |
|---|---|---|---|---|
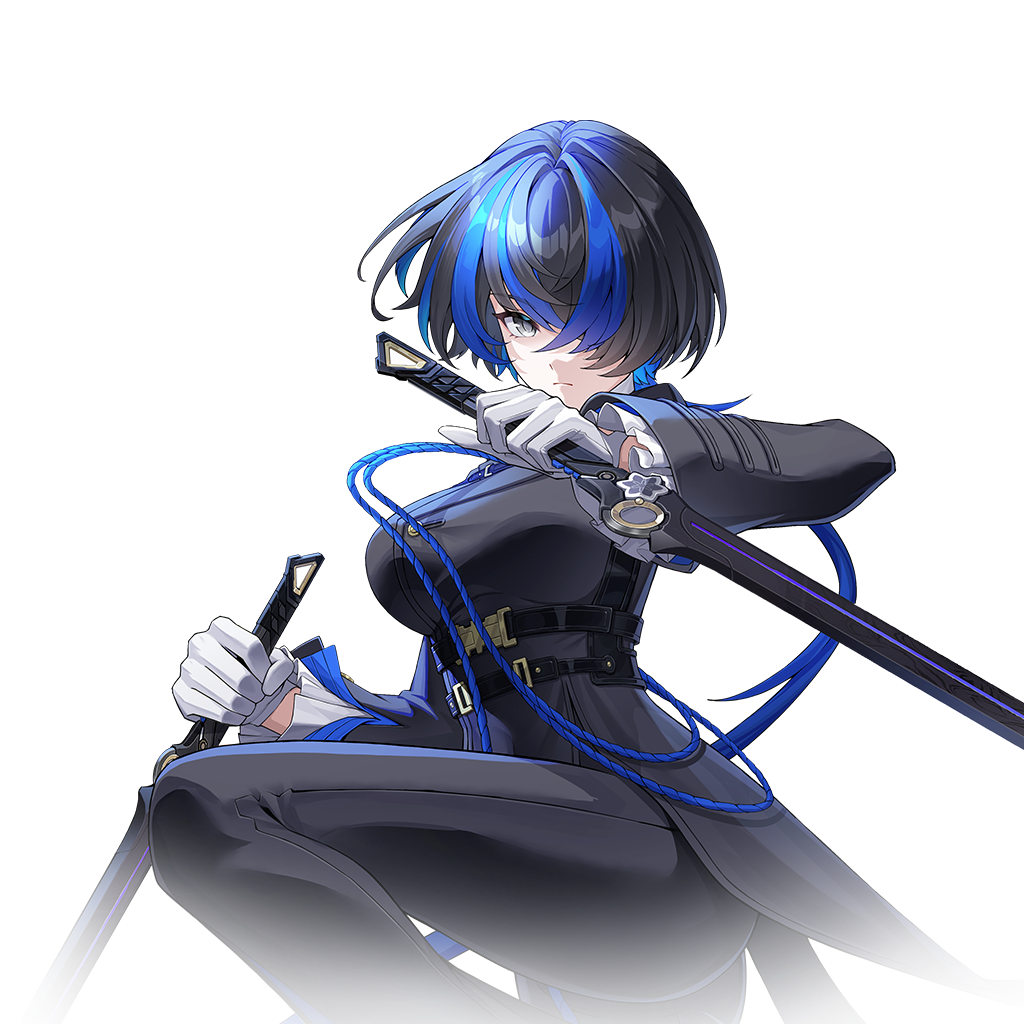
Sakiri (S-Class) |
| Baicang (S-Class) |
| |
Chaos | Lacrimosa (S-Class) |
| Daffodil (S-Class) |
|
Fadia (S-Class) |
| Haniel (A-Class) |
| |
Flex | Any character (healer, shielder, or buffer) | Any character (healer, shielder, or buffer) |
Aspect | Charge | Discord |
|---|---|---|
Elements | Incantation + Chaos + Psyche | |
Prerequisite Duos | Blossom + Remora | Scorch + Nova |
Primary Effect | Ultimate Energy generation (10 per Vita Pistil hit) | Break meter reduction |
Best Against | Prolonged fights where ultimate uptime matters | Bosses with large break meters |
Key Enhancer | Lacrimosa (400% ATK Discord follow-up on Broken target) |
Every trio reaction is built on top of two duo reactions. Duo reactions only trigger between two elements that sit next to each other on the Esper wheel. Non-adjacent element pairs (for example Cosmos and Chaos, or Anima and Psyche) cannot react, which is why a trio always forms a contiguous arc of three adjacent elements rather than any three at random. For the full catalogue of duo effects and timings, see the main elemental reactions page.
Element A | Element B | Duo Reaction |
|---|---|---|
Blossom | ||
Hexed | ||
Chaos | Scorch | |
Chaos | Nova | |
Stain | ||
Remora |
Reading this table around the wheel in order (Cosmos > Anima > Incantation > Chaos > Psyche > Lakshana > back to Cosmos) shows why Charge covers the Lakshana-Cosmos-Anima arc (Remora plus Blossom) while Discord covers the Incantation-Chaos-Psyche arc (Scorch plus Nova). The middle element of each arc is the shared element that lets two duo reactions chain into a trio.
Every character has an Esper Cycle Passive tied to their own element, and these passives remain active while the character is sitting in your four-person squad, even when they are off-field. That behaviour is important for both Charge and Discord: any Esper Cycle passive that enhances a duo reaction keeps working while the character is in the squad, so its contribution rolls into the trio reaction that duo feeds into.
In practice, this means you can stack multiple Esper Cycle passives onto a single trio by slotting characters whose elements participate in that trio's three-element arc. A Charge team that brings both an Anima enhancer (Nanally or Mint) and a Cosmos partner gains both passives for every Blossom turret and Remora application, even while a third character is on-field landing the triggering hits. A Discord team can likewise stack Sakiri's 'Can I Eat This?' DoT scaling and Lacrimosa's 'Tomato Banquet' Broken-target follow-up without needing either of them on-field at the moment Discord resolves.
Start by triggering the longer-lasting duo reaction first. For Discord, apply Scorch (15 seconds) before Nova (5-second mark). This gives you the widest overlap window.
For Charge, trigger Remora first to slow the target, then trigger Blossom. The slow from Remora helps the Vita Pistils land more consistently before the target moves out of range.
Characters with high Cycle Rate stats help maintain the rapid element swapping needed to sustain multiple duo reactions simultaneously. Esper Zero and Fadia carry 100 Cycle Rate skills that fill the meter in a single cast.
The fourth team slot is flexible. Consider bringing a healer, a secondary DPS, or a character whose Esper Cycle Passive complements your trio reaction.
Trio reactions can be combined with other duo reactions in the same fight. For example, a Discord team can also trigger standalone Scorch and Nova reactions as stepping stones to Discord, or sneak Hexed in if an Anima character is in the flex slot.
Refresh Remora before its 5-second window expires to keep Charge generation rolling. The decay-on-reapply rule means alternating targets is more efficient than refreshing the same one repeatedly.
Duo Reactions
Elemental Reactions
Esper Cycle Passive