Overview
The Awakening System is the primary character upgrade path tied to duplicate pulls in Neverness to Everness. It functions similarly to Constellations in Genshin Impact or Resonance Chains in Wuthering Waves, but introduces a standout feature: flexible slot selection. Rather than unlocking awakening ranks in a fixed order, players can choose which rank to activate first and freely swap their selections at any time.
Each character has six individual Awakening ranks (A1 through A6) that unlock unique passive abilities and combat enhancements. On top of those, two Awakening Bonuses activate at the 3-awakening and 6-awakening milestones, providing additional scaling. Awakening is one of the strongest power increases available for any character, and the flexible system ensures that even a single duplicate provides meaningful value.
How Awakening Works
Awakening ranks are unlocked by pulling duplicate copies of a character from the Scarborough Fair gacha banners. Each duplicate copy allows the player to activate one awakening rank. Six total duplicates are required to fully awaken a character from A1 through A6.
Duplicates Pulled | Awakening Ranks Available | Bonus Milestone |
|---|---|---|
1 | 1 rank of your choice (A1-A6) | None |
2 | 2 ranks of your choice | None |
3 | 3 ranks of your choice | Awakening Bonus 1 unlocks |
4 | 4 ranks of your choice | None |
5 | 5 ranks of your choice | None |
6 | All 6 ranks | Awakening Bonus 2 unlocks |
No additional farmable materials are needed beyond the duplicate copies themselves. Awakening is entirely gacha-dependent, which makes it one of the most premium upgrade paths in the game.
Flexible Slot Selection
NTE's flexible slot selection is one of its most player-friendly design choices and sets it apart from nearly every other gacha RPG on the market. In most games, constellations or equivalent upgrades must be unlocked sequentiallyyou are forced to take C1 before C2, C2 before C3, and so on, regardless of which ranks are most useful for your build.
In Neverness to Evernesswhen you obtain your first duplicate, you can choose any of the six awakening ranks (A1 through A6) to activate. You are not locked into A1. If a character's A5 provides a transformative combat bonus while their A1 is situational, you can jump straight to A5 with your very first dupe.
The system is also fully reconfigurable. Players can change their awakening selection at will with no cost or cooldown. If you need more survivability for a difficult boss, you can swap to a defensive awakening. If you need raw damage for a timed challenge, you can switch to an offensive rank. This flexibility means every dupe has maximum value regardless of the content you are facing.
Feature | Description |
|---|---|
Choose any rank first | With your first dupe, pick A1, A2, A3, A4, A5, or A6. |
Swap freely | Change which ranks are active at any time, no cost required. |
Toggle on or off | Deactivate awakenings to revert to a base version of the character if desired. |
No permanent commitment | The system is fully reversible and resets are unlimited. |
Strategic Implications
The flexible system dramatically changes how players approach duplicates. In traditional gacha games, many characters have their power spike at a high constellation (like C2 or C6), making lower constellations feel underwhelming. In NTE, a single dupe lets you cherry-pick the strongest rank, eliminating the feeling of wasted early-constellation pulls.
For exampleFadia's A5 grants +50% CRT Chance while in Lilith state, a transformative damage boost. In a sequential system, reaching A5 would require five duplicates. In NTE, a single dupe is enough to activate that exact bonus. This makes even light spending or lucky pulls feel impactful.
Awakening Bonuses
In addition to the six individual awakening ranks, each character has two Awakening Bonus milestones. These are separate from the A1-A6 effects and provide additional power scaling.
Milestone | Requirement | Typical Effect |
|---|---|---|
Awakening Bonus 1 | 3 Awakening ranks unlocked | Increases the character's core skill levels (Basic AttackSkillUltimate) by 1 |
Awakening Bonus 2 | All 6 Awakening ranks unlocked | Grants a unique, character-specific powerful passive effect |
Awakening Bonus 1 is highly consistent across the roster. Nearly every character gains +1 to their core skill levels at the 3-awakening milestone, providing a flat power increase across all abilities. Awakening Bonus 2 varies significantly by character and tends to be a defining late-game passive such as DEF penetration, team-wide HP buffs, or Cycle Rate generation.
Awakening Rank Patterns
Across the confirmed roster, several patterns emerge in how awakening ranks are distributed:
Rank Tier | Effect Pattern |
|---|---|
Early ranks (A1-A2) | Tend to provide moderate buffs such as duration extensions, percentage damage increases, or resource generation improvements. |
Mid ranks (A3-A4) | Often introduce mechanic modifications, enemy-scaling bonuses, or conditional damage amplifiers. |
Late ranks (A5-A6) | Frequently unlock transformative gameplay changes such as AoE upgrades, DEF penetration, massive critical boosts, or new trigger conditions. |
Because late ranks tend to be more impactful, the flexible selection system is especially valuable. Players with limited duplicates can target the strongest rank first.
Character Awakening Details
Below are the verified awakening tables for select characters,. Both S-Rank and A-Rank characters share the same A1-A6 plus Bonus 1/Bonus 2 structure.
Nanally (S-Rank, Anima)
Rank | Name | Effect |
|---|---|---|
A1 | Gang Momentum | When Underboss deals damageNanally generates 0.5 Burst Energy every 1 second |
A2 | Loyal Reinforcements | Extends Underboss duration to 9 seconds |
A3 | Authority Presence | While in Ichi-daime's Authority, deals additional Anima damage every 0.5s when attacking |
A4 | Boss Tactics | Underboss damage increased by 30% |
A5 | Followers Everywhere | ATK increases by 2% per hit from Underboss or Ichi-daime's Authority (max 20%) |
A6 | Absolute Authority | Ichi-daime's Authority duration extended to 15s (20s outside combatup from base 12s) |
Hotori (S-Rank, Cosmos)
Rank | Name | Effect |
|---|---|---|
A1 | Flourish | Present Replay and World's Tide restore 15% Max HP to team |
A2 | Distant Memories | 30% increased damage during time stop |
A3 | Momentary Gaze | After first time stop per battle, Timepiece fills immediately |
A4 | Scattered Relics | Defeating targets grants +10 energy (max 3 times); resets on World's Tide |
A5 | All-Seeing | Single enemy on field: 15% team damage increase |
A6 | Time Takes Away | Ignores 30% target DEF during time stop |
Bonus 1 | Eternity Shattered | Increases Misty Moon Style, Present Replay, and World's Tide skill levels by 1 |
Bonus 2 | Ultimate Treasure of Clear Understanding | Non-Tide time stop fills Timepiece upon combat entry |
Lacrimosa (S-Rank, Chaos)
Rank | Name | Effect |
|---|---|---|
A1 | Clock Out Clemency | Nightmare damage increased by 50% |
A2 | Molten Ice Cream | 5th Sweet and Sour instance immediately calculates accumulated Nightmare stacks |
A3 | Almighty Lord of Tomatoes | Nightmare duration extended to 6 seconds |
A4 | Tempered Glass Judgement | Nightmare stacks persist through healing; target max HP reduced by 200% of Nightmare damage |
A5 | Morning Spell | Auto-triggers Entry Attack and Esper Cycle when switching from specific characters |
A6 | Rise and Shine | Entry Attack grants 15% damage increase for 15 seconds |
Bonus 1 | Skill Level Increase | Increases Sweet and Sour, Morning Tomato, Devilish Gift, and Working Day Judgement skill levels by 1 |
Bonus 2 | DEF Penetration | Lacrimosa ignores 10% of target DEF |
Sakiri (S-Rank, Incantation)
Rank | Name | Effect |
|---|---|---|
A1 | Diffusive Haze | Extends Immovable effect to 6 seconds |
A2 | Dextrous Separation | Extra damage to airborne enemiesscaled by target mass (capped at 600% ATK) |
A3 | Adhesive Grip | Damage increases 6% per defeated enemy (15s, capped at 60%) |
A4 | Wishful Reliance | Increases team ATK by 20% of base ATK for 20s post-Ultimate |
A5 | Sensory Collapse | Fills Field Essence and resets cooldown when Devour Whole launches airborne targets |
A6 | Gluttonous Dissolution | Digests 3 enemies simultaneously with independent timers |
Bonus 1 | Skill Level Increase | Increases Headbutt, Devour Whole, and Ultimate skill levels by 1 |
Bonus 2 | Debuff Amplification | 3% increased damage per negative effect on target (capped at 12%) |
Fadia (S-Rank, Psyche)
Rank | Name | Effect |
|---|---|---|
A1 | Apostate | Damage redirect ratio increased to 100% |
A2 | Instinct | Enemy damage ratio through Destructive Experience increased to 600% |
A3 | Curser of Blessings | Increases base Max HP by 30% upon entering combat |
A4 | Breaker of Taboos | In Lilith state, healing ratio increased to 30% (60% of max HP if lost HP >= Destructive Threshold) |
A5 | Survivor of Death | In Lilith state, CRT Chance increased by 50% |
A6 | Bringer of Love and Death | Existence applies Destructive Experience to up to 10 targets within range |
Bonus 1 | Skill Level Increase | Increases core ability skill levels by 1 |
Bonus 2 | Team HP Increase | Increases team max HP by 10% |
Adler (A-Rank, Incantation)
Rank | Name | Effect |
|---|---|---|
A1 | Form | Tranquility grants Adler 20 stacks of Karma |
A2 | Sensation | Each stack of Karma grants 3% DMG Bonus |
A3 | Perception | Increases Shield of Blessing by 20% |
A4 | Formation | When Blessing breaks, absorbs overflow damage based on 50% of Adler's DEF |
A5 | Discernment | Tranquility grants Adler 20 Field Essence |
A6 | All Forms Are Void | Extends Blessing duration to 20s |
Bonus 1 | Cleanse | Increases Deliverance, Evil's Bane, and Tranquility skill levels by 1 |
Bonus 2 | Enlightened Guardian | When protected by Blessing, team gains 15% Incantation DMG |
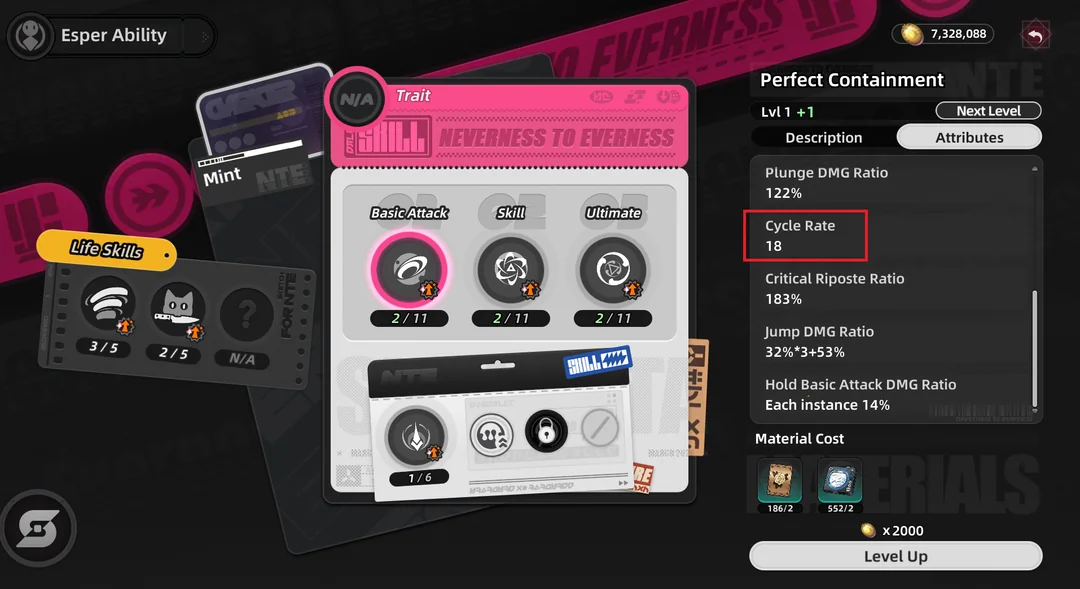
Mint (A-Rank, Anima)
Rank | Name | Effect |
|---|---|---|
A1 | Task Force Operation | Caramel Crisp can reset cooldown of Ultimate: Super Claws (once every 3s) |
A2 | Re-examination | Increases Super Claws damage by 40% |
A3 | Attendance Bonus | When any character triggers Blossom or HexedMint's ATK increases by 15% for 15s |
A4 | Lunch Break | Increases Mint's critical chance by 12% against last enemy on field |
A5 | First Instinct | After Super Claws, critical damage increases by 25% for 6s |
A6 | Elite Member | 15% increased damage to targets below 40% HP |
Bonus 1 | Minty Bubble Tea | Increases Perfect Containment, Super Claws, and Thunderous Whirlwind Slash skill levels by 1 |
Bonus 2 | Fluffy Mousse | After Super ClawsMint gains 5 Cycle Rate |
Recommended Priority Picks
Given the flexible selection system, the following awakening ranks stand out as high-priority first picks when you have limited duplicates. These are the ranks where the power increase is most noticeable with a single dupe:
Character | Recommended First Pick | Reason |
|---|---|---|
A5 (Followers Everywhere) | Stacking ATK boost up to 20% that scales with Underboss and Authority hits | |
A1 (Flourish) | Team-wide 15% Max HP heal on two abilities; strong for sustain-focused builds | |
A1 (Clock Out Clemency) | Flat 50% Nightmare damage increase; direct and unconditional damage boost | |
A4 (Wishful Reliance) | 20% team ATK buff for 20s post-Ultimate; strongest team-wide support awakening | |
A5 (Survivor of Death) | +50% CRT Chance in Lilith state; transformative for damage output | |
A6 (All Forms Are Void) | Extends Blessing shield to 20s; massive survivability increase for the team | |
A2 (Re-examination) | 40% damage increase on Super Claws; simple and effective DPS boost |
Gacha Integration
Awakening is directly tied to the Scarborough Fair gacha system. Key details about pulling duplicates:
Details | |
|---|---|
When you hit pity on a limited character banner, the featured character is guaranteed. There is no coin flip mechanic. | |
Hard pity at 90 pulls | Soft pity begins around 70 pulls, increasing pull rates. The overall S-Class pull probability is 1.88% per pull (base tile rate is about 1%), rising to 19.5% on the Modified Board after 70 pulls without an S-Class. |
Noweapon banner | S-Class and most A-Class Arcs are obtained through gameplay and the Arc Shop, not gacha. This means all gacha pulls go toward characters, making duplicate acquisition more focused. |
Interface Update
During the Co-Ex Beta test (February 6-20, 2026), player feedback indicated that the Awakening interface felt visually underwhelming. The developers acknowledged this and confirmed that the Awakening UI is receiving a full visual overhaul before the April 29, 2026 launch. The underlying mechanics (flexible slot selection, toggle on/off, free reconfiguration) are expected to remain unchanged.
Common Misconceptions
Players coming from gacha titles where high-tier awakenings unlock the bulk of a character's power often assume A3 and A6 will be the same in NTE. They are not. The strongest combat-defining effects on every character live in the freely-selectable A1 through A6 list described above, and the Awakening Bonus 1 (3-rank milestone) and Awakening Bonus 2 (6-rank milestone) are smaller supplementary buffs layered on top of whatever the player chose.
Awakening Bonus 1 is consistent across nearly every S-rank in the standard pool: a flat +1 to the character's core skill levels covering basic attack, skill, and ultimate. This is a moderate quality-of-life boost rather than a transformative effect.
Awakening Bonus 2 varies by character and is typically a passive that operates in the background once unlocked. Examples confirmed on existing characters include damage increases tied to specific actions, debuff applications when a target enters break, or reaction-rate boosts. None of the Bonus 2 effects on the standard pool turn a character into a different unit or replace the A1-A6 effects already chosen. They are background bonuses that compound with the chosen awakenings, not a separate progression gate.
Practically, this means the duplicate progression curve in NTE is front-loaded. A single duplicate already lets a player select the strongest A1-A6 effect on a character, and the gain from going from 0 dupes to 1 dupe is usually larger than any subsequent dupe. Players who can afford 3 dupes pick up a small skill-level boost; players who can afford 7 dupes (full A6 plus Bonus 2) round out the build but do not unlock a hidden game-changing effect.
Weapon Banner and Awakening
NTE runs a separate weapon banner (Arc banner) with its own currency and pity track that is independent of the character banner. Pulling Arcs does not award character mind shards, and pulling characters does not award Arc duplicates. The two systems run side by side and do not compete for the same currency, so a player saving for a featured character on the Limited Board does not need to spend on the weapon banner to advance an awakening, and a player chasing a signature Arc on the weapon banner does not need to slow down their character pulls to do so.
Each character's awakening progression therefore depends purely on duplicate pulls of that character on a Limited Board (or, in the case of standard-pool S-ranks, the standard banner or the Warp Piece exchange shop). The weapon banner contributes nothing to awakening directly. See Gacha System for the full Arc banner pity rules.