
Loading...
Loading...
Floor 2 - Urbus
September 23, 2026 at 09:36 AM
Removed the source-material boss name and source-material settlement positions, replaced labyrinth-climax speculation with a dated note, and aligned the settlement list with the confirmed-facts table
Floor 2 is the second and, in Echoes of Aincrad, the final playable floor of Aincrad. Its hub is the city of Urbus, which takes over from the Town of Beginnings as the main city of the late game.
Urbus. The hub city of Floor 2.
Marome Village. A smaller settlement on Floor 2.
Taran Village. Another Floor 2 village.
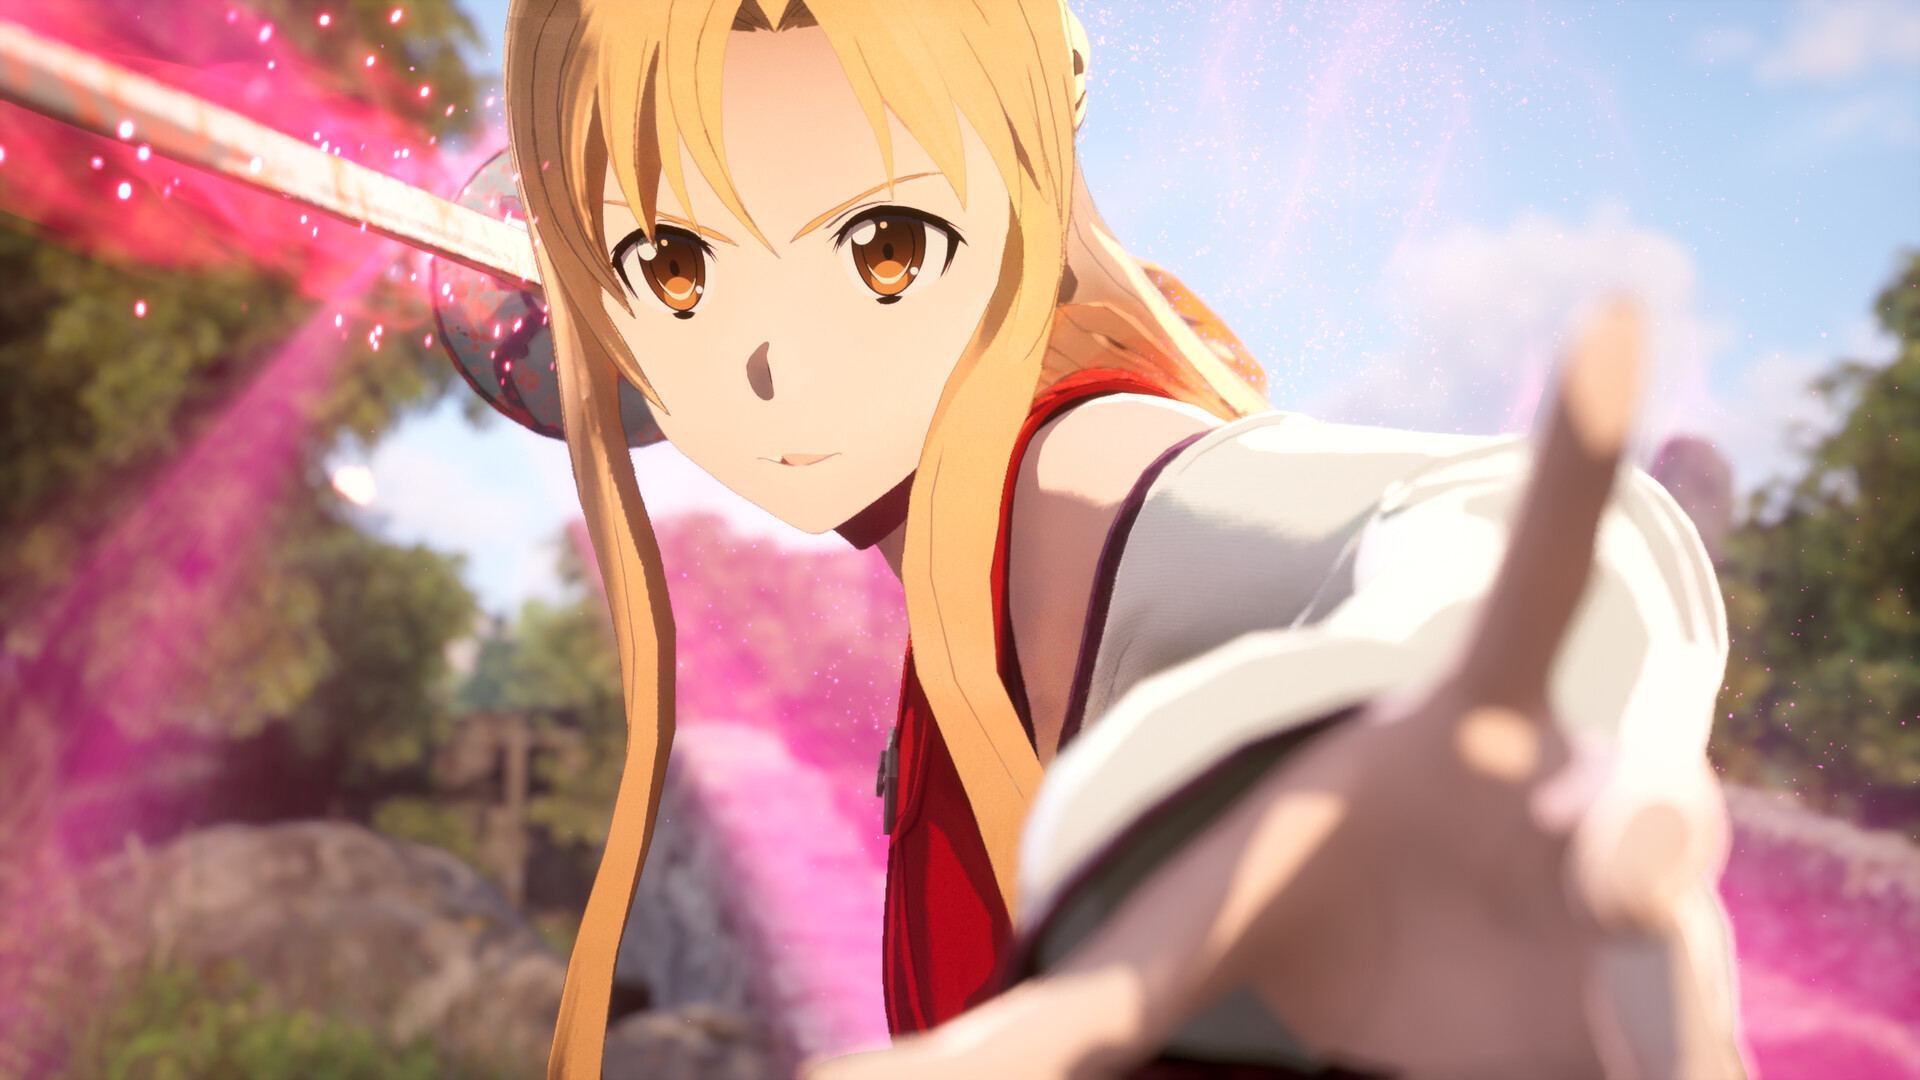
Floor 2 is the second of the two playable floors in this entry of the series, and the final floor in the campaign as it ships. The game is intentionally scoped to the opening pair of floors of Aincrad, with the second floor functioning as the back half of the main story rather than as a brief epilogue to the first. Once the player and their partner have cleared the first floor's labyrinth boss, Urbus replaces the original starting town as the campaign's home base, and the rest of the main quests, side missions, and end-of-game preparation are anchored to this floor.
The producer of the game has stated that recreating all one hundred floors of the castle would have taken roughly a decade of development, which is why the team chose to ship Floors 1 and 2 in detail rather than spreading the experience thin. Floor 2 is therefore not a smaller second helping; it is the back half of a deliberately curated two-floor campaign, with full hub services, multiple settlements, and the named wilderness regions listed below.
Three settlements on Floor 2 are visited in the main story. The hub city anchors the floor, and two further settlements lie out in the surrounding overworld. Each plays a distinct role in the floor's traffic pattern.
Urbus is the hub city of Floor 2 and the first settlement reached on the floor. It holds an inn, the smithy, and a bazaar area near the smithy, and it is the stop the player returns to between excursions into the rest of the floor.
Marome is the floor's second city, reached across the western sands from the hub. The party needs a guide to find it on the first trip, and the search for the next sanctuary continues from there. As of September 2026, the smithy is documented only in Urbus, so heavier gear work still means a trip back to the hub.
Taran lies southwest of Marome, past a lightning-calling ox boss, and the party travels there while searching for the third sanctuary. In the source material the equivalent village sits closest to the floor's labyrinth, but the released game does not use it as a labyrinth staging point.
The game's published location line-up describes the second floor as a savanna field dominated by grasslands and rocky terrain, with plateaus rising across the area. Small caves dot the region, and some of them hold underground water. In the source material, the hub city sits inside one of those flat-topped formations, carved into the top of a mesa and seated in a natural crater.
The same description flags the floor as dangerous ground rather than a scenic step up: it is home to high-level monsters, giant cows among them, which is a marked change from the boars and wasps of the opening floor. It also confirms the settlement pattern, a main city plus smaller villages visited by adventurers and merchants, which is the structure Urbus sits at the centre of.
It is worth being precise about the mix, because the floor is often reduced to one label or the other. Grassland and rock both belong in the description, with plateaus and mesas rising out of the plains and caves and underground water threading beneath them. That combination gives Floor 2 a very different feel from the pastoral opening floor without turning it into a bare mountain region.
The official description above covers the floor as a whole. The image of Urbus carved into a mesa and set in a crater comes from the source material, and as of September 2026 no in-game measurement of the city has been published, so that detail sits as canon context rather than as a confirmed in-game fact. What the released game does show is a floor varied enough to hold a hub city, two further settlements, several named stretches of wilderness, and a chain of sanctuaries.
The player reaches Floor 2 after the Floor 1 story arc. A large player raid defeats Illfang the Kobold Lord inside the first floor's labyrinth, with the protagonist's party holding off the smaller kobolds, and on a later trip the party climbs the tower on its own, past the now-empty raid room and a dungeon version of Illfang, to reach the top and the way up to the second floor. That climb is the moment the campaign's home base starts to shift from the original starting town to the new hub city, and most of the systems the player already knows are simply rehoused inside the new walls.
Once on the floor, the rhythm carries straight over from Floor 1. Players prepare in the hub, warp out to the relevant Floor 2 mission zone, run the mission, and return to the hub to bank loot, upgrade gear at the smithy, and pick up the next thread. The first trip to each of the other two settlements is itself a story quest rather than a fast-travel hop; once the warp point inside a settlement has been activated, it can be warped to like any other checkpoint.
Floor 2 enemies are framed as harder than their first-floor counterparts, so the time spent at the hub between expeditions is part of the intended difficulty curve rather than a detour. Coverage of the floor is consistent on this point: the player is expected to return to the hub frequently, lean on the smithy as gear upgrades start to compound, and tune up their loadout before heading out to the floor's sanctuaries. For an introduction to the underlying combat rhythm see the combat system article.
In the source material, the second floor ends at a labyrinth tower with the floor boss waiting at the top. No official material names a floor boss for the second floor in this game, and guides that present the source material's boss as this game's confirmed boss are reproducing the fiction rather than the shipped build.
Because this game stops at Floor 2, the structure of the floor's endgame matters, but it is not documented. As of September 2026, no first-party source describes a labyrinth run on the second floor, so this wiki does not document a boss roster, boss-room minions, a move set, or phase transitions for one. No official material says whether such a fight exists in this game at all.
The full castle of the in-fiction game is built as a one-hundred-floor structure, with each floor described as covering roughly ten square kilometres. A faithful recreation of all one hundred floors at that scale was estimated by the producer to require around ten years of development, which would have stretched the project well past any reasonable shipping window. The team's response was to scope this entry to the first two floors and build them out completely, rather than thinning the experience across the entire tower.
Together the two playable floors supply roughly thirty hours of main story content plus another twenty hours of side content on top of postgame activities, for a completionist run on the order of fifty hours. A meaningful share of that runtime sits on the second floor thanks to its role as the back half of the campaign and the home of the sanctuary chain that runs through its story, which in practice makes Floor 2 the second of two regions where the player spends the most time across the whole campaign. For the high-level scope picture see the overview article.
With the game out, most of what was previously provisional about the second floor is settled. Three settlements are visited during the main story, and the floor's geography is considerably more varied than the first.
Location | Role |
|---|---|
The main city of the second floor and the first settlement reached. Includes an inn and a bazaar area near the smithy. | |
The floor's second city, reached across the western sands. A guide is needed to find it. | |
A settlement southwest of Marome, reached past a lightning-calling ox boss. |
Named regions and warp points on the floor include the Eastern Trochhi Grasslands, the Central Wilderness, the Western Primordial Sands, the western badlands, the Grasslands of the Sacred Cow, and two approach paths on the Sacred Mountain of Lulue. A chain of High Elven Ruins sanctuaries runs through the floor's story, each laid out around a Hall of Protection, dungeon stretches, and a Relic Hall holding a legendary weapon.
One significant gap remains: no floor boss for the second floor has been named in any official material, and the published walkthrough coverage of the floor's main story does not identify one either. Fan-run guides that name a floor boss here are reproducing the boss of the corresponding floor in the source material, not something confirmed in this game. That name is deliberately not repeated on this wiki until an official source or verified in-game footage confirms it.
As of September 2026, per-enemy statistics, level ranges, and drop tables for the floor are likewise unpublished.
For the dedicated hub-city page with services and layout context, see the city's own article. For the two outlying villages on the same floor, see the village pages above. The first-floor counterpart to this article, with its hub town and overworld shape, is on the Floor 1 page, and the boss fight that opens the road up to this floor is covered on the floor-one raid boss article.