
Loading...
Loading...
Progression Paths
August 17, 2026 at 02:54 AM
Added the Compass tier thresholds, path ship classes, and booster structure, and trimmed items that are now published
Progression Paths are the four parallel pillars that shape a Corsair Cove run: Notoriety, Empire, Seafaring, and Wealth. Every haven runs the same builder loop, but the pillar a player leans into determines which missions appear, which buildings unlock, which production chains matter, and which ships sail out of the harbour. Each pillar is fronted by its own fully-voiced captain. See also the Overview, Getting Started, and Golden Age of Piracy.
Each pillar is anchored to its own captain. The unlocks are how the haven changes shape as the player commits to it.
Pillar | Focus | Captain | Theme |
|---|---|---|---|
Notoriety | Fearsome reputation; vice-driven economy. | Fully-voiced captain. | Feared, infamous pirate. |
Empire | Independent pirate nation; political and territorial reach. | Fully-voiced captain. | Pirate lord-turned-statesman. |
Seafaring | Ocean exploration, expedition range, and ship quality. | Fully-voiced captain. | Captain who lives on the water. |
Wealth | Gold, trade routes, and economic muscle. | Fully-voiced captain. | Wealthy pirate lord. |
The Notoriety pillar leans into the theatrical side of piracy: the haven everyone has heard of. Its content is explicitly vice-driven, with gambling halls and brothels among the buildings on this track, turning social districts into income engines as much as morale anchors. The pillar's captain is feared rather than respected. That reputation cuts both ways: it attracts crew willing to throw in with the most infamous flag, but it pulls pirate hunters and Crown patrols in behind them, feeding back into naval combat.

The Empire pillar treats the haven as the seed of an independent pirate nation rather than a single fortified base. Its missions and buildings push toward political and territorial ambition: claiming ground, controlling waters, and turning a shipwrecked crew into a power the Crown has to negotiate with rather than simply hunt. It is the pirate answer to the closing of the Golden Age.
The Seafaring pillar is the path of the captain who would rather be at sea than on the island. Its content is built around ocean exploration and naval expeditions: better hulls, longer-range voyages, and missions that push the fleet past the edges of the charted archipelago. A Seafaring haven invests heavily in shipyards and provisioning chains so expeditions can stay out longer. The path is tightly coupled to naval combat and to the legendary creatures that live in deeper waters.
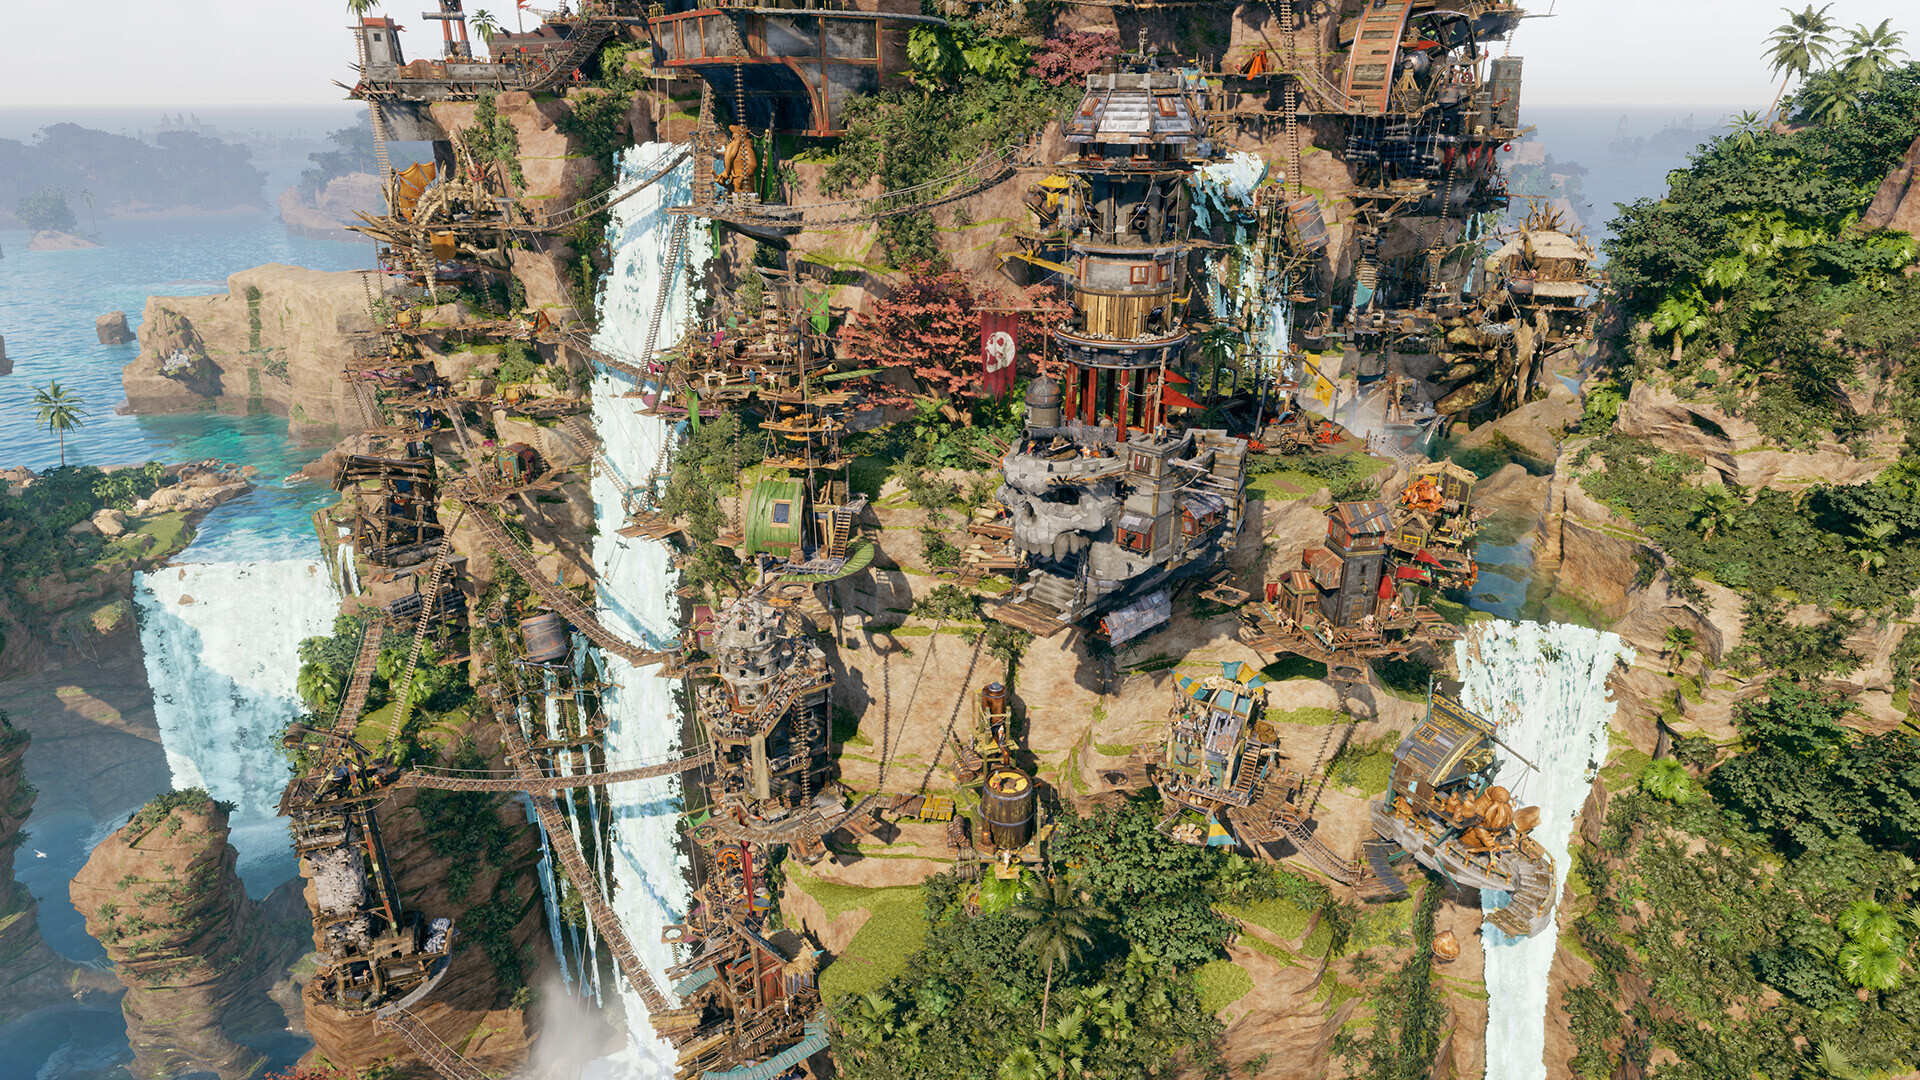
The Wealth pillar runs the haven as a business. Its focus is gold, trade, and economic muscle: stacking production chains, moving goods through smuggling and trade routes, and converting raw output into hard currency. The captain on this path is the wealthy pirate lord whose plunder is measured in coin and contracts rather than burnt sails. A Wealth run still deals with pirate hunters and the Crown, but it tends to do so by buying its way out or outpacing them economically rather than leaning into open confrontation.
Progress along the four pillars is tracked through a system the game calls Deeds and Compass. Deeds are achievement-style goals spread across the four piracy tracks, ranging from amassing wealth to building a fearsome, bloodthirsty reputation. Completing them feeds a Compass that opens four directions in a technology tree, each direction unlocking new ways to optimise the haven and new ships.
The tree does not lock the player into a single direction. It is possible to work toward unlocking everything in one playthrough, though doing so demands a great deal of wealth and patience. Leaning hard into one pillar simply gets that branch first; it does not close off the others.
The four pillars are framed in public-facing terms as four pirate archetypes a player can choose to become. The mapping below shows how the archetypes line up against the pillars.
Archetype | Pillar |
|---|---|
Notorious Pirate | Notoriety |
Slippery Smuggler | Wealth |
Bloodthirsty Raider | Notoriety |
Wealthy Pirate Lord | Wealth |
Empire and Seafaring are not framed as single-word archetypes in that public catalogue, but they sit on equal footing with Notoriety and Wealth as full progression options.
Each pillar is fronted by its own fully-voiced captain, and committing to a pillar is partly a story focus on that captain's arc. They are not the only captains in the game: other named captains are recruited over the course of a run, and one historical figure available to bring on board is Edward Teach, better known as Blackbeard. Recruitable historical captains like Blackbeard sit alongside the four pillar captains rather than as one of them; they expand the roster a player can deploy on naval combat without changing which pillar the haven is built around. The full captain roster, including the recruitable historical figures and the characters introduced in the pre-launch lore reveals, is collected on the Captains page.
The paths are spent through the Compass, which holds more than a hundred buildings, boosters, ships, and upgrades bought with principle points. It is laid out as a compass rose with one quadrant per path: Notoriety to the north, Empire to the east, Seafaring to the south, and Wealth to the west.
Each quadrant is divided into five concentric tiers. The three options in the first tier of every quadrant are available as soon as the Compass opens. Investing enough points in a tier unlocks that path's next ship, and unlocking the ship opens the following tier of options.
Compass Tier | Points Required |
|---|---|
Tier 1 | 0 |
Tier 2 | 3 |
Tier 3 | 7 |
Tier 4 | 12 |
Tier 5 | 20 |
Ships unlock automatically on reaching the threshold rather than costing an extra point. Committing to two adjacent quadrants also opens the hybrid ships sitting on the diagonals between them, at the tier 1 and tier 2 border and again at tier 4. Those hybrids are stronger than the ordinary ships of the same tier, which is the mechanical argument for splitting a run across two paths instead of driving one to the end.
Every path fields its own class of ship, with a shared stat specialisation, and its own line of housing, banners, and principal buildings. The classes are the clearest expression of what a path is for.
Path | Ship Class | Signature Buildings |
|---|---|---|
Prowler | Gambling Den, Cabaret, Statue, Voodoo Shack, Ocean Colosseum | |
Destroyer | Salvage Dock, Gibbet, Spy Nest, Brawler Arena, Military Fortress | |
Hunter | Crow's Nest, Shrine of the Sea, Cartographer, Quartermaster, Great Lighthouse | |
Reaver | Trading Post, Loan Shark, Well, Grand Market, Golden Palace |
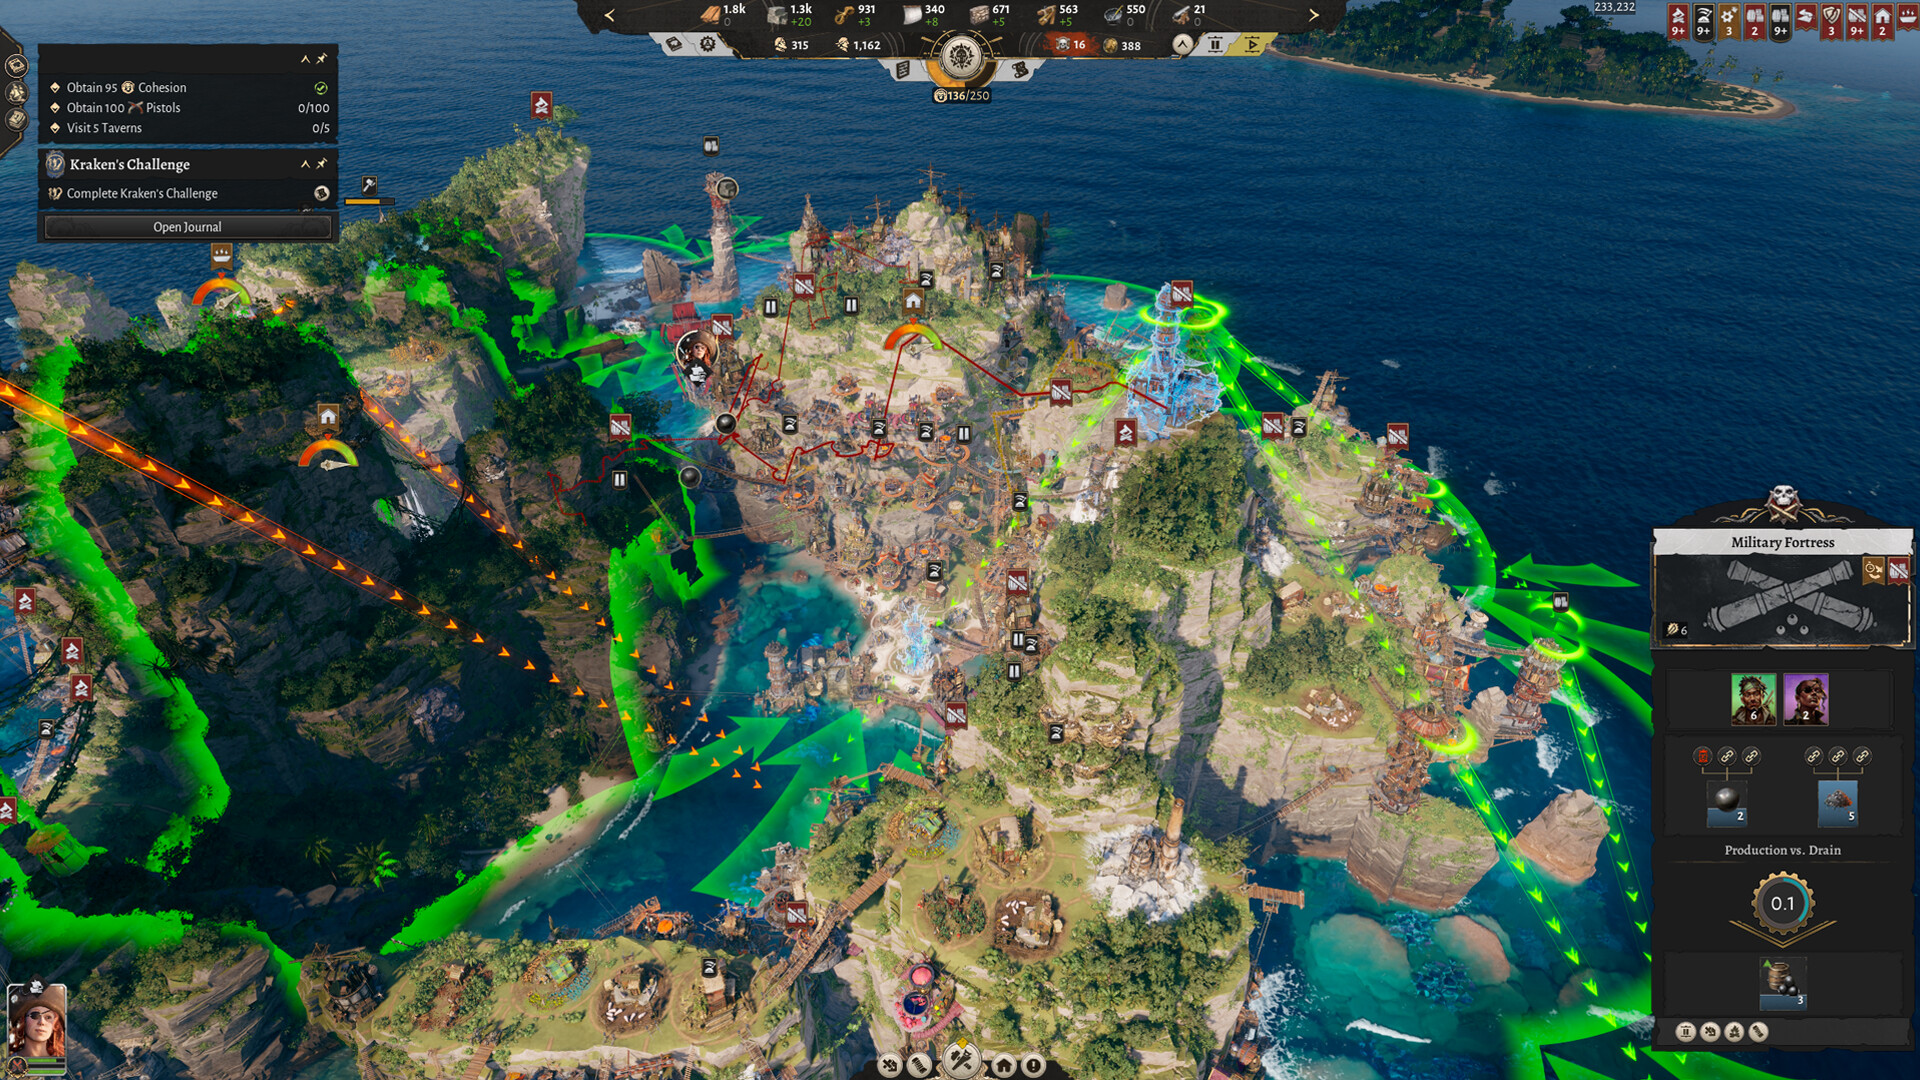
Each path also carries its own traversal unlock in its first tier: the Zip Line on Notoriety, the Elevator on Empire, the Mast on Seafaring, and the Aerial Lift on Wealth. Those are the pieces that make a cliff-side haven workable, so the first few points spent shape the settlement's physical layout as much as its economy. See Vertical Construction.
Alongside buildings and ships, each quadrant holds boosters that raise the output of a specific production building, most with up to five ranks. Rock and Roll lifts Quarry output by 25 percent at first rank and 60 percent at second; Walk the Plank adds flat production to the Sawmill; Powder Monkey steps the Powdermill up by 2, 4, and 6 across its first three ranks. A few boosters instead improve traversal, such as the Bosun's and Royal Ropeway lines that speed up the connections between districts.
Because boosters are tied to named buildings, they reward a haven that has already committed to a chain rather than one hedging across all four paths. See Goods and Production for the chains these feed.
Path structure, thresholds, ships, and building unlocks are published. What remains unclear:
The effect values at ranks 3 through 5 of most boosters, which the published tables leave blank.
Whether points can be refunded or reallocated once spent.
The full quest catalogue for each path beyond the 20 path quests noted in-game.
