Crew and Population is the haven's labour layer in Corsair Cove. Buildings need workers; ships need crew; expeditions burn through both. The same pool of survivors covers all three demands, and the haven only grows when the player goes out and recruits more bodies. This page consolidates worker tiers, specialist crew roles, and the recruitment pipelines, with cross-references into City Building, Naval Combat, and Cohesion and Morale.
Population Types
The Steam store page lists four worker tiers covering everything that happens on the island. Each tier has distinct needs, and the upper tiers will not show up for work without provisions and accommodations that match their rank.
Tier | Role | Notes |
|---|---|---|
Drifters | Bottom-tier general labour | Cheap to house and provision, the default arrival from rescue missions and shipwreck recovery. |
Fetchers | Logistics carriers | Move goods between producers, depots, and piers. Demand on fetchers scales hard with how vertical the haven gets. |
Builders | Construction crew | Erect new structures, run repairs, and rebuild after raids or storms. |
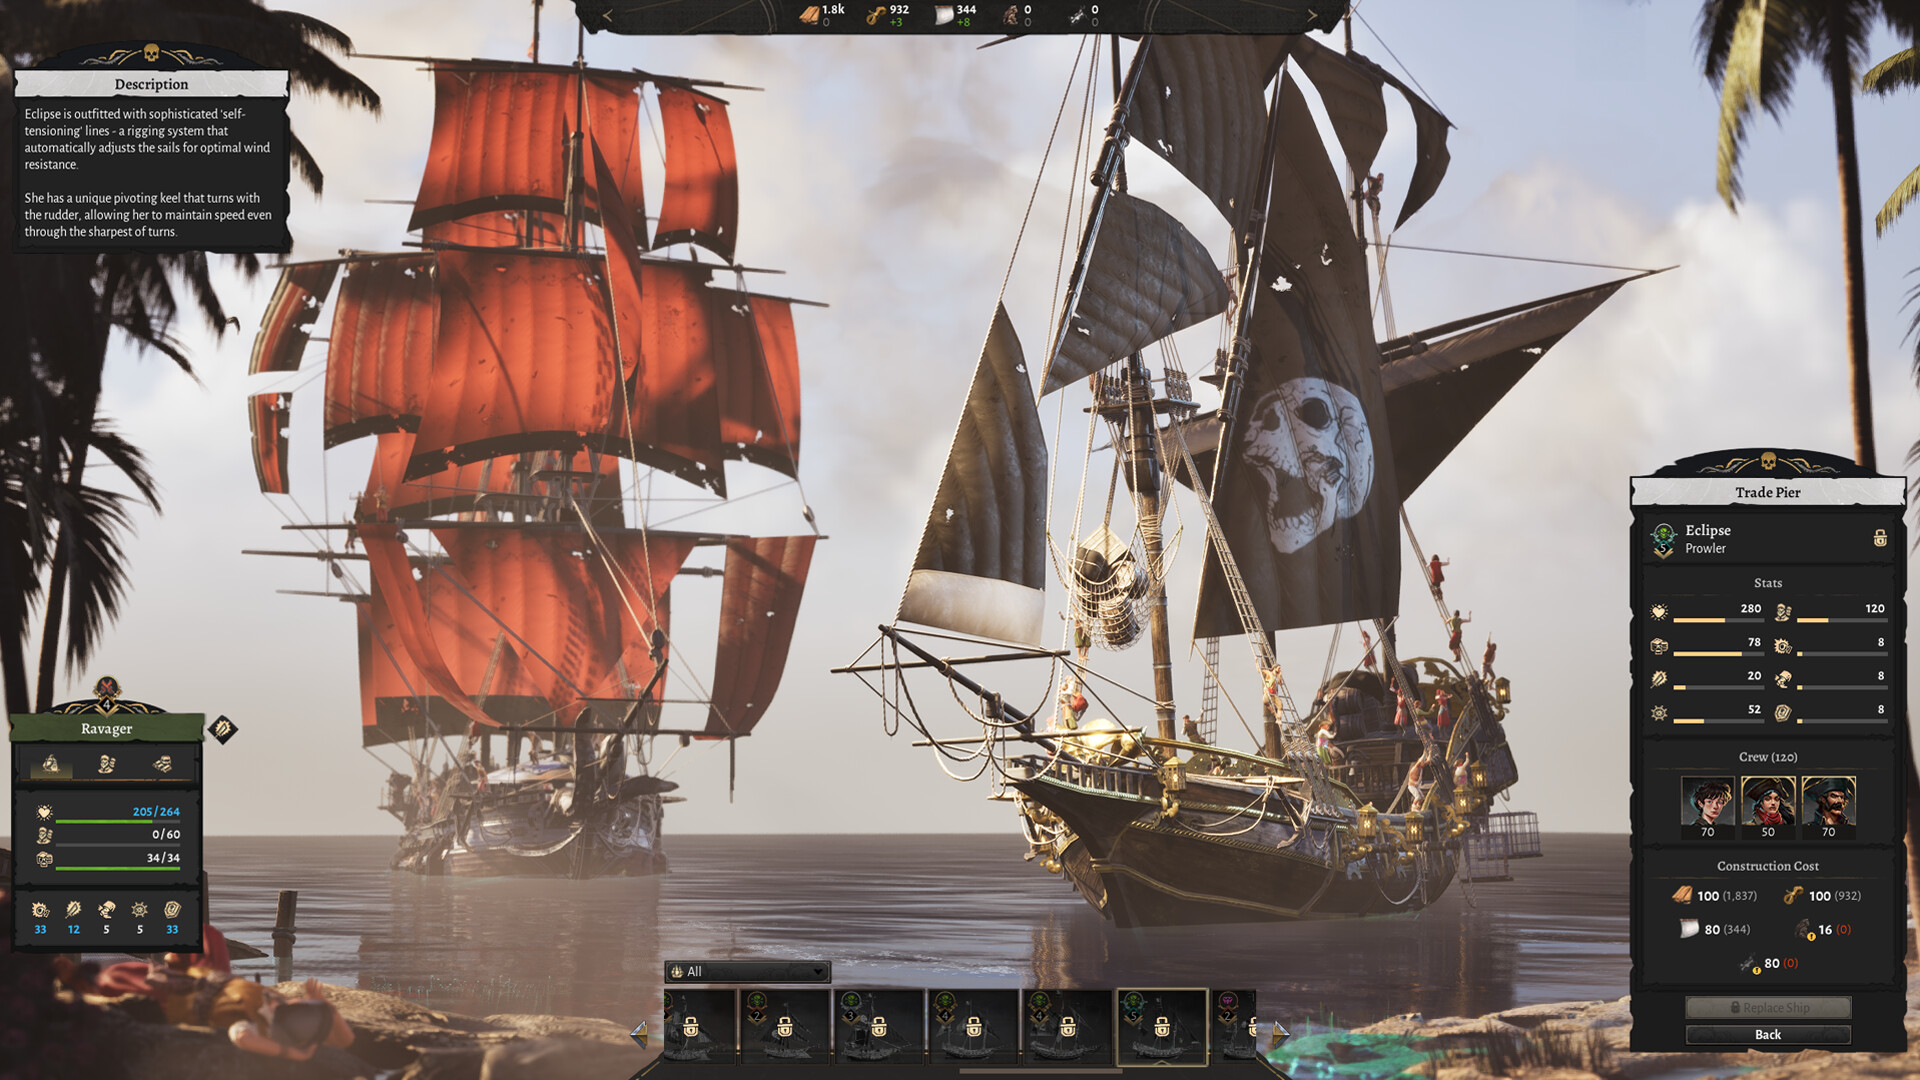
Specialists | Skilled workers and ship roles | The top tier covers specialist production jobs and the named ship roles below. They expect better provisions and quarters than drifters. |
Specialist Ship Crew
On the water, four named specialist roles change what a ship can do in combat and on expeditions. They are recruited and provisioned out of the same haven economy.
Role | Function | Tied To |
|---|---|---|
Bombardiers | Operate heavy guns; turn cannon stats into real damage in combat. | Cannon Foundries; iron supply |
Navigators | Plot routes through dangerous water, extend safe expedition range, mitigate at-sea events. | Exploration expeditions |
Marauders | Boarding and shore-action specialists; tip the balance in close engagements and raids. | Raid expeditions |
Renegades | Fourth specialist role listed alongside the other three on the store page. Specific in-combat function not yet detailed publicly. | Unconfirmed pillar tie |
Elite specialists require richer provisioning than rank-and-file workers. Public coverage names tobacco, pistols, spyglasses, medicine, sabers, and eye-patches as the consumables and equipment a haven must stockpile to keep elite ship crews in service. The set of consumables for any given specialist scales with the role: bombardiers lean on cannon supply and powder, navigators rely on spyglasses and charts, marauders consume pistols and sabers in close action, and every specialist on a long voyage demands medicine.
Specialists are the layer where the four Progression Paths bleed into ship loadouts. A Notoriety run leans on Marauders for raid throughput; a Seafaring run wants Navigators for long-range routes; a Wealth run uses Bombardiers to escort smuggling routes against interception. Renegades' pillar affinity has not been disclosed.
Recruitment Pipelines
Population does not grow through passive birth ticks. Every new resident is actively recruited at sea or rescued from a wreck, which couples the builder loop tightly to expedition planning.
Shipwreck Survivors pulled from wrecks scattered across the archipelago.
Raid Recruits crew won, freed, or coerced into service during raids on enemy shipping and settlements.
Sea Catches the in-fiction route that lets the player fish whole crew members out of open water.
Because most recruitment is at-sea work, the city-builder loop and the naval layer are not separable. Expeditions that look like resource runs on paper are also population missions; expeditions that fail at sea pull bodies off the haven's roster as well.
Population Loss
Crew lost in combat does not respawn. Sailors who die at sea reduce the haven's labour pool because the same population that lives on the island crews the ships. A botched engagement does not just cost the ship; it pulls bodies off the roster. Recruitment payouts from successful Expeditions are how the population gets back up after a hard run.
Provisions and Housing
Workers and crew need somewhere to sleep and something to consume. Living quarters scale with population; taverns, kitchens, and depots feed the comfort and supply economy. Higher worker tiers expect richer provisions: drifters take basic shelter and ale, specialists expect specialist quarters and the better goods. Failing to keep ahead of provisioning drives Cohesion and Morale down, and a fully-emptied cohesion meter ends the run.
Unconfirmed Details
Exact provisioning thresholds for each worker tier.
Specialist sub-jobs inside the production economy (named beyond the four ship roles).
Renegades' specific in-combat function and which pillar they slot into.
Whether worker tiers promote internally or only arrive at their final tier.
Population caps and how housing tiers interact with them.
How long lost or injured crew remain out of the labour pool.