
Loading...
Loading...
Fortifications and Structures
September 16, 2026 at 03:48 AM
Created page for the hammer tiers and the buildable structure catalogue, with sourcing separated between published and player-documented
Building is one of the three things WARDOGS is built on, alongside the objective and the economy, and it is the one the game explains least. A player who buys a forward operating base without knowing what a hammer is will put walls up and wonder what they were for. This page covers the tools and the catalogue; the strategic picture is under Base Building and Destruction.
The developers have published the hammers, the forward operating base and the deployable munitions by name, in their own patch notes and store copy. The fuller structure list below is documented by players from the launch build. Where that is the case it is said so.
Construction runs through a hammer, and there are three tiers of them. Each tier unlocks everything below it and adds its own options, and the higher tiers also build faster. Both the Medium and Large Hammers are bought, and the Large Hammer sits in two places at once: it unlocks on the Support track and is also sold by a vendor, at separate prices.
Hammer | Season 1 price | What it adds |
|---|---|---|
Small Hammer | Not published | Basic infantry protection: sandbag walls, barbed wire, simple barriers, small barrier blocks and observation structures |
Medium Hammer | $25,000 on the Support track | Everything above plus doors, gates, larger barrier walls, loudspeakers and the pieces needed for a proper perimeter |
Large Hammer | $75,000 on the Support track, $2,400 from a vendor | Heavy construction and the weapon emplacements: bunkers, recon towers, heavy walls, indirect fire shelters, mortars, anti-air and repair and refuel stations, plus drill rigs |
Both the Large Hammer vendor price and the forward operating base vendor price were raised when Season 1 opened, which the studio said it did specifically so that buying either would be more of a choice. The Medium Hammer went from $10,000 to $25,000 and the Large Hammer from $25,000 to $75,000 on the Support track in the same pass.
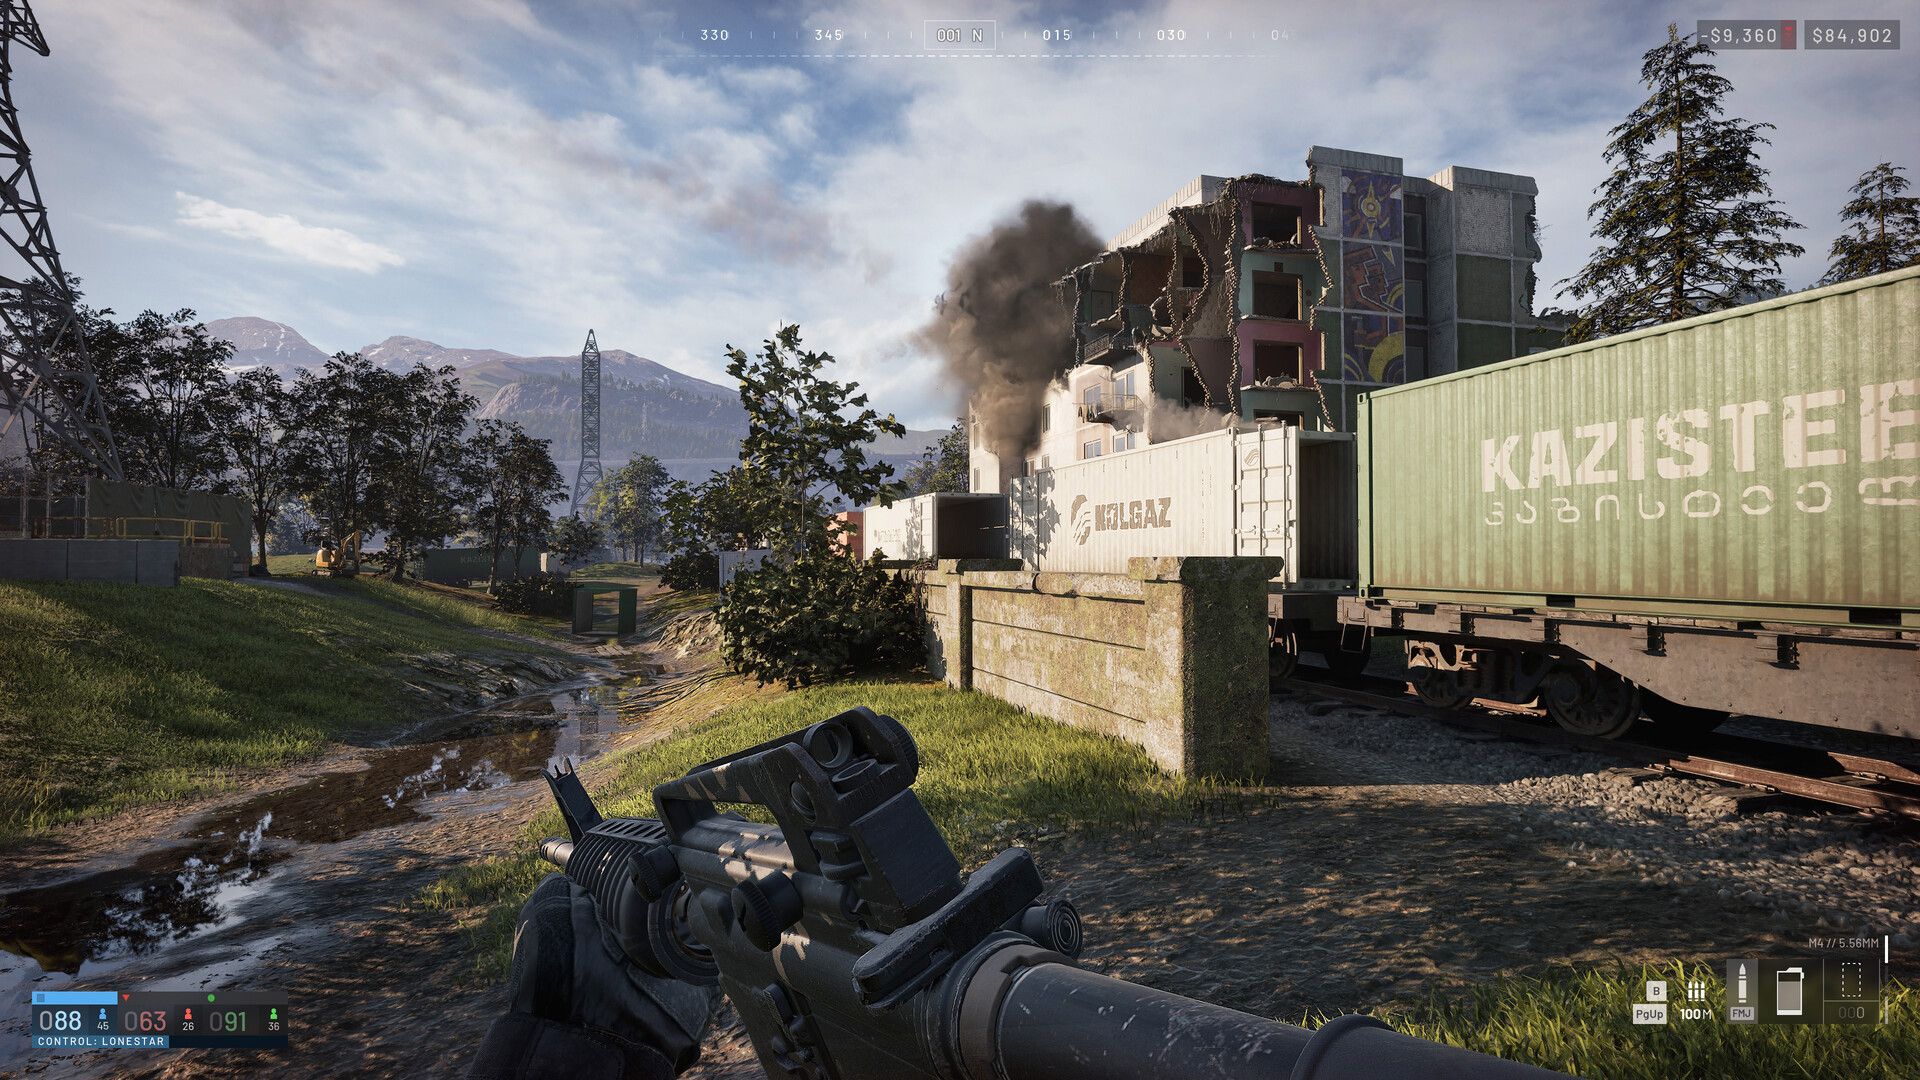
The forward operating base is the anchor everything else hangs off. It is bought from a vendor rather than unlocked on a progression track, and its price rose from $2,500 to $7,500 at the start of Season 1. A base supplies the structures around it, and the supply types are not interchangeable: fuel in particular is what powers a drill, so a base with a drill rig and no fuel is an expensive ornament.
The structures below are named by players from the launch build. They are grouped by what they do rather than by hammer tier, since the tier that unlocks each one is not published for every entry.
Category | Structures |
|---|---|
Infantry cover | Sandbags, barbed wire, hedgehogs, small and large barrier walls, heavy walls |
Perimeter | Doors, gates, bunkers |
Observation | Recon towers |
Indirect fire | L81 Mortar, indirect fire shelters |
Anti-air | Anti-air systems, surface to air missile systems, a close-in weapon system |
Logistics | Repair stations, refuel stations, supply crates |
Objective | Drill rigs |
Communication | Loudspeakers, used to broadcast faction propaganda |
The L81 Mortar is the shorter ranged half of the game's indirect fire, covering the ground the Artillery Tank cannot reach. Players report a range of up to roughly 700 metres, up to three shells loaded at a time, an ammunition cost of 30 supplies per shell, and a build cost of around 91 building supplies. Those are observed values rather than published ones.
Because the game gives map coordinates, players range mortars by arithmetic rather than by walking rounds onto a target: marking the gun and the target, taking the difference in each axis, and treating the two as the sides of a right angle triangle. The advantage is not accuracy so much as concealment, since a ranging shot tells every enemy on the map roughly where the gun is.
Separately from built structures, players can carry deployable munitions: 155mm and 122mm rounds and flares. All three were changed at the start of Season 1 to take up more room in a loadout, which made carrying them a real trade against the rest of a kit rather than a free addition.
Everything on this page can be destroyed, and the effort varies enormously by structure and by tool. Players have measured heavy barrier walls as taking several times the explosives that a gate does, with fragmentation grenades and grenade launchers being poor choices against anything substantial. The counterpart to building, and the weapons used for it, are covered under Base Building and Destruction and Loadouts and Arsenal.
The practical advice players give each other is to build against the problem in front of them rather than to a template. Enemy helicopters call for anti-air, enemy armour for defensive positions and anti-vehicle planning, an assault on an enemy position for mortar support, and vehicles that keep running dry or coming back damaged for refuel and repair stations. If the Hot Zone is far away and the team wants it closer, that is what a drill rig is for, as covered under Towers and Drills.
The other consistent piece of advice is to protect the expensive structures. A drill rig or an anti-air system sitting in the most exposed part of a base is a purchase waiting to be deleted.
