
This article is incomplete
Some sections are missing or need additional details. Help improve it by contributing.
Start Phantom Blade Zero by learning when to defend, keeping track of Soul's separate combat resources and preparing equipment before leaving a Bell. The loadout below is one example to work toward as its pieces become available. It is not a requirement for the opening fights or a guarantee of the strongest setup.
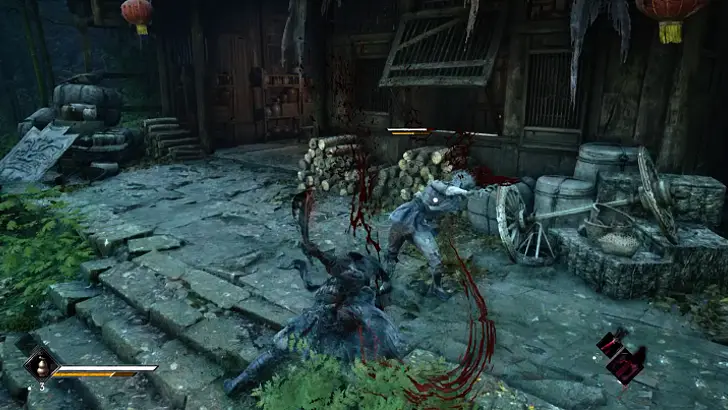
Watch health and Sha-Chi
The HUD shows Soul's health, Sha-Chi, equipped items and weapons, along with an enemy's health and Sha-Chi. Depleting an enemy's Sha-Chi creates an opening, but emptying Soul's own gauge leaves him vulnerable. The off-screen enemy indicator helps track threats outside the camera view.
Holding Guard drains Sha-Chi, while a well-timed parry avoids that hit's damage and Sha-Chi cost and depletes the attacker's gauge. Blue-flash attacks require a timed parry rather than an ordinary held block. Red-flash attacks require a perfect dodge. Practice the timing before relying on a long attack sequence.
Check the active control layout in Options. Main-weapon swapping and Phantom Edge selection are separate commands: on PlayStation controllers, the left directional button swaps main weapons, Right on the D-Pad selects an Edge, and R2 activates that Edge's ability.
Keep the three resources separate
Resource | What to check |
|---|---|
Ordinary Sha-Chi | Blocking and certain named actions use this gauge. Sanguine's Phantom Execution requires more than 90%, consumes the gauge and prevents main-weapon swaps for 15 seconds. |
Sha-Chi Essence | Sanguine's L2 Sweeping Blade and Jagged Steel Rampage each cost 1 Essence. |
Remnant Sparks | Dread Axe costs 1 Spark for its held-and-released attack. Hunter's Chain Sickle costs 1 Spark for its complete three-attack active combo. |
Do not read a general Power Surge label as the cost of every special attack. The Sha-Chi guide separates these resources. Swapping main weapons helps recover Sha-Chi, but the previous weapon has a cooldown. The exact partial-versus-full restoration amount remains unresolved, so avoid planning around a guaranteed full refill.
An example weapon loadout
Two main weapons and up to two Phantom Edges can be equipped together. The following choices combine Bleed buildup, attacks on enemy Sha-Chi and tools for exploration. Keep using available equipment while working toward them rather than assuming every piece can be collected in the first region.
Equipment | Role and conditions |
|---|---|
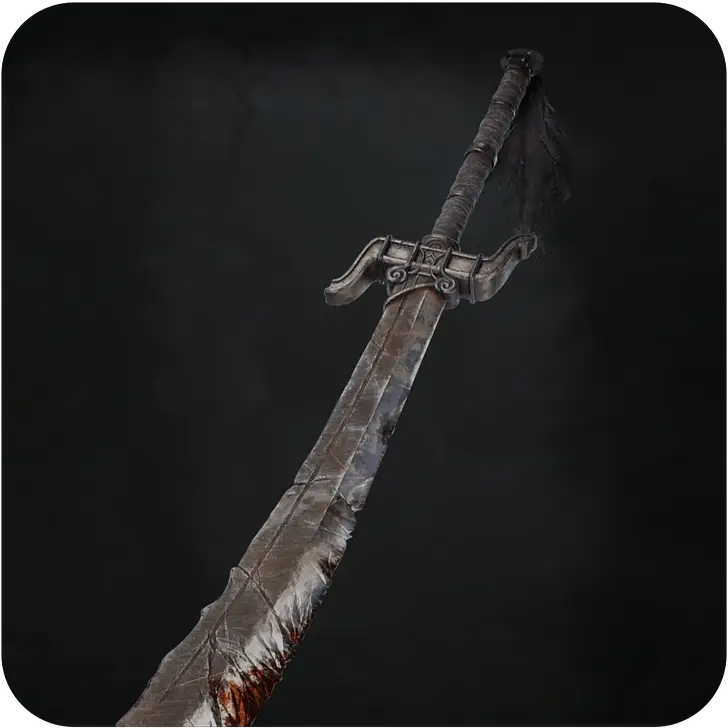 | Builds the Bleed Gauge toward Blood Loss. Blood Blade stacks improve damage and Bleed buildup for 5 seconds; this is different from treating Bleed as a generic damage-over-time effect. |
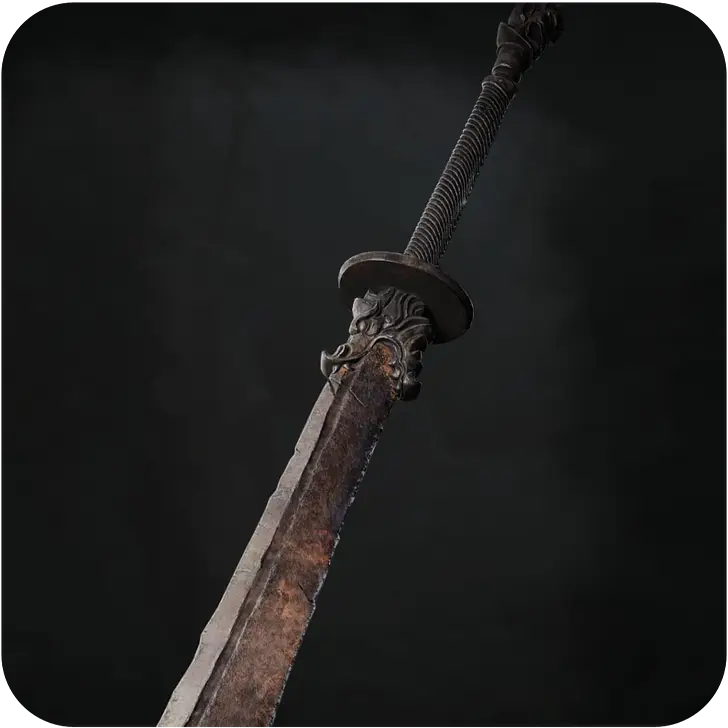 | Triangle combos leave Red Spider Lilies that slow enemies, drain Sha-Chi and explode after 3 seconds. Its L2 Rouge Bloomstorm consumes 1 Essence. |
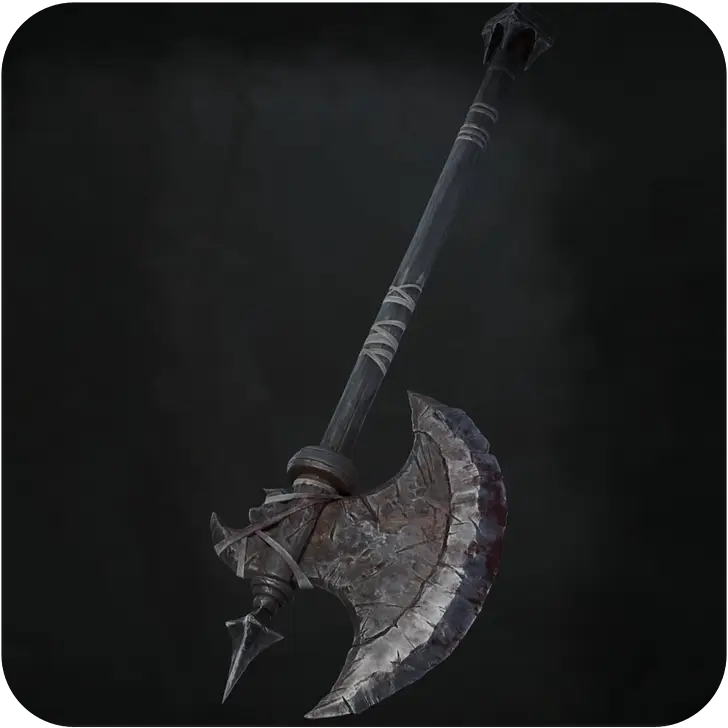 | Hold R2 to charge, then release the cleave for 1 Spark. Its environmental chain-breaking ability is usable after obtaining the Edge, even when it is not equipped. |
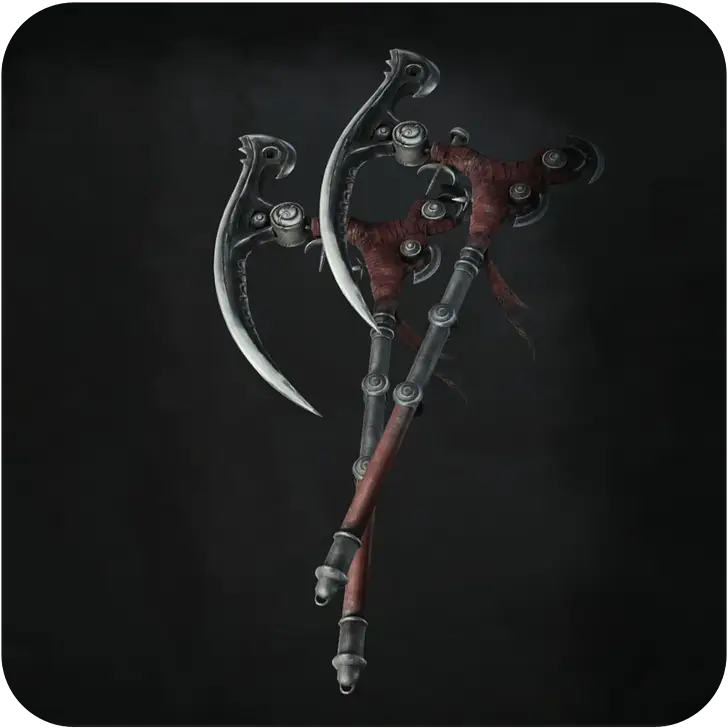 | Repeated R2 presses form a three-attack active combo for 1 Spark. After obtaining it, the sickle also enables grapple-point traversal without being equipped. |
Jagged Steel's ordinary Bleed effect excludes Puppets, Phantoms and Golden Bodies. The Livingwood Talisman creates a specific exception, allowing Bleed and Lifesteal against those targets at 50% effectiveness. Check the target and equipped effects before relying on Bleed.
Hunter's Chain Sickle's Relentless Pursuit bonus applies to enemies affected by Burning, Frozen, Paralysis, Poison or Bleeding. Its Shadow Bound follow-up pulls ordinary targets toward Soul but draws Soul toward a large enemy. These are named ability conditions, not proof that every sickle hit pulls every opponent.
Prepare Medicine and accessory slots
Medicine | Listed uses | Effect |
|---|---|---|
 | 3 | Restores 40% HP. |
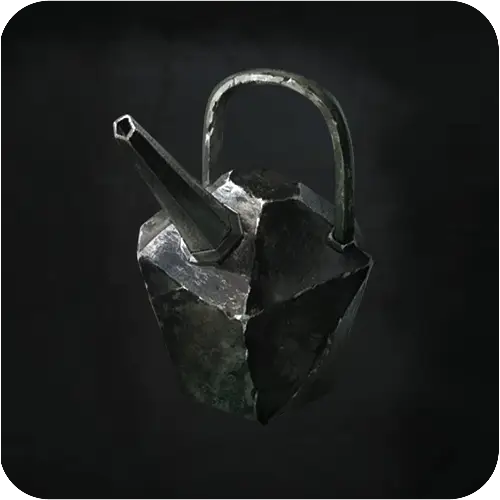 | 2 | Restores 70% HP and increases natural Sha-Chi recovery speed by 50% for 5 seconds. |
Up to two Medicine can be equipped. Their uses refill at Bells, so exhausting the listed charges does not permanently remove them. The counts above are the listed values rather than a universal upgraded maximum. Healing Art adds one Medicine use and lists a cost of 5,000 Remnant Dust.
Start with two accessory slots. Boundless Capacity adds one more, so choose two of these options first rather than trying to equip all three immediately.
Accessory | Effect |
|---|---|
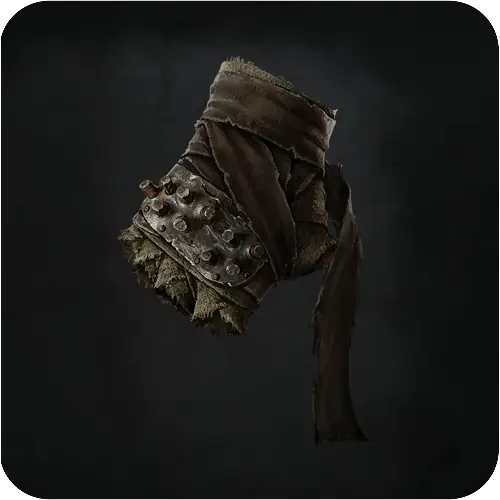 | Damage dealt +5%. |
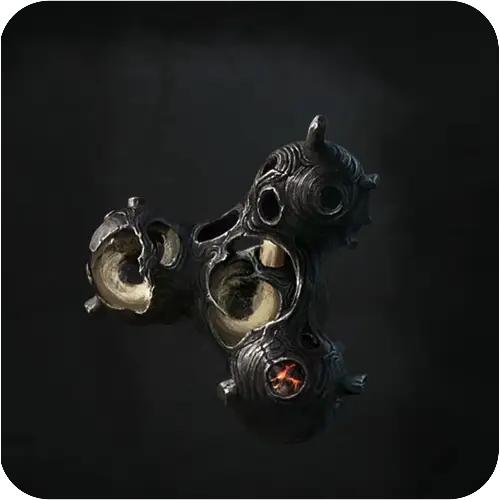 | Parry and Perfect Dodge timing windows +15%. |
 | Damage against Guard Broken enemies +7%. |
Battle Wraps can drop from certain purple-robed enemies near the Red Thread Barrier Bell. Use available substitutes while collecting the rest of the example setup.
Choose skills for the problem at hand
Skill | Useful distinction |
|---|---|
Fluid Form Lv.1 | After Perfect Dodging a Red-flash attack, Parrying a Blue-flash attack, Guard Breaking or defeating an enemy, press Square or Triangle within the brief follow-up window for a Quick Pursuit on a distant enemy. |
Boundless Capacity | Adds one accessory slot. |
Healing Art | Adds one Medicine use; listed Remnant Dust cost: 5,000. |
Thousand-Mile Stride | Transitions to high-speed movement after 2 seconds of sprinting. |
Steady Composure | After a dodge or parry, the next Square attack is more likely to interrupt an enemy. It does not guarantee an interruption. |
Flowing Chi | When a regular enemy uses a ranged Red-flash attack, or is Guard Broken below 50% HP, certain Phantom Edges can counter or follow up at the right moment without consuming a Spark. |
Read each entry in Skills before spending resources. Fluid Form's brief follow-up window and Thousand-Mile Stride's sprint requirement serve different purposes. Neither means that every attack can be cancelled or every gap closed instantly.
Upgrade, explore and return
Improve weapons with Remnant Dust and the appropriate materials. Reforge Talismans recover invested upgrade materials when resetting weapon upgrades; that does not establish a refund of every possible fee. Soul Tempering is a separate, irreversible enhancement using a weapon-specific material and Remnant Dust.
Check Tales as well as the main objective, and investigate optional paths when the route opens up. New Phantom Edges can provide environmental abilities that make earlier blocked paths worth revisiting. Activate Bells as you explore to map the surroundings and add return points.
Before leaving a Bell, review the equipped weapons, Edges, Medicine and accessory slots. Use the healing guide for recovery choices and fast travel and saving for checkpoint services and difficulty-specific saving limits.