Loading...
Loading...
The Triangle Ring is an Abyss island puzzle area in Crimson Desert, accessed through the triangle forcefield on the west side of the Crowcaller boss arena at Crow's Nest. This floating realm contains multiple interconnected puzzles, including a traversal challenge across sky islands and a laser-alignment puzzle inside the Monolith Crown chamber. Completing the Triangle Ring rewards you with an Abyss Artifact, a critical resource for upgrading abilities and progressing through the skill tree.
The Triangle Ring puzzles involve platforming, gliding, and careful use of Axiom Force and Force Palm. You will need to navigate wind generators, operate alignment mechanisms, and solve a spatial rotation puzzle to complete this area. The route also connects back to the Crescent Skybridge, opening up a secondary gate that leads to a dead end for now but may become relevant in future content updates.
Before you can enter the Triangle Ring, you must meet the following requirements:
Requirement | Details |
|---|---|
Defeat Crowcaller | The Crowcaller boss fight must be completed. The triangle forcefield only becomes accessible after this encounter. |
Axiom Force unlocked | Axiom Force is required to manipulate the entry switch, control the laser box mechanism, and interact with various objects throughout the area. |
Force Palm unlocked | Force Palm is needed to activate the floor gear that completes the Monolith Crown puzzle. Specifically, you will need to perform a jumping Force Palm. |
Gliding ability | Flight (Wings) must be unlocked. You will need to glide across large gaps between sky islands and use wind generators to cover distances. |
Detail | Information |
|---|---|
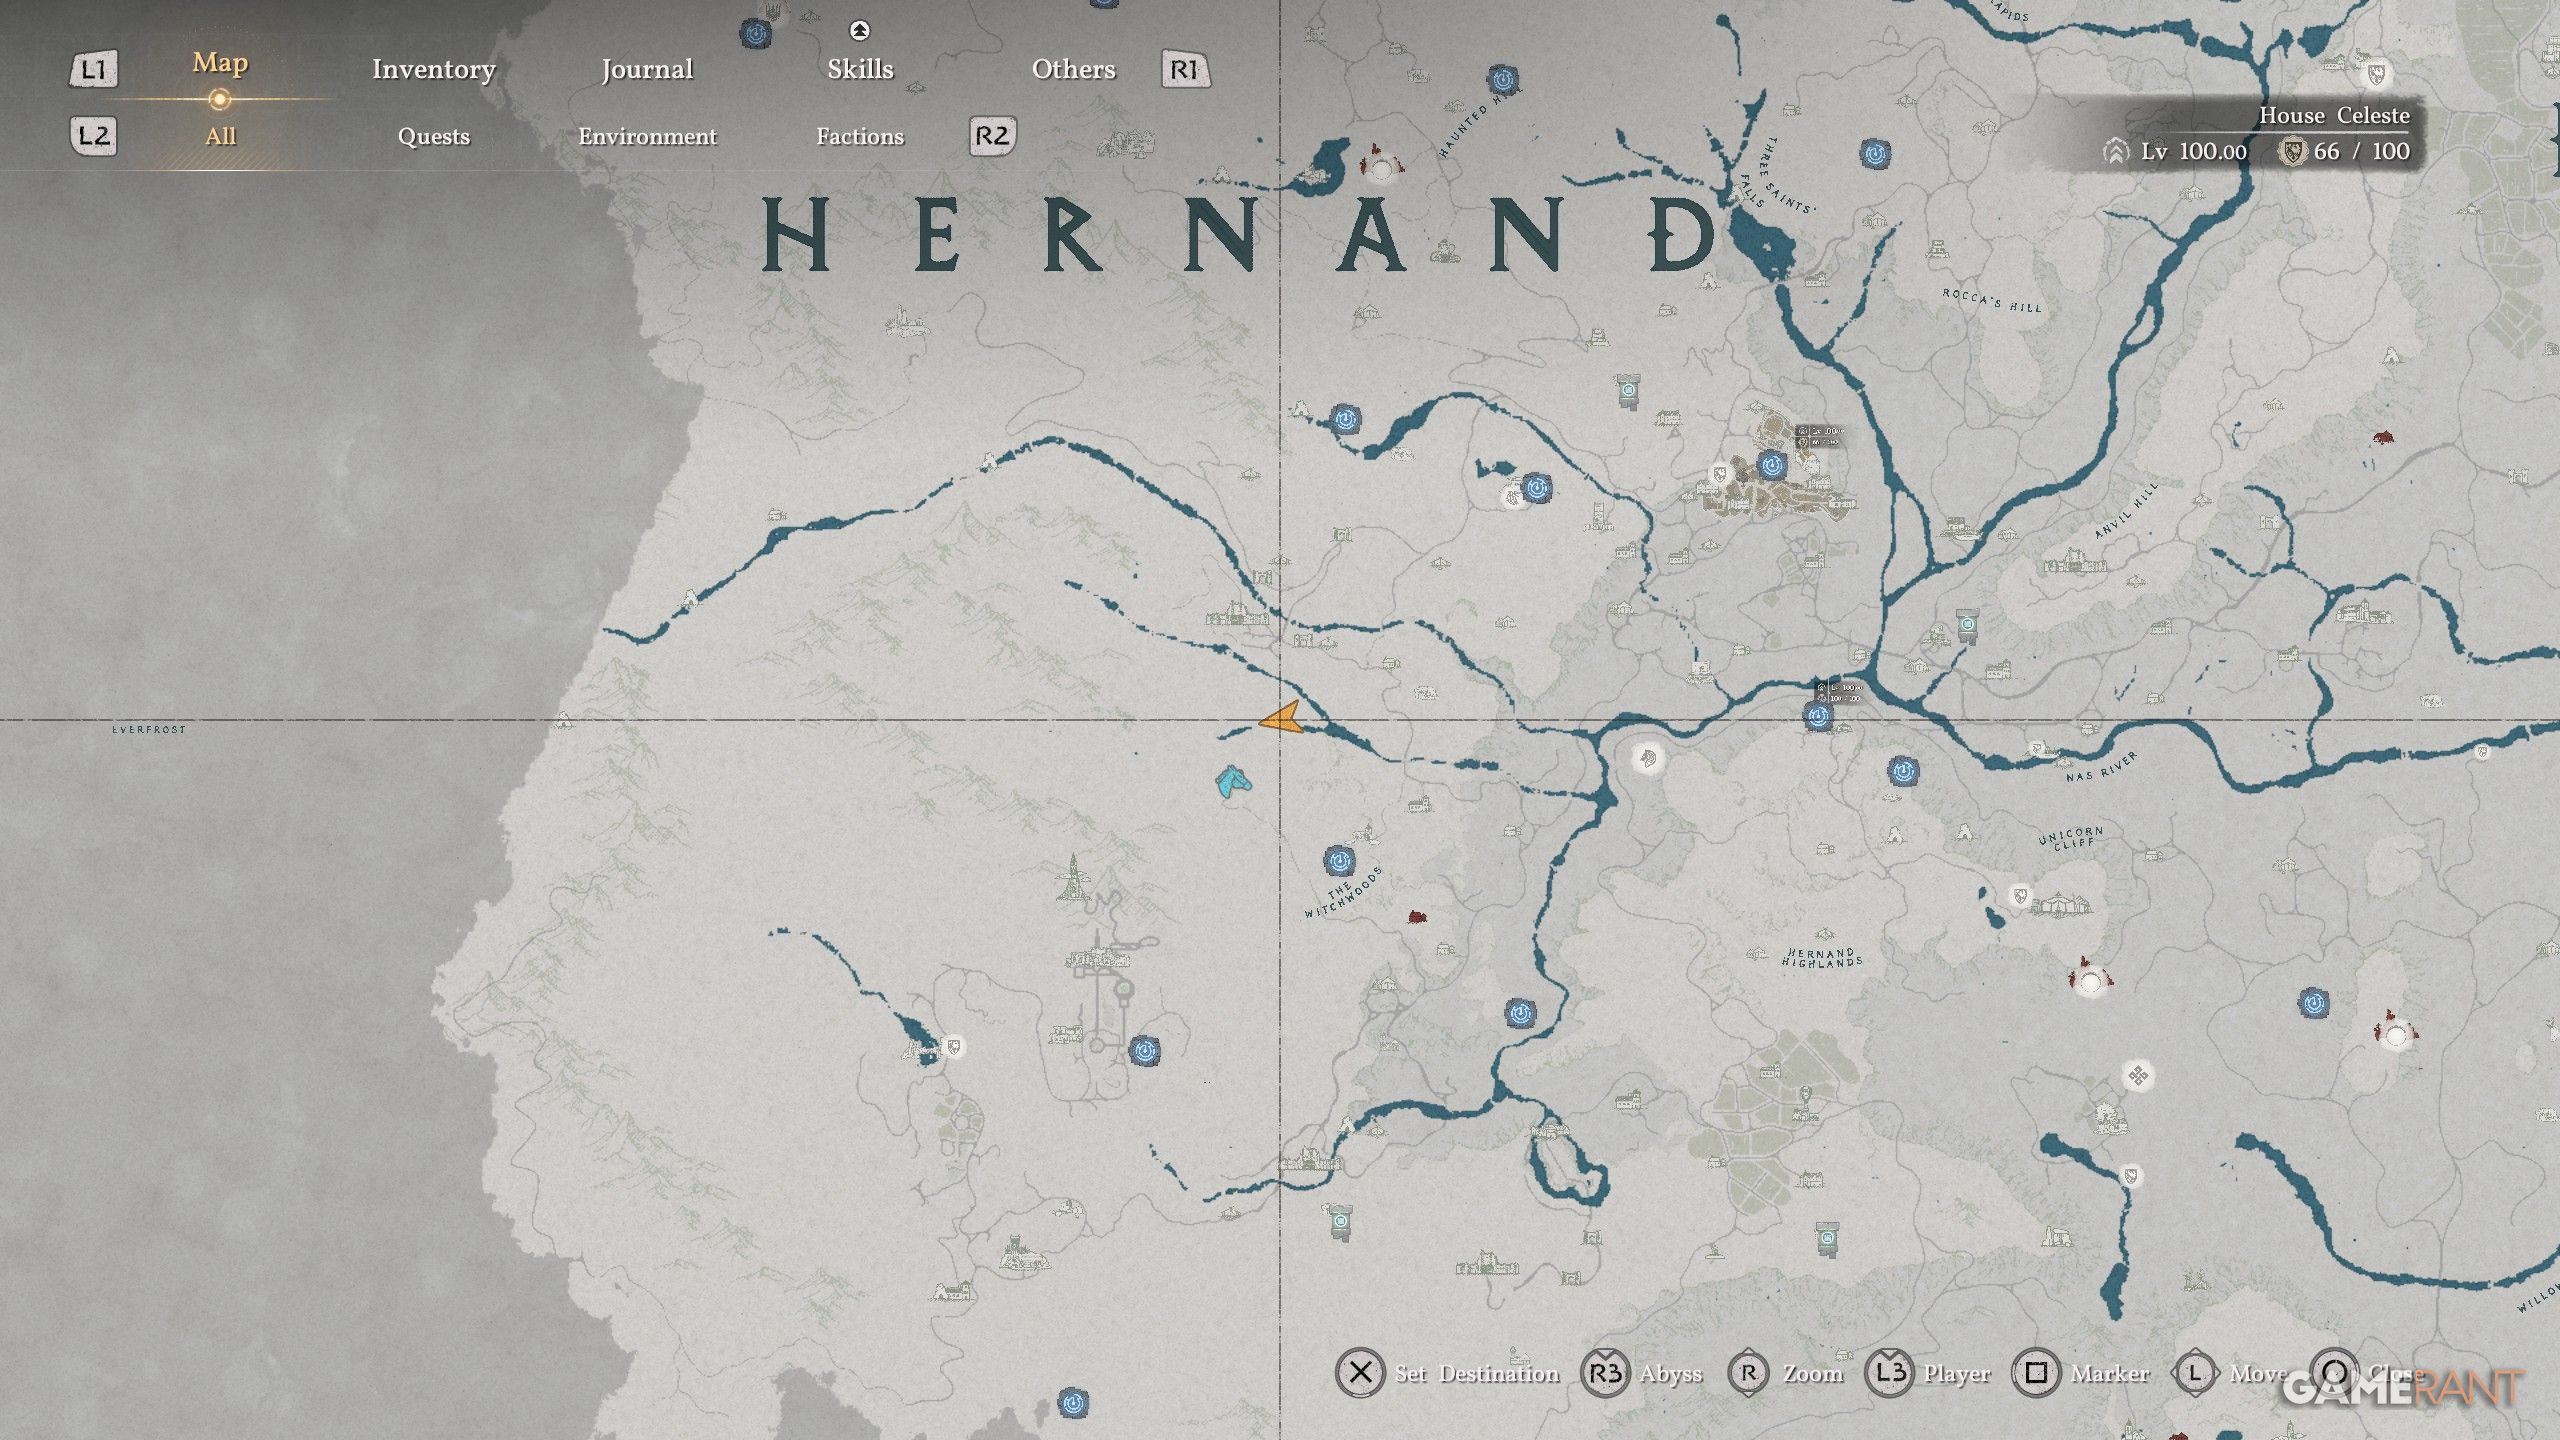
Location | West side of Crowcaller boss arena, Crow's Nest |
Access Method | Triangle forcefield (enter after defeating Crowcaller) |
Key Abilities | Axiom Force, Force Palm, Flight (Wings) |
Reward | |
Abyss Nexus (at Monolith Crown) | |
Connected Areas |
After defeating the Crowcaller, return to Crow's Nest and look for the triangle-shaped forcefield on the west side of the boss arena. Walking up to the forcefield triggers a switch to appear. Grab the switch using Axiom Force (hold L3 / Left Stick), then use the D-pad to rotate it until you find the activation point, sometimes called the "sweet spot." When the switch locks into place, a series of platforms materialize in front of you.
Cross these platforms carefully to reach the teleporter at the end. Step into the teleporter and you will be transported to the Abyss island where the Monolith Crown puzzle awaits.
You arrive on a large tilted platform floating in the sky, surrounded by scattered debris and smaller sky islands to the northeast. The goal is to reach the main island where the Monolith Crown puzzle chamber is located.

Glide northeast toward the sky islands. Deploy your wings and glide from the tilted platform toward the cluster of floating islands to the northeast. Watch your stamina bar, as running out mid-flight will cause you to fall.
Avoid the wind generators. Several wind generators are positioned between the islands. These will push you backward if you fly directly into their airflow. Stay to the sides or use the terrain to shield yourself from the gusts while crossing.
Use the opposite wind generators to head north. Once you land on the intermediate islands, look for wind generators on the far side. These blow in the direction you need to travel. Open your cape above them and let the updraft carry you northward toward the main island.
Register the Abyss Nexus. When you reach the main island, locate the Abyss Nexus fast travel point. Register it immediately so you can return here without repeating the gliding sections if you need to leave and come back.
Climb the broken stairs. From the Abyss Nexus, follow the broken stairway upward to reach the entrance to the Monolith Crown puzzle chamber.
Tip: If you fall during the gliding sections, you will respawn at the last platform you stood on. There is no death penalty here, but you will need to reattempt the glide.
The Monolith Crown chamber contains the primary puzzle in the Triangle Ring area. At the center of the room hangs a large suspended box (sometimes called a cage) with lasers projecting from its various faces. Gems are embedded in the walls around the room, and your objective is to rotate the box so that each laser beam aligns with its corresponding gem.
The room is roughly circular, with gems placed at fixed positions on different walls. The suspended box floats in the center and can be rotated on multiple axes. Each face of the box either emits no lasers, one laser, or two lasers. The wall with two gems is on the west side of the room.
Find the control platform. Head to the northwest edge of the room. Look for a platform with live electrical cables running along it. These cables lead to the cube controller.
Grab the overhead button. Look up from the platform and you will see a button suspended overhead. Use Axiom Force to grab it. This button gives you control over the cube, allowing you to rotate it with the D-pad.
Identify the two-laser face. While controlling the cube, rotate it until you find the face that emits two laser beams. This face needs to point toward the west wall of the room, where two gems are mounted.
Align the two-laser face to the west. Rotate the cube until the two lasers line up precisely with the two western gems. You will see the gems light up or change color when a laser connects correctly.
Flip, do not rotate, to fix the remaining sides. This is the most important step. When aligning the other faces of the cube, use a flipping motion rather than rotating. Rotating the cube will undo the alignment you already established on the west side. Flipping preserves previously aligned faces while adjusting the ones that still need correction. If another side is not lined up, flip the cube so that the misaligned face moves into position while the west-side alignment stays intact.
Confirm all lasers are connected. Once all laser beams are hitting their corresponding gems (including the two on the west wall), the puzzle is nearly complete. All gems should be visibly activated.
Activate the floor gear. Drop down from the control platform and locate the gear mechanism on the floor of the chamber. Execute a jumping Force Palm on the gear to activate it. This means you need to jump into the air and then use Force Palm while descending onto the gear.
Collect the Abyss Artifact. After the gear activates, the puzzle completes and an Abyss Artifact appears. Collect it to claim your reward. The artifact spawns near the northwest side of the room, close to where you jumped down to the floor gear.
The laser box puzzle can be frustrating if you approach it incorrectly. Here are the most common pitfalls and how to avoid them.
Mistake | Why It Happens | How to Fix |
|---|---|---|
Rotating instead of flipping | Players instinctively rotate the cube on one axis, which undoes previous alignments | Use the flip input (opposite direction press) to swap faces without disturbing aligned sides |
Starting with single-laser sides | It seems logical to start with the simplest alignment first | Start with the two-laser west wall. It is the hardest to align and easier to build around |
Missing the overhead button | The button is above the platform and easy to overlook | Look up from the northwest platform with the live cables. The button hangs directly overhead |
Regular Force Palm on the gear | Using Force Palm while standing on the gear does not activate it | You must perform a jumping Force Palm: jump first, then use Force Palm on your way down |
After collecting your Abyss Artifact, exit the Monolith Crown chamber through the triangle gateway. You will need to make your way back across the sky islands, gliding and platforming in reverse. The route leads back to the Crescent Skybridge, which you can now travel through to the east side.
When you reach the east end of the Crescent Skybridge, you will see two triangle gates. The gate on the right leads back to Crow's Nest. Instead of taking that gate, take the left gate. This leads to an area with another sweet spot switch. Activate the switch using the same Axiom Force and D-pad method you used to enter the Triangle Ring.
After activating the switch, you will reach what is currently a dead end. There is nothing more to do here at this time, but the area may become relevant in a future update or as part of a later questline. For now, it simply marks the completion of the Triangle Ring section.
The full path through the Triangle Ring area follows this sequence:
Defeat Crowcaller at Crow's Nest.
Enter the triangle forcefield on the west side of the boss arena.
Activate the sweet spot switch with Axiom Force and D-pad.
Cross the platforms to reach the teleporter.
Arrive on the tilted floating platform.
Glide northeast to the sky islands, avoiding wind generators.
Use wind generators on the far side to glide north to the main island.
Register the Abyss Nexus fast travel point.
Climb the stairs into the Monolith Crown chamber.
Solve the laser box puzzle by aligning all lasers with gems.
Perform a jumping Force Palm on the floor gear.
Collect the Abyss Artifact.
Exit through the triangle gateway and return to Crescent Skybridge.
Take the left gate on the east side and activate the sweet spot switch.
Reach the dead end (no further progression available currently).
Register the Abyss Nexus as soon as you arrive on the main island. If you fall or need to leave mid-puzzle, you can fast travel back without repeating the platforming.
During the laser box puzzle, take a moment to walk around the room and note where all the gems are before grabbing the control button. Understanding the room layout makes alignment much faster.
When flipping the cube, make small adjustments. Overcorrecting with rapid inputs can scramble all your progress.
If you lose track of which side of the cube has two lasers, release the control button and walk around the room to get a fresh perspective before trying again.
The jumping Force Palm on the floor gear requires good timing. Jump straight up from next to the gear and trigger Force Palm at the peak of your jump so you slam down onto it.