

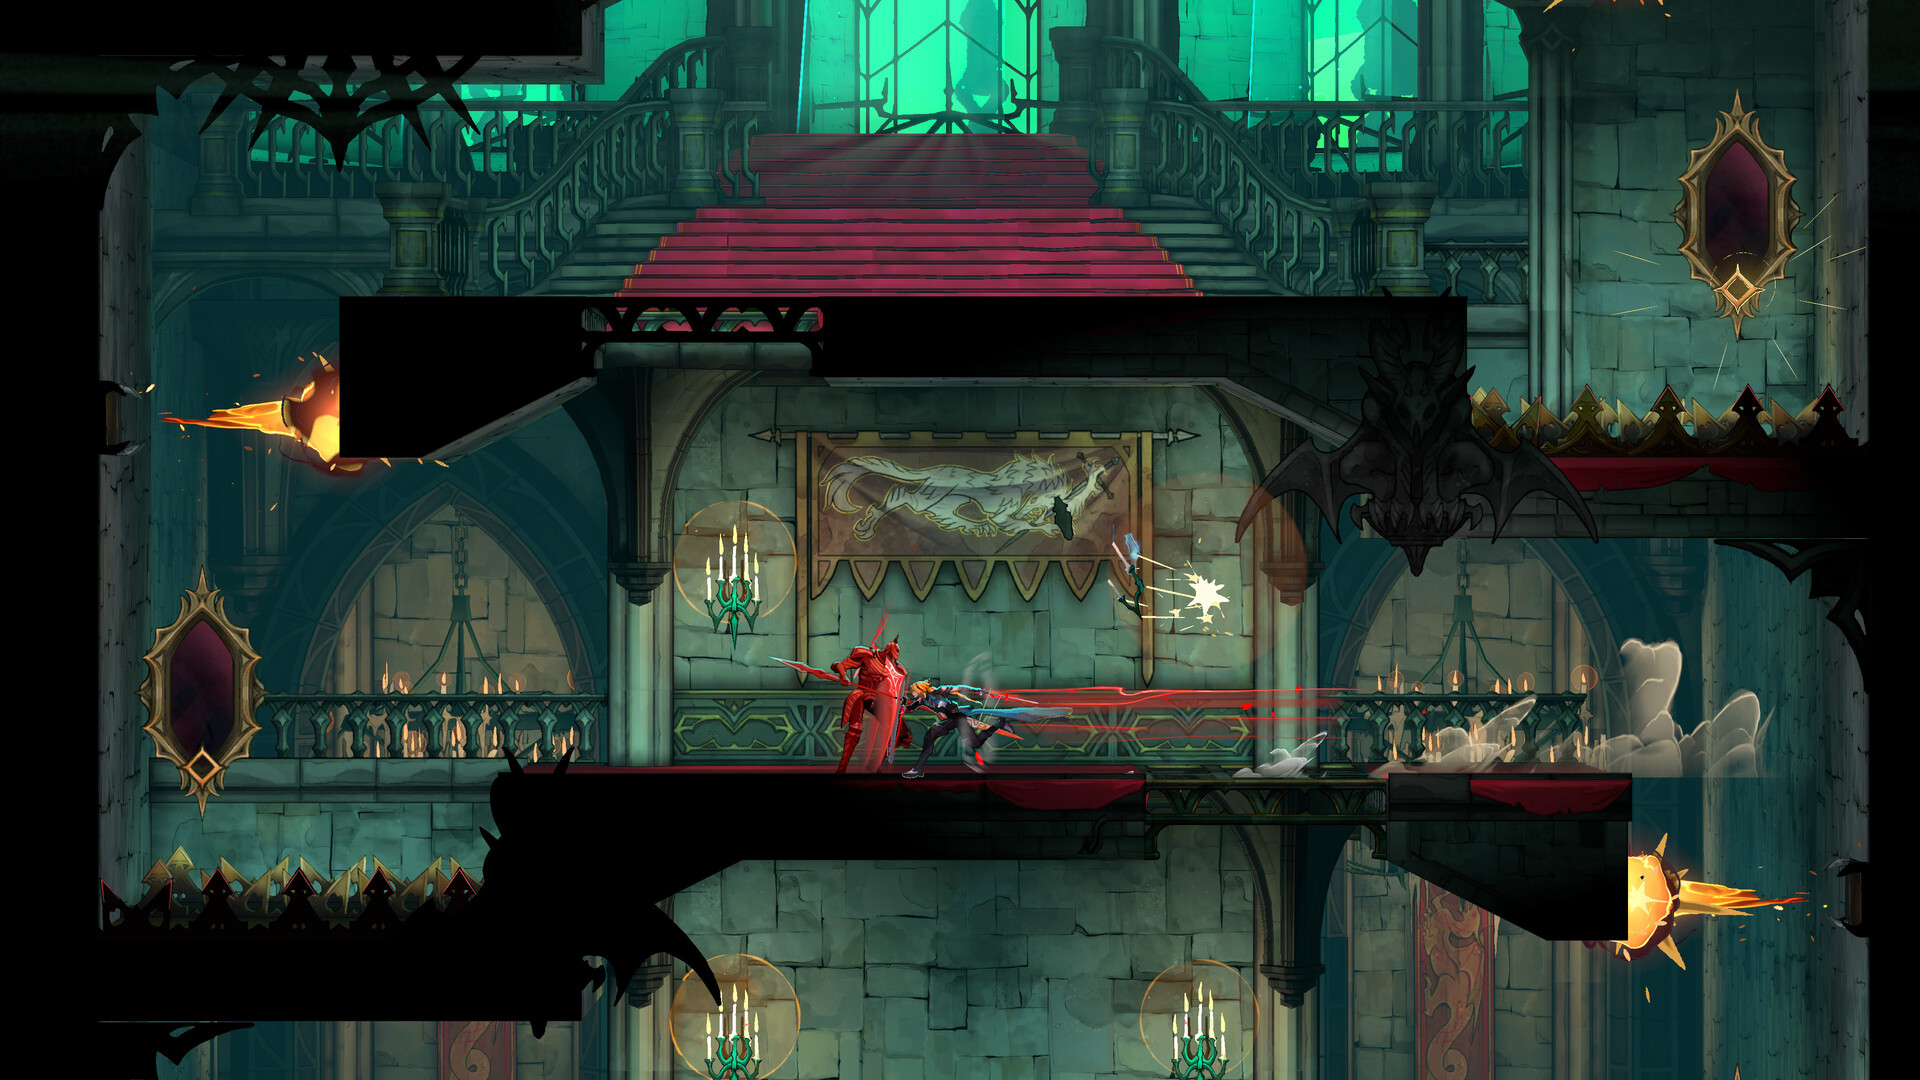
Combat in Castlevania: Belmont's Curse is deliberately demanding. Bosses punish mistakes hard, and the design is built around learning patterns and using the invincibility frames on the dodge rather than out-statting an encounter. It is not built around punishing failure with lost progress: dying costs almost nothing.
Controls
Mappings confirmed from the preview build, using PlayStation button names:
Input | Action |
|---|---|
Attack button | Swing the equipped weapon. Rose can strike in front of her, above her and below her. |
Triangle | Cast the equipped Arcana spell. |
L1 | Drink a healing flask. |
Circle | Dodge or slide, with invincibility frames. Double tap to backflip. |
R2 | Whip grapple, chaining into an instant attack or a traversal swing. |
L2 | Hold for Holy Light, once that ability has been unlocked. |
Full controller support is available, a gamepad is recommended, and there is a keyboard-only option. Anchors, swings and the grapple are covered on Whip and Traversal.
Mana
Mana powers both spells and healing, so offence and survival draw on the same pool. Konami's phrasing is that mana is recovered by defeating enemies; hands-on accounts add that it recharges from landing attacks rather than only from kills, which means an aggressive player refills faster than a cautious one. The hearts that fuelled sub-weapons in earlier games in the series are not present here.
Dodging and Parrying
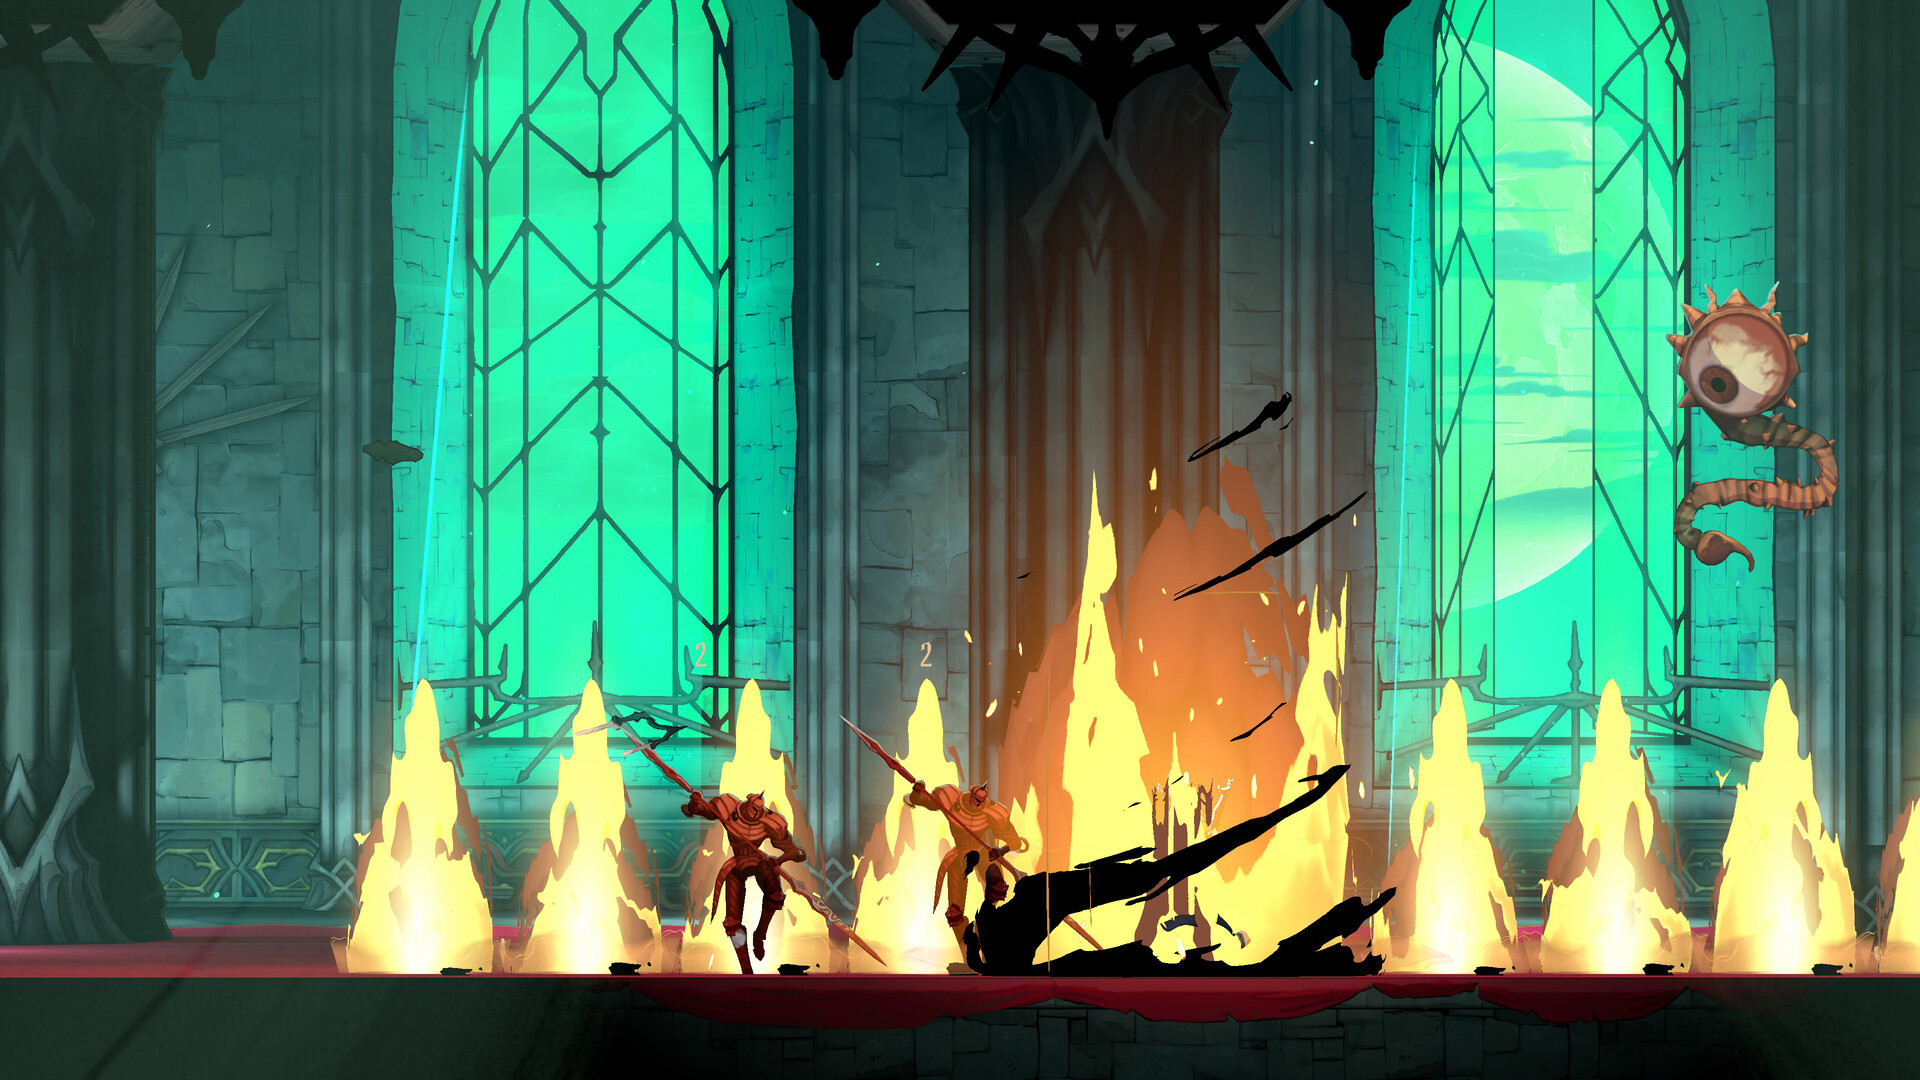
Accounts of the public builds list the defensive kit as a backstep dodge, a slide, a dash and a backdash, with the parry arriving later as an ability rather than sitting on a button from the start.
The dodge sits on the same button as the slide and carries invincibility frames. A double tap turns it into a backflip, and a forward dash lets Rose pass under projectiles and reposition behind an enemy. There is no dive or downward slam attack in the preview build.
There is no parry at the start of the game. It arrives with Holy Light, which means beating Joan of Arc, and it changes the shape of every fight after that point. Holy Light is not a hold-to-block: holding the trigger makes Rose intangible to Chaos Shards, while a press timed exactly against an incoming hit parries it and bounces projectiles and strikes back. Holding it down does not resist attacks.
Healing and Consumables
Enemies do not drop weapons or armour. Gear comes from chests, from fixed points on the map and from bosses, which is covered on Weapons.
Item | Behaviour |
|---|---|
Healing flasks | Three at the start. Refilled by passing a checkpoint and by saving at a mirror room. Extras stack provisionally above three, and one session reached five. No cap has been published. |
Enemy drops | Enemies drop healing items, though not reliably. |
Candelabra | Breaking them can produce a flask refill. |
Meat and cooked chicken | Health-restoring food, often hidden behind breakable walls. |
Hazards
Spikes, traps and chandeliers are placed as environmental hazards, and the design uses them offensively as well as defensively: enemies can be damaged by the same hazards that threaten Rose. Medusa Heads petrify on contact, and being petrified is escapable by waggling the analogue stick. Exploration was deliberately made more demanding through traps and hazards alongside increasingly involved uses of the whip.
Dying
Falling is the one exception to costing nothing. An account of a later public build describes falling into a pit or into water as returning Rose to the last platform she stood on with some health taken off, rather than sending her back to a checkpoint. That is a smaller penalty than dying, not a larger one, and it keeps a missed jump from costing progress.
There is no real penalty for death. Rose returns to the nearest checkpoint, enemies respawn, and nothing is lost. Checkpoints are generously spaced through every area, and passing one refills the flasks. Mirror rooms save, heal, refill and reset the surrounding area at the same time; see Exploration and Map Structure.
There is no permadeath and no procedural generation in this game. Konami has stated both directly.
Difficulty Settings
A set of modifiers exists for players who want to adjust how punishing the game is, including changes to damage dealt and damage taken and automatic respawns outside boss doors. The published list is explicitly incomplete, and no easy, normal or hard selector has been described. Details and the caveats around them are on Difficulty Options.
Stat growth, which changes fights over the long run, is covered on Progression and Upgrades.