
Loading...
Loading...
Needle in a Haystack
April 18, 2026 at 01:51 AM
Embedded 2 image(s) into article
Needle in a Haystack is the launch-content boss quest in the Foothills biome. Doctor Galen sends the player to hunt down Israel Hands, who hides in a sealed ancient temple. The temple cannot be entered until the player gathers three Ritual Keys, each held by one of Hands's lieutenants spread across the Foothills. Defeating Hands rewards the Charon's Obol artifact and frees John the cartographer. The Soul Eater greatsword is not a direct boss drop; it is found in a chest near the boss arena.
Property | Detail |
|---|---|
Quest giver | |
Region | |
Recommended gear tier | 6 to 10 |
Prerequisites | Complete the Coastal Jungle Revenge Is Best Served Cold quest (the Thomas Richards boss fight); reach the Foothills biome |
Boss | |
Reward | Charon's Obol artifact (direct quest reward) and John the cartographer rescued NPC. The Soul Eater greatsword is found in a chest near the arena, not dropped by Hands directly. |
Receive the quest from Doctor Galen at his settled bonfire after completing Revenge Is Best Served Cold
Travel to the Foothills via your repaired ship; the biome is gear tier 6-10, significantly tougher than the Coastal Jungle
Locate the three Ritual Keys each held by one of Israel Hands's lieutenants at separate Foothills locations
Defeat each lieutenant they appear at named encounters such as Pirate Camps or hidden caves; expect Pirate Sergeants and Grenadiers as their guards
Loot the three Ritual Keys after killing each lieutenant; combine them in your inventory
Travel to the sealed ancient temple the entrance is marked on your map after collecting the first key
Use the keys at the temple entrance to break the seal
Engage Israel Hands in the temple's main chamber for the boss fight
Defeat Hands claim the Charon's Obol artifact and rescue John; the Soul Eater greatsword is in a chest near the arena
Return to Doctor Galen to complete the quest and trigger his "next step in your quest for a cure" dialogue
Each Ritual Key is held by a different lieutenant at a different Foothills location. The lieutenants are tougher than standard Pirate Sergeants and may include Grenadiers or named enemy variants. Specific lieutenant names and locations vary somewhat with procedural island generation, but each fight follows a similar pattern: clear the lieutenant's guard force, then defeat the lieutenant in single combat (or with co-op support).
Recommended preparation for each lieutenant fight:
Full food buffs (Strength or Agility +20 plus a stamina buff)
At least 3 Healing Potions and 5 Bandages
Lock-on (T) before engaging; lieutenants telegraph attacks but punish missed dodges
Drop a Fast Travel Bell at each lieutenant's location so you can warp out for repairs and back without retracing steps
Hands fights with Soulslite mechanics scaled for gear tier 6 to 10. Per community boss guides, he appears as an undead spectrally empowered enemy wielding a halberd and layering ghostly projectile and whirl attacks. Key patterns:
Spectral Halberd Charge: a reaching committed dash that leaves a poison trail; dodge laterally rather than backward
Overhead Swing: a multi-hit overhead halberd combo that can be parried for poise damage on the last swing
Spectral Shot: a ghost-fired projectile with a brief raise-and-aim tell; strafe across his line to avoid
Spectral Whirl: a close-range spinning halberd arc; sidestep rather than try to block through the sweep
Soul Barrage: a multi-projectile spectral volley that rains skulls; keep moving through the arena to break line of sight
Recommended boss preparation: full Pikeman's or Conquistador's Armor for damage absorption, Sturdy Halberd or Captain's Greatsword for poise damage, full food buffs (Spicy Chicken with Sweet Potato +20 Strength is ideal), and Healing Potion (Great) stockpile. Bring at least 5 musket rounds for ranged opening if your build supports it. The fight is winnable solo with patience but is significantly easier in 2-4 player co-op.
Reward | Detail |
|---|---|
Artifact direct quest reward; ties to the Ghost Captain's lore. The Soul Eater greatsword is not a direct drop from Israel Hands, but a chest near the boss arena contains it, so most players recover both on the same trip. | |
Rescued NPC who returns to your camp; provides cartography services and lore exposition | |
Boost to all four player-facing factions for striking against Blackbeard's organization | |
Quest XP | Significant XP toward the next level milestone |
Story progression | Unlocks Galen's next dialogue and the path forward to the Cursed Swamps |
Israel Hands' role as Blackbeard's second-in-command and the architect of the prologue ambush makes this fight a major narrative beat. Defeating Hands does not end the war, but it removes one of Teach's most capable strategic assets and signals the player has graduated from "survivor" to "threat." Galen's post-quest dialogue references "the next step in your quest for a cure," tying the victory back to the artifact still fused with the player's body and pointing the player toward the Cursed Swamps endgame content.

Why Israel Hands held John the cartographer captive is part of the quest's broader mystery. Hands is a skilled navigator in his own right, but a captured cartographer with knowledge of obscure coastlines would be valuable both to Hands directly and as leverage against any faction John worked for. John's pre-capture history is currently undocumented in the launch build but expected to expand in later Early Access updates.
Israel Hands - the boss target
Doctor Galen - quest giver
Soul Eater - the greatsword reward
John the cartographer - the rescued NPC
Procedural Biomes - the Foothills biome
Revenge Is Best Served Cold - the prerequisite quest
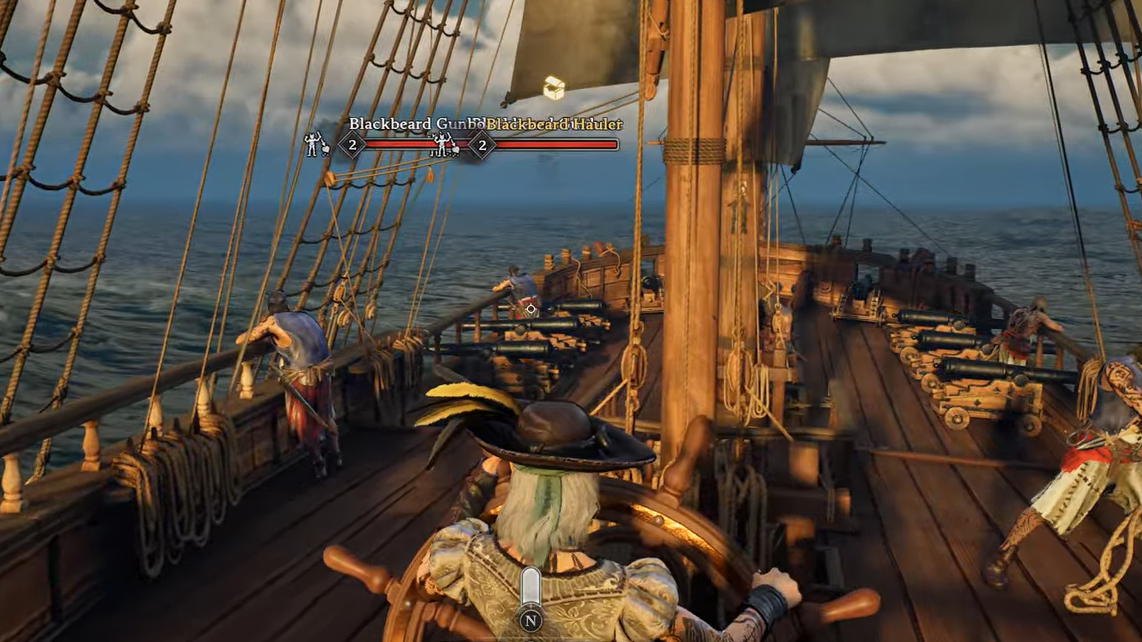
Between the first pirate-camp document loot and the three Ritual Keys hunt, the questline routes the player through a dedicated naval encounter against a named ship called the Unsinkable. Sailing east into open water triggers an interception by four standard Blackbeard escort ships before the Unsinkable itself closes in. The escorts have to be peeled off first; the player's own crew automatically prioritises the Unsinkable once it is within range, which lets the captain focus on steering and broadside angles rather than target switching.
Engagement rhythm: circle the Unsinkable on a continuous arc rather than holding station. Stationary ships are easy targets for the Unsinkable's broadside, and the AI escort angles compound the damage if the player stops moving. Hammer the Unsinkable's hull with cannonballs, prioritising it over any remaining escorts. When its hull bar drops low enough, pull alongside so the crew can board; thin the deck from your own ship with ranged weapons before stepping across. If too many enemies rush at once, jump back to your own deck, soften the crowd from range, then board again. Looting the Unsinkable yields the Journal of the Captain of the Unsinkable, which advances the journal to the next objective.
Sailing northwest from the Unsinkable lands the player on a coastline that funnels through the coastal jungle into the Foothills. Wolves patrol the inland approach and can drop a careless player quickly, so keep moving along the quest marker rather than detouring. The destination is a pirate camp near Ancient Ruins, populated with grenade-throwing enemies that punish close engagement. Clear the camp from range first.
The wax-stained desk: on the left side of the camp, a wax-stained desk holds the next clue. Interacting with the desk advances the journal but also triggers a scripted second wave of Grenadiers plus a Hands Lieutenant who attack immediately. Do not interact with the desk while still low on health or stamina; the encounter starts the moment the prompt closes. After the wave is down, follow the marker north to the next pirate camp where a dead pirate's body holds the three Ritual Keys, completing the prerequisite for the temple gate fight.