Loading...
Loading...
Elemental Reactions
May 7, 2026 at 08:21 PM
Add wikilinks to table cells (10 new links)
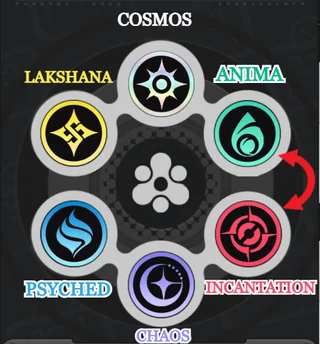
Elemental reactions are at the heart of combat in Neverness to Everness. The game features six elements arranged in a cyclical ring: Cosmos, Anima, Incantation, Chaos, Psyche, and Lakshana. When two adjacent elements on this ring interact on a single target, they trigger a duo reaction with a unique combat effect. These reactions are central to the Esper Cycle System and define how players build teams and approach encounters.
There are six duo reactions in total, each corresponding to a pair of adjacent elements. Combining three elements can additionally trigger the more powerful trio reactions, Charge and Discord. Reactions are triggered when a character applies their element to a target that already has a different adjacent element on it. Order does not matter for duo reactions; what matters is that both elements are present on the target simultaneously.
Reaction | Elements | Type | Effect |
|---|---|---|---|
Blossom | AoE damage | Spawns a Vita Bud that releases 5 Vita Pistils. Pistils explode every 2s for area damage. Up to 3 Buds on the field at once. | |
Hexed | Bonus damage | Adds a follow-up hit equal to 20% of all Anima and Incantation damage taken in the last 12s. | |
Scorch | Incantation + Chaos | Damage over time | Inflicts a 15-second burning DoT effect. |
Nova | Chaos + Psyche | Delayed burst | Marks the target. After 5 seconds, the mark detonates for a burst of Mental damage. |
Stain | Vulnerability debuff | Target takes 50% more Psyche and Lakshana damage for 12 seconds. | |
Remora | Crowd control | Slows movement and attack speed for 5 seconds. Effect decays over time and shortens with repeated application. |
Blossom is triggered when Cosmos and Anima elements interact on the same target. The reaction generates one Vita Bud near the target, which blossoms into 5 Vita Pistils. Vita Pistils then fly toward targets within range, exploding every 2 seconds and dealing area damage. Up to 3 Vita Buds can exist on the field at once, so a Cosmos and Anima team that triggers Blossom regularly can saturate a target with persistent autonomous damage.
Blossom serves a dual purpose. On its own, it provides solid supplementary AoE damage during combat. More importantly, Vita Pistil hits on a target affected by Remora trigger the Charge trio reaction, granting the active character 10 additional Ultimate Energy per hit.
Nanally (S-Class, Anima): Esper Cycle Passive 'More Than Passionate' fires 10 Vita Pistils per Vita Bud and reduces the interval between each shot to 1 second.
Mint (A-Class, Anima): Esper Cycle Passive 'Transform! Super Mint!' expands the damage area of each Vita Pistil on hit. Mint also grants herself 20% increased DEF and 30% Interruption resistance while on the field.
Hotori (S-Class, Cosmos), Chiz (S-Class, Cosmos), Esper Zero (S-Class, Cosmos), and Edgar (A-Class, Cosmos) provide the Cosmos side of the duo for any Blossom team.
Jiuyuan (S-Class, Anima) is the alternative Anima 5-star. Pairing Jiuyuan with Nanally fields two on-element passives even though only one is active at a time.
Hexed occurs when Anima and Incantation elements combine on a target. After the trigger, the target takes a follow-up attack equal to 20% of all Anima and Incantation damage they have taken in the last 12 seconds. In practical terms, Hexed rewards aggressive elemental application: the more Anima and Incantation hits stacked into a target, the larger the Hexed payoff.
Characters with fast attack strings or multi-hit skills pair well with Hexed, as they build up the recent-damage pool that feeds the bonus calculation.
Anima characters like Nanally, Jiuyuan, and Mint paired with Incantation characters like Sakiri, Baicang, or Adler provide the element coverage needed to trigger Hexed consistently. Sakiri's multi-hit abilities and crowd-control skills are especially effective at building the recent-damage pool that amplifies Hexed's bonus.
Scorch is triggered when Incantation and Chaos interact on a target. The reaction applies a damage-over-time burning effect that lasts for 15 seconds, the longest base duration of any duo reaction. Sustained DoT pressure makes Scorch a strong passive damage source while the active character handles other tasks. Scorch is also one of the two prerequisites for the Discord trio reaction, which requires both Scorch and Nova to be active on the same target simultaneously.
Sakiri (S-Class, Incantation): Esper Cycle Passive 'Can I Eat This?' increases DoT taken by the target by 25% for each type of DoT effect while in Scorch state, up to 100%. Stacked with Scorch's own DoT, this is one of the largest amplification windows on a single passive.
Adler (A-Class, Incantation) is one of the launch Incantation A-rank options paired with Scorch teams.
Lacrimosa (S-Class, Chaos) and Daffodil (S-Class, Chaos) provide the Chaos element needed alongside Incantation characters to trigger Scorch.
Nova is triggered when Chaos and Psyche elements combine on a target. The reaction inflicts the Nova status for 5 seconds; when the effect ends, the target takes massive Mental damage. The 5-second delay before Nova detonates creates a strategic window. Players need to keep the target engaged and prevent the mark from expiring prematurely. The delayed burst nature of Nova makes it complementary to Scorch's sustained DoT, and having both active on the same target is the trigger condition for the Discord trio reaction.
Fadia (S-Class, Psyche) is the primary Psyche character for triggering Nova. Her kit revolves around damage redirection and team protection, making her a natural fit for sustained engagements where Nova's 5-second timer can fully resolve. Haniel (A-Class, Psyche) provides an alternative Psyche option. On the Chaos side, Lacrimosa and Daffodil are the available choices.
Stain is triggered when Psyche and Lakshana interact on a target. The reaction applies a powerful vulnerability debuff: the target takes 50% more damage from Psyche and Lakshana sources for 12 seconds. This is one of the most impactful debuffs available, effectively multiplying the damage of two entire elements by 1.5x within the window.
Stain is a cornerstone reaction for burst-damage strategies. Teams built around Stain typically apply the debuff first, then follow up with heavy Psyche or Lakshana damage during the 12-second window. The long duration gives plenty of time to cycle through character rotations and land multiple skill combos.
Skia (A-Class, Lakshana): Esper Cycle Passive 'Suppression' amplifies damage taken by targets attempting to escape Remora restraints, which compounds with Stain's vulnerability bonus during burst windows. The 'Apprehension' passive also boosts Skia's own Fang Thrust damage by 10% for 15s after casting The Pack.
Hathor (S-Class, Lakshana) benefits enormously from the Stain debuff. As a hyper-mobile main DPS dealing Lakshana damage, the 50% damage increase during the Stain window lets Hathor's combos hit considerably harder.
Fadia and Haniel provide the Psyche side of the pair. Fadia's defensive kit is the most reliable enabler for prolonged Stain windows.
Remora is triggered when Lakshana and Cosmos elements combine on a target. The reaction slows the target's movement and attack speed for 5 seconds. The effect decays over time and has a shorter duration if repeatedly applied, so spamming the same Remora on a target offers diminishing returns. Remora is the only duo reaction focused on enemy debilitation rather than dealing direct damage or amplifying damage.
The slow effect provides breathing room in hectic fights and makes it easier to land charged attacks, combos, and positioning-dependent skills. Remora also plays a critical role as one of the prerequisites for the Charge trio reaction. When a Vita Pistil from a Blossom hits a target affected by Remora, it triggers Charge and grants the active character 10 additional Ultimate Energy.
Hathor (S-Class, Lakshana): Esper Cycle Passive 'Delay Warning' grants enhanced debuff effects to targets with Excellent Rating Lock status while in a Remora zone, effectively layering an extra debuff onto the slow.
Skia (A-Class, Lakshana): Esper Cycle Passive 'Suppression' deals heavy damage to targets attempting to escape Remora, adding a damage payoff to the crowd-control reaction.
On the Cosmos side, Hotori, Chiz, Esper Zero, and Edgar all provide element application for triggering Remora.
Trio reactions are advanced combinations that require specific duo reactions to overlap on the same target. They are harder to set up than duo reactions because they require characters from three adjacent elements, but they deliver exceptionally powerful effects. Two trio reactions have been confirmed.
Reaction | Trigger Condition | Effect |
|---|---|---|
Vita Pistil from Blossom hits a Remora-marked target | Each Vita Pistil hit grants the active character 10 additional Ultimate Energy. | |
Target is under both Scorch and Nova simultaneously | Reduces a percentage of the target's break meter, providing the fastest path to a stagger state. |
Charge requires characters from three adjacent elements on the ring: Lakshana, Cosmos, and Anima. Apply Remora (Lakshana + Cosmos) to slow the target, then trigger Blossom (Cosmos + Anima) while Remora is still active. The Vita Pistils from Blossom recognize the Remora mark on each hit and grant the active character 10 additional Ultimate Energy per hit. Because Vita Pistils explode every 2 seconds and a Vita Bud can spawn 5 Pistils, sustained Charge generation is extremely efficient at maintaining ultimate uptime.
Discord requires characters from three adjacent elements: Incantation, Chaos, and Psyche. Apply Scorch (Incantation + Chaos) to inflict the 15-second burning DoT, then trigger Nova (Chaos + Psyche) before Scorch expires. When both effects are present on the target simultaneously, Discord activates and reduces a percentage of the target's break meter.
Discord provides the fastest path to staggering enemies through the Stagger System. Against elite enemies and bosses with large break meters, Discord can strip a significant chunk of the meter in a single trigger. Lacrimosa's Esper Cycle Passive 'Tomato Banquet' deals additional damage equal to 400% of ATK to the target when Discord triggers, if the target is already Broken. This makes Lacrimosa the centerpiece Chaos pick for any Discord-focused team.
The element ring runs in fixed clockwise order: Cosmos, Anima, Incantation, Chaos, Psyche, Lakshana, and back to Cosmos. Only neighboring pairs on this ring can produce duo reactions, and any three consecutive elements form the contiguous arc that powers a trio reaction.
This means Cosmos is adjacent to both Anima and Lakshana, Anima is adjacent to Cosmos and Incantation, and so on around the full circle. Elements that are not adjacent on the ring (for example, Cosmos and Chaos, or Anima and Psyche) do not produce any duo reaction when combined. When building a team, focus on characters whose elements sit next to each other on the ring to ensure your squad can trigger useful reactions.
Elemental reactions are tied to the Esper Cycle System. Each character has an Esper Cycle Meter that fills during combat through three methods: continuous attacking (normal hits and combos), skill usage (provides larger charge bursts), and successful parries (generates significant charge). Every character has a Cycle Rate stat that determines how quickly their actions fill the meter. A skill tagged at 100 Cycle Rate fills the meter in a single cast, which is why characters like Esper Zero and Fadia function as instant-swap reaction enablers.
When the meter reaches full capacity, eligible squad members glow to signal readiness. At this point, swapping to a glowing character and applying their element to a target already affected by the adjacent element triggers the corresponding duo reaction.
Every character in Neverness to Everness has a unique Esper Cycle Passive that remains active even when the character is off-field. These passives often enhance specific elemental reactions, making them a critical consideration for team building. Characters do not need to be on the field for their passive to take effect.
Image | Character | Element | Passive Name | Effect |
|---|---|---|---|---|
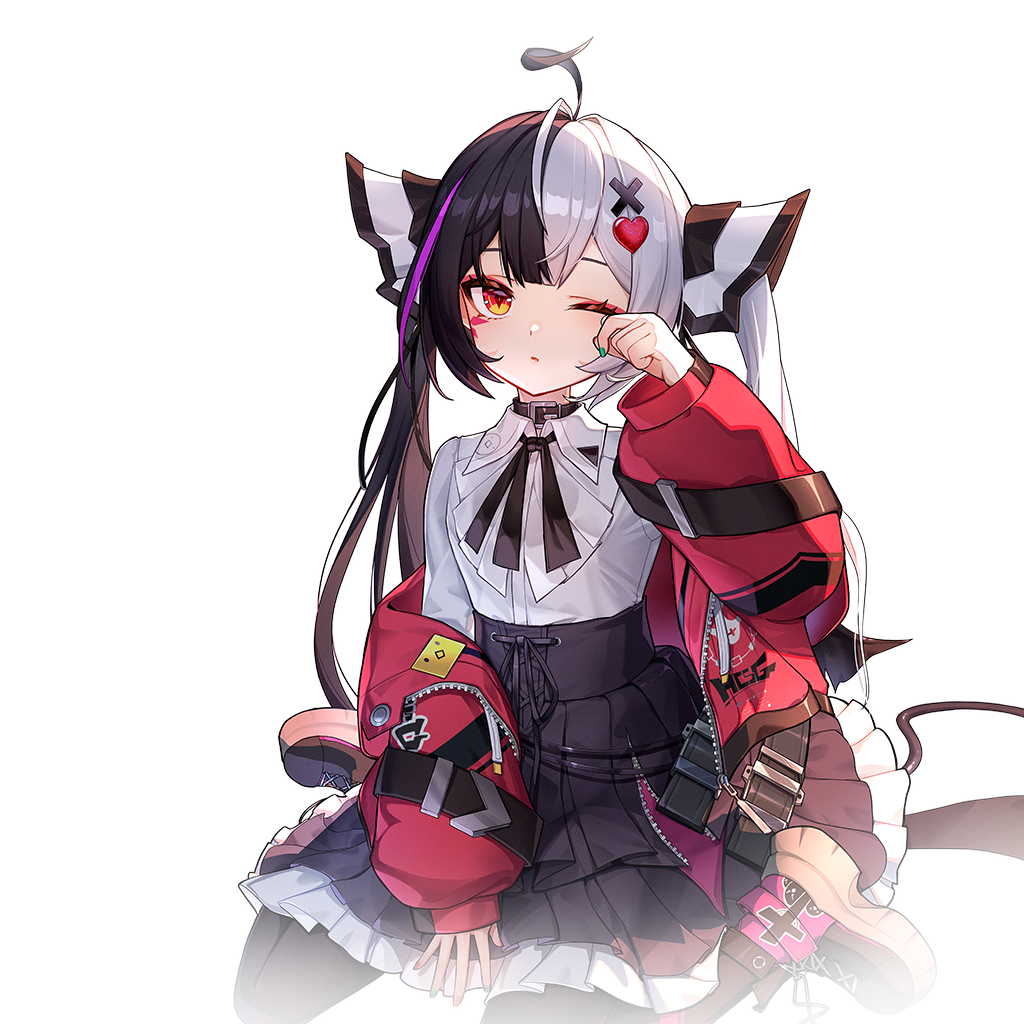
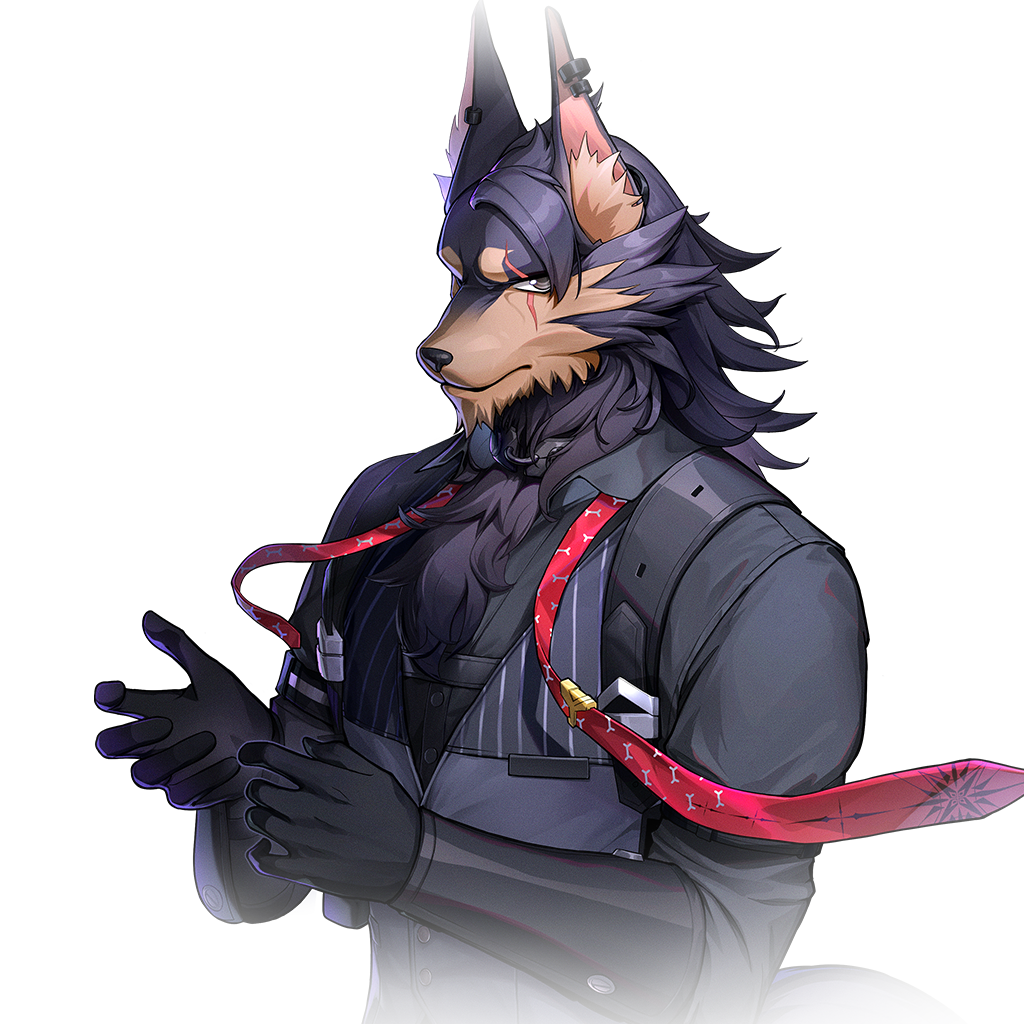
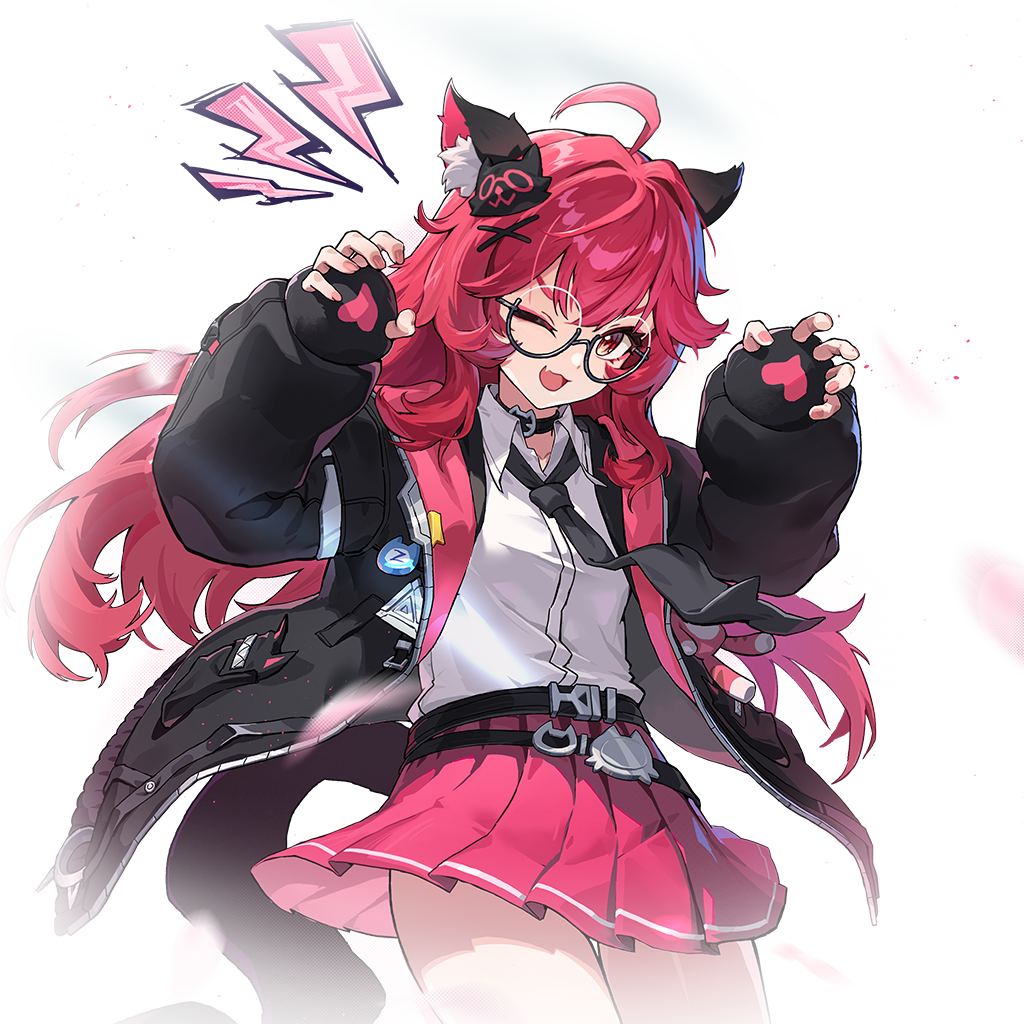
| Can I Eat This? | Increases DoT taken by the target by 25% per type of DoT in Scorch state, up to 100%. | ||
| Tomato Banquet | Discord Enhancement: deals additional damage equal to 400% of ATK when Discord is triggered on a Broken target. | ||
| Delay Warning | Excellent Rating Lock status receives enhanced debuff effects in Remora zones. | ||
| Transform! Super Mint! | Expands each Vita Pistil's damage area on hit. Mint also gains 20% DEF and 30% Interruption resistance while on the field. | ||
| Suppression | Targets attempting to escape Remora restraints take amplified damage. | ||
| More Than Passionate | Fires 10 Vita Pistils per Vita Bud and reduces the interval between each shot to 1 second. |
Build teams with at least two pairs of adjacent elements to ensure you can trigger reactions consistently throughout a fight.
Pay attention to Esper Cycle Passives when selecting your team. Even characters who spend most of their time off-field can dramatically boost your reaction damage through their passives.
Scorch and Nova are the two prerequisites for the Discord trio reaction. If you want to trigger Discord, include at least one Incantation, one Chaos, and one Psyche character.
Blossom and Remora are the two prerequisites for the Charge trio reaction. If you want to trigger Charge, include at least one Cosmos, one Anima, and one Lakshana character.
Stain's 12-second damage window is one of the longest debuffs in the game. Use it as the opener in burst rotations to maximize the damage boost.
Remora's slow effect helps the entire team land combos more reliably. Consider including it in teams that rely on charged attacks or positioning-dependent skills.
Repeatedly reapplying Remora produces diminishing returns due to its decay-on-reapply rule. Spread the slow across new targets rather than refreshing the same one.