
Loading...
Loading...
ReroRero Phone Booths
October 23, 2026 at 03:26 PM
Removed unsupported phone booth total
ReroRero Phone Booths are fast travel points around Hethereau. Interact with a booth to activate it, then select its icon on the World Map to return. They complement Wertheimer Towers by providing additional travel destinations close to local objectives.
Activation is one-touch. Walk up to a booth, press the interaction prompt, and the booth becomes a permanent fast-travel destination from the World Map menu. Hunter Level acts as a soft gate on the harder-to-reach booths; once a character has reached the Hunter Level associated with a particular district, that district's booths become safe to approach without high-level enemies blocking the route.
Walk up to any phone booth marked with a dim or grey icon on the World Map.
Press the interaction prompt to sync the booth. The icon switches from dim to bright on the World Map and the booth becomes a fast-travel destination.
Open the World Map and select the booth icon to fast-travel back at any time. There is no fast-travel cost beyond the standard map open animation.
On PC, the activation key is the standard interaction key (default F). Controllers use the standard interaction button.
Hunter Level acts as a soft gate. Booths in higher-level zones may sit near aggressive enemies; reaching the recommended Hunter Level for that district clears the path. Common community advice points to roughly Hunter Level 24 as the threshold where additional booth zones become approachable.
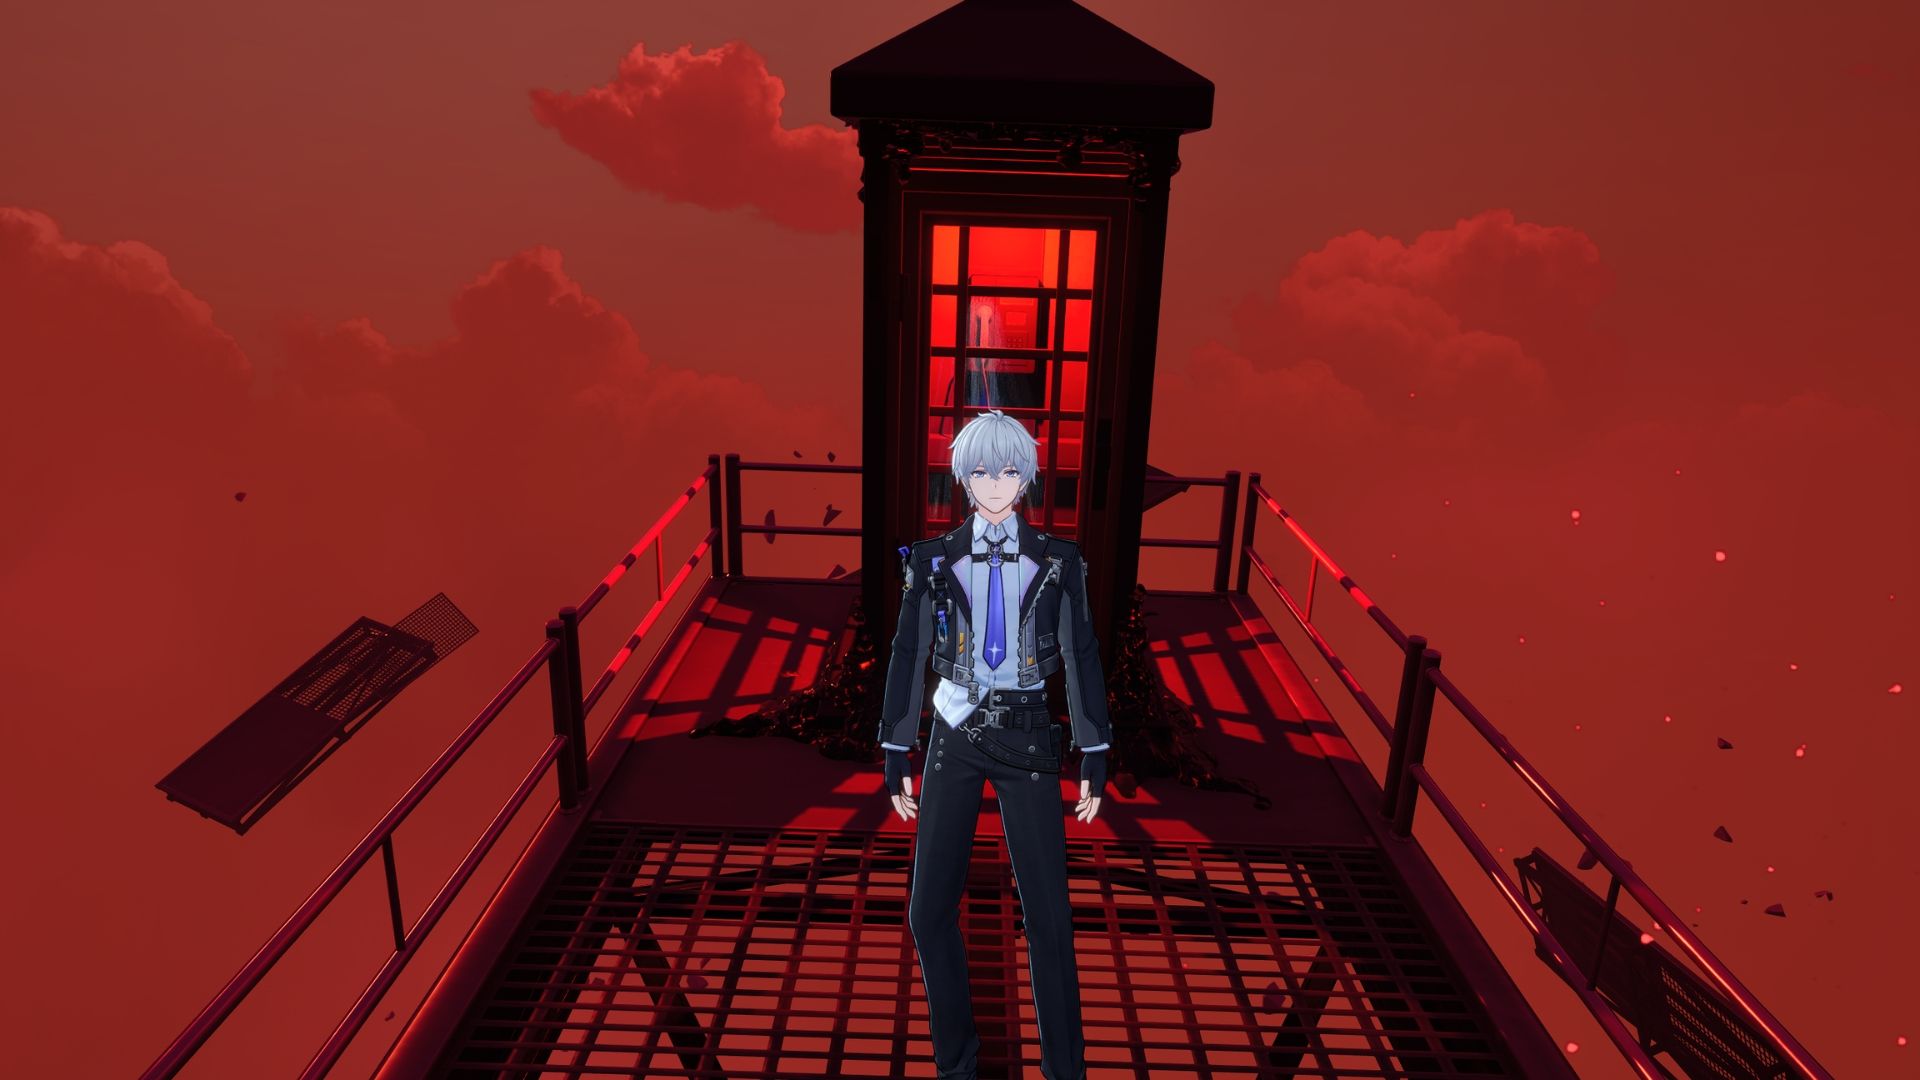
Phone booths appear in several districts and on Sunward Island. Use activated map icons to plan a nearby destination, then check the local terrain when approaching an inactive booth.
District | Approx. Booth Count | Notes |
|---|---|---|
High | Dense booth coverage near Tamamochi Street and the bridge approaches. | |
High | Booths cluster around the Origami Market and Clement Academy. | |
Medium-High | Heritage alleys make booth placement scattered but consistent. | |
High | Includes the central hub at Midas Tower. | |
Medium | Coastal route booths along the shoreline and ferry terminal. | |
None or sparse | Restricted outer-zone region with minimal coverage. |
A handful of booths anchor the network in ways that make them worth seeking out early. The list below highlights the most useful unlocks for traversal and rewards.
Booth | District | Why It Matters |
|---|---|---|
Midas Tower Booth | Sits at the top of Midas Tower / Midas Arc Workshop. Reached by platforming up the floating debris around the tower. Awards 25 New Herland Footprint Points, 50 Hunter Level EXP, and the 365 Miles achievement on first sync. | |
First Five Booths | Various | Activating the first five booths in any combination triggers a starter achievement that returns Annulith as a one-time reward. |
Booths follow a clear visual convention on the in-game map and in the world. Inactive booths display a dim or grey phone icon on the map; active booths shift to a bright neon-blue tone. In the world, the booth itself is unmistakable: a vertical glass-paneled phone box with a small ReroRero plaque and an old-fashioned receiver. The contrast between dim and bright icons makes it easy to scan the World Map for missing booths during completion runs.
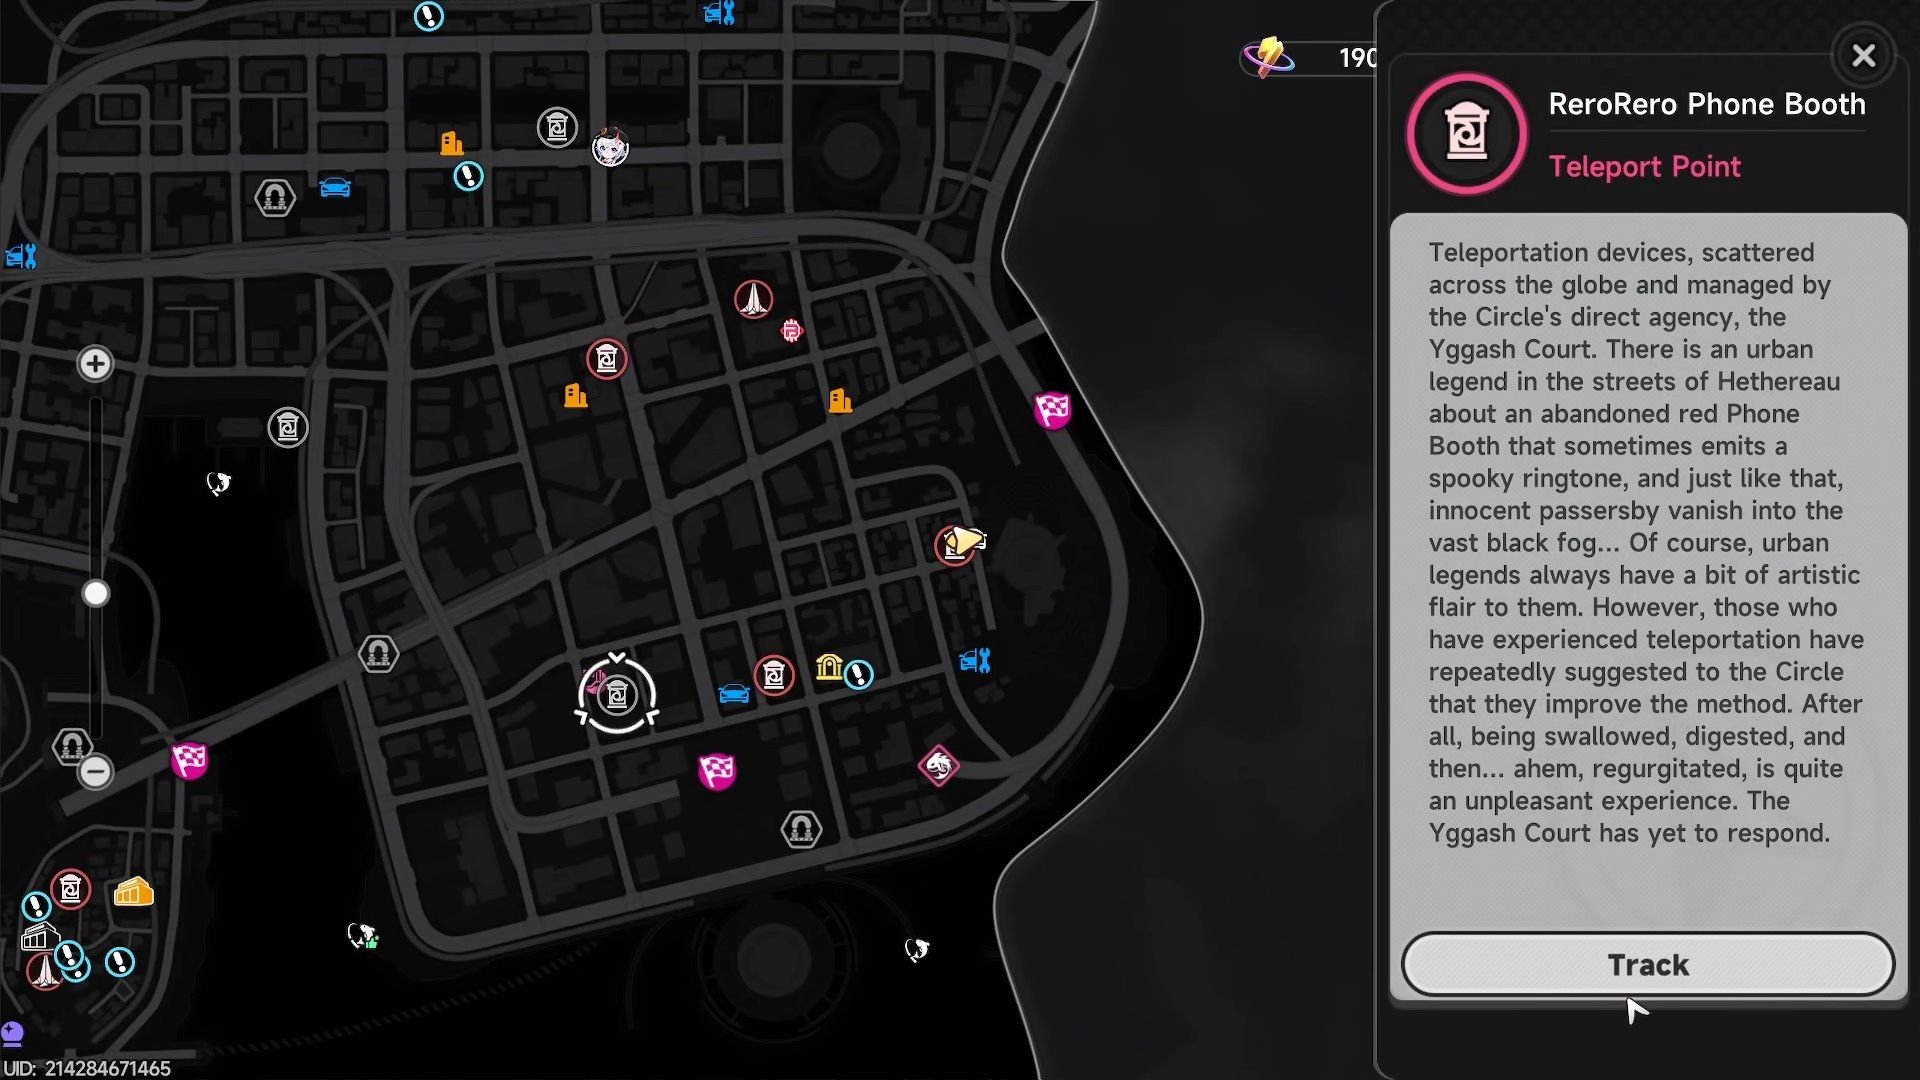
Activate every booth on the way to a new objective. Even a brief detour usually pays for itself in fast-travel time saved later in the run.
Activate the Midas Tower booth in New Herland early, since it stitches the most distant zones of the city together with one fast-travel point.
Aim to clear the first five booths quickly to lock in the starter achievement and the Annulith bundle.
Pair booth activation runs with Wertheimer Tower activations: revealing a district with a tower exposes every booth in that district on the map at once, making the route easy to plan.
Booths do not consume any in-game currency to activate or use. They are a pure quality-of-life system and should be cleared at every opportunity.
Wertheimer Towers: companion fast-travel anchor type, fewer in number but with district-wide map effects.
World Map: map overview, including district-by-district booth coverage.
Hethereau: the city the booth network covers.
Fast Travel: consolidated fast-travel system overview.
Public Transportation: the bus and rail layer that complements the booth network.
Achievements: index of booth-related achievements including 365 Miles.
Use these landmarks when checking for an unactivated booth. A red phone box can sit inside a structure or on an elevated route, so search the surroundings as well as the nearest street.
Area | Landmarks to check |
|---|---|
Bridge Crossings | Below the large graffiti-covered retaining wall, and at the street corner beside the shops. |
Inside the pale stone pavilion near the road. | |
Under the elevated road, and in the trees near the western end of Oia Avenue. | |
The Yurutown stair landing, the recessed garage on Saint Torres Avenue, and beside the external stairs near Ironheart 9th Avenue. | |
The small park beneath the elevated road, the group of three phone boxes, the floating platforms inside the anomaly area, the garden path, and the graffiti-covered wall beside vending machines. | |
Beside the wooden building among the sunflowers. | |
The lakeside building and van, the roadside clearing, and the small wooden booth beside the paved road. |
Activate each destination as you reach it, then use it for return trips through the same area. A booth inside an anomaly route can require platforming; it may not be reachable by following the ordinary street directly to its map position.
Teleporting to a ReroRero Phone Booth restores character HP. An activated booth can therefore serve as a recovery stop as well as a shortcut before returning to a nearby challenge.