

Overview
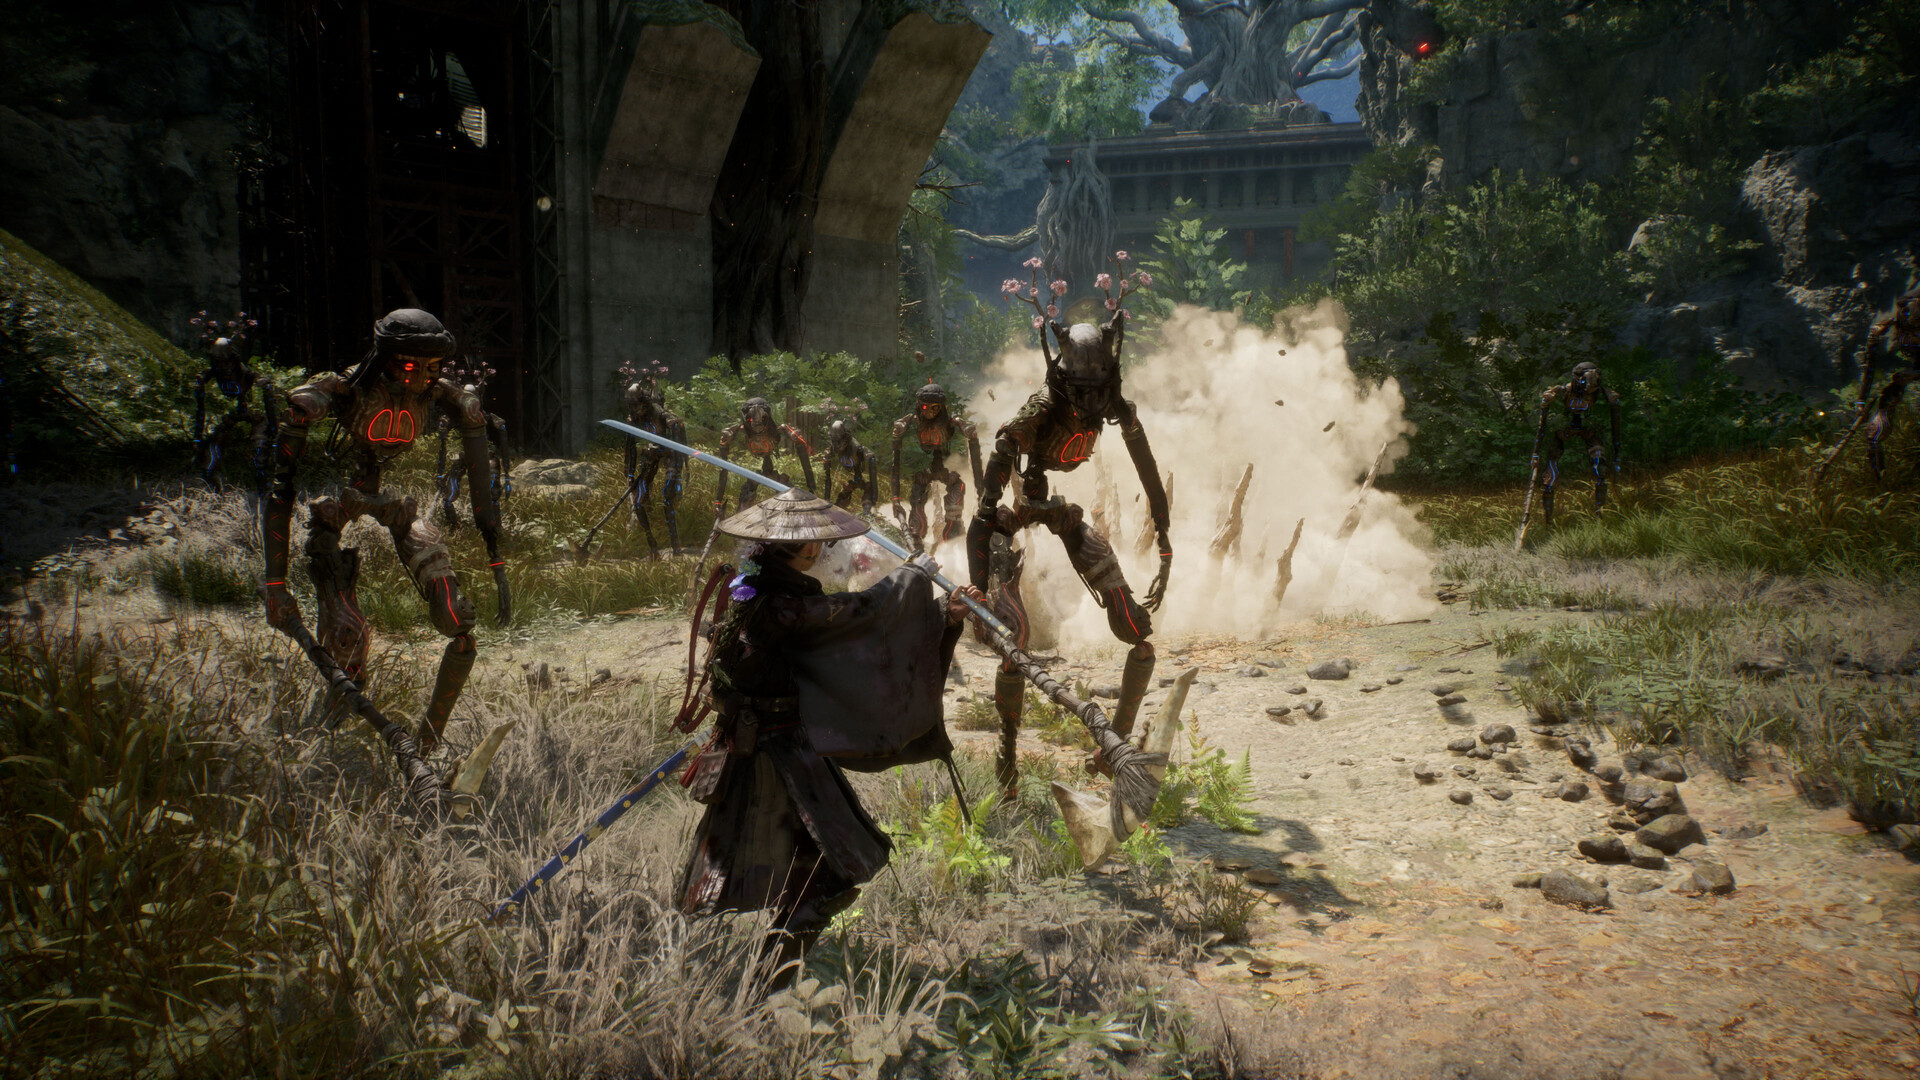
Beast of Reincarnation has a dual skill tree system where both Emma and Koo have their own branches, upgraded with SP (Skill Points) earned through levelling. Each branch hangs off a root skill and is gated on one of three attributes, and the branches broadly correspond to the three combat approaches the game advertises: close-range, long-range, and stealth. This structure creates a system where players can specialize deeply in one combat philosophy or spread their points across multiple approaches for tactical flexibility.
The skill tree system is one of the primary mechanisms through which Beast of Reincarnation differentiates itself from pure action games. Rather than relying solely on player reflexes and execution, the skill trees allow strategic investment decisions that shape how the combat system feels throughout the entire game. Two players with identical manual skill but different tree investments will have different combat experiences.
Emma's Branches
Emma's list is organised around three root skills, each tied to an attribute. Levelling the root is what opens everything downstream of it, and two of the strongest late nodes need two roots at maximum rather than one.
Root | Attribute | What the Branch Covers |
|---|---|---|
Entanglement Overdrive | Strength | Gauge capacity and recovery, the iai stance, critical boosts, blade-effect duration, and the Execution line including Execution Assist and Execution Recovery |
Hair | Vitality | Vine damage, Sprout Shakuyaku, Helm Splitter, Cloaking Grass, Petal Barrage, and recovery speed from items |
Tracking Shot | Florescence | Bow and crossbow damage, ammunition economy through Lucky Shot and Auto-Load, Magic Bullet and Scatter-Shot, and the Assassination line |
Blade Arts sit outside those three. They are named after plants, and most of them are unlocked by beating a boss rather than by spending down a branch: Sakura from Rangifer, Dokuzeri from the Nue Malefact at the Fuji Frontier, Botan from Taurus at the Crater Zone, Nobudou from the second Corvus fight, plus Nue and Thunder, which come from Shidou and Kunai respectively. Each has a Range+ and a Skill Speed+ node hanging off it, and most have a matching finisher with the same two upgrades again, which is where a large share of a playthrough's points end up.
One node is post-game only. Blossoms of Reincarnation unlocks after a first completion and is available to both characters.
One Hair node changed hands after launch. The August 24 patch made Helm Splitter usable by default from the start of the game, so the branch node now upgrades it further rather than granting it outright. Anyone following a build order written before that patch will find the point they were told to spend on unlocking it is already free. The numbers underneath the whole list moved on September 8, when a balance pass retuned parameters across Blade Arts, Finishers, Nushi Skills and ranged weapons together, and changed what Magic Bullet does once a shot has penetrated a target.
The Entanglement Overdrive Branch
The Strength branch is the one most builds open first, because Overdrive is the closest thing Emma has to a panic button and because the branch quietly funds the rest of her economy.
Node | Requirement | Effect |
|---|---|---|
Entanglement Overdrive | Root | Slows time while the gauge drains, roughly 1.8 seconds per bar |
Recovery Effect Boost | Overdrive level 1 | Raises the amount recovered from items and skills |
Expand Entanglement Gauge | Overdrive level 1 | Adds gauge capacity across five ranks |
Iaido | Overdrive level 2 | Standing still after an attack shifts Emma into an iai stance |
Instant Entanglement | Overdrive level 2 | Fills the gauge outright when a foe drops |
Entanglement Gauge Recovery | Overdrive level 3 | Normal attacks have a chance to return 0.3 of a bar |
Recovery Boost | Overdrive level 3 | A kill can return a full bar for Emma and a point of FP for Koo |
Extend Blade Effects | Overdrive level 4 | Weapon effects last longer |
Critical Boost | Overdrive level 4 | Turns precise strikes into criticals |
Execution Assist | Overdrive level 5 | |
Execution Recovery | Overdrive level 5 | Restores health on a successful execution |
The Hair and Tracking Shot branches follow the same shape: a root skill that levels to 5, a spread of nodes gated on each rank of it, and one or two capstones that need a second branch at maximum as well. Entangled Thunder needs Hair 5 and Overdrive 5; Scatter-Shot needs Tracking Shot 5 and Hair 5; Entangled Shot needs Tracking Shot 5 and Overdrive 5. Those three are the reason a completionist run pushes two attributes to their ceiling rather than one.
Koo's Branches
Koo runs on the same three attributes and the same shared point pool, but his branches are shaped differently. His Strength line is where most of his independent behaviour lives: Pounce at the root, which lets him kill a weakened enemy outright when told to run ahead, then Attack Dog, the trap skills, Guard, Taunt, the item-stealing skills, and Photosynthesis, which raises his maximum FP.
His Vitality and Skill Power lines are mostly modifiers rather than new actions. They are the mods that hang on individual Bloom Arts, adding healing, extending status effects, or letting an art carry the sword's effect at a higher FP price. The practical read is that Strength buys Koo more things to do, while the other two attributes make the things he already does hit differently.
Cross-Character Synergies
The cross-character synergy system is the skill tree design's most distinctive feature. Skills from one character's tree can directly impact the other character's effectiveness. For example, investing in Emma's close-range tree may unlock bonuses to FP generation from parries, which directly fuels more frequent use of Koo's close-range Bloom Arts. Conversely, investing in Koo's close-range support tree may enhance the openings his abilities create, allowing Emma's melee combos to deal more damage during those windows.
These synergies extend across all three paths. A player who invests heavily in both Emma's long-range tree and Koo's long-range support tree will find that the two systems amplify each other. Emma's ranged attacks become more effective while Koo's support abilities become more impactful at maintaining the distance those attacks require. The system rewards focus on a cohesive strategy while still allowing hybrid approaches for players who prefer versatility.
Multiple Playstyle Approaches
The branch structure supports a wide range of viable playstyles, each altering how the game feels. The build names below are descriptive rather than in-game labels:
Build | Description |
|---|---|
Pure Melee | Invest fully in both characters' close-range trees. Emma fights toe-to-toe with enemies, parrying constantly, generating massive FP reserves. Koo's Bloom Arts focus on crowd control and creating melee openings. Spirit Stones with parry-stacking bonuses amplify this approach exponentially. |
Dedicated Ranged | Invest in both long-range trees. Emma fights exclusively from distance with her bow and crossbow, relying on elemental effects and positioning. Koo's abilities maintain space and punish enemies who advance. This approach minimizes parry dependency but requires careful resource management. |
Full Stealth | Invest in both stealth trees. Emma avoids direct confrontation, using plant abilities to approach unseen and eliminate targets with assassination techniques. Koo is a tactical distraction and repositioning tool. This approach rewards patience and environmental awareness. |
Koo-Led Combat | A unique approach enabled by heavy investment in Koo's trees. Rather than focusing on Emma's action combat, this build maximizes Koo's Bloom Arts effectiveness, having Koo lead engagements while Emma focuses primarily on generating FP through safe parries. This turns the game's hybrid system toward its command-based side. |
Hybrid Builds | Draw from multiple trees for versatility. A player might invest in Emma's close-range tree for parry mastery while spreading Koo's points across long-range and stealth support, creating a flexible toolkit that adapts to different encounter types. |
SP (Skill Points)
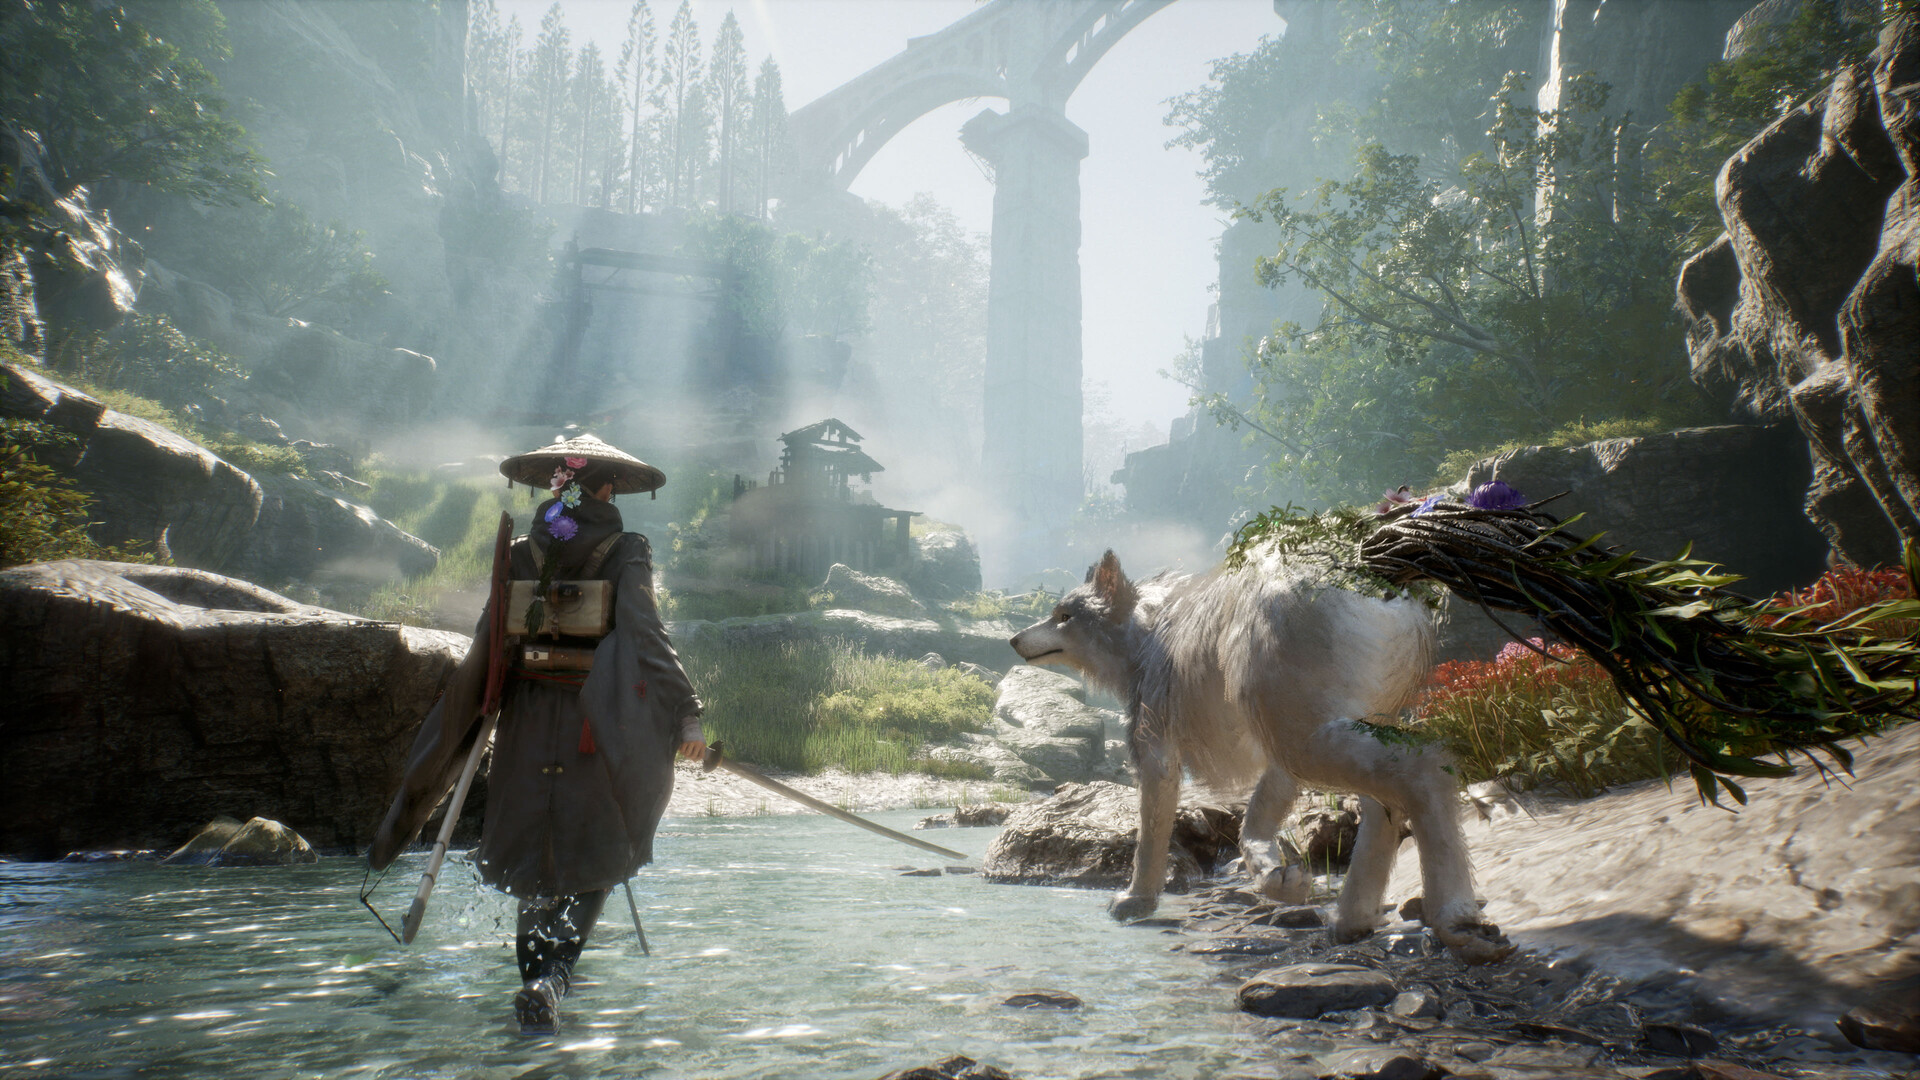
SP is the currency used to upgrade both characters' skill trees. It is earned through gameplay progression. Defeating enemies, completing objectives, and advancing through the game's regions and zones. SP investment is shared between Emma and Koo, meaning players must decide how to allocate their limited points across six total trees (three per character). This allocation decision is one of the game's most consequential strategic choices, as it shapes the entire combat experience from that point forward.
The shared SP pool creates a meaningful tension: every point spent on Emma's abilities is a point not spent on Koo's, and vice versa. This forces players to think holistically about their build rather than upgrading everything simultaneously. The system rewards focused investment strategies while allowing respecialization for players who want to experiment with different approaches.
Attribute Gates and Respec
Points alone are not enough. Each rank of a root skill asks for a higher attribute score behind it, so the cheapest way to open a branch is to push one attribute to 18 and take everything that unlocks along the way rather than spreading three attributes evenly. Entanglement Overdrive is the clearest example, needing 7 Strength at rank 1 and 18 at rank 5.
None of it is permanent. Respec opens in Chapter 2 through the Communicator aboard the Cleanse Walker, refunds both attribute points and skill points, and charges Amber scaled to how much is being reset. Resetting for the first time has its own achievement.
Relationship to Other Systems
Skill trees interact with every other progression system in Beast of Reincarnation. Spirit Stones amplify the bonuses from whichever tree a player has invested in. Close-range Spirit Stones compound with close-range tree investments, stealth-focused stones enhance stealth tree abilities. Bloom Arts mods further customize the abilities unlocked through Koo's trees. Weapons (particularly the multiple katanas discoverable through exploration) each favor different tree investments with their unique stat distributions and combo properties. Together, these interlocking systems create what the developers designed as a deep build-crafting experience where no two players' Emma and Koo will feel exactly the same.