Overview
Neverness to Everness offers every new player a free S-Rank character selector through the standard banner. If you complete 50 pulls on the standard banner without pulling an S-Rank character naturally, the game lets you pick any one of the six standard-pool S-Rank characters for free. This guide covers how the selector works, which characters are available, and who you should pick depending on your playstyle.
How the Selector Works
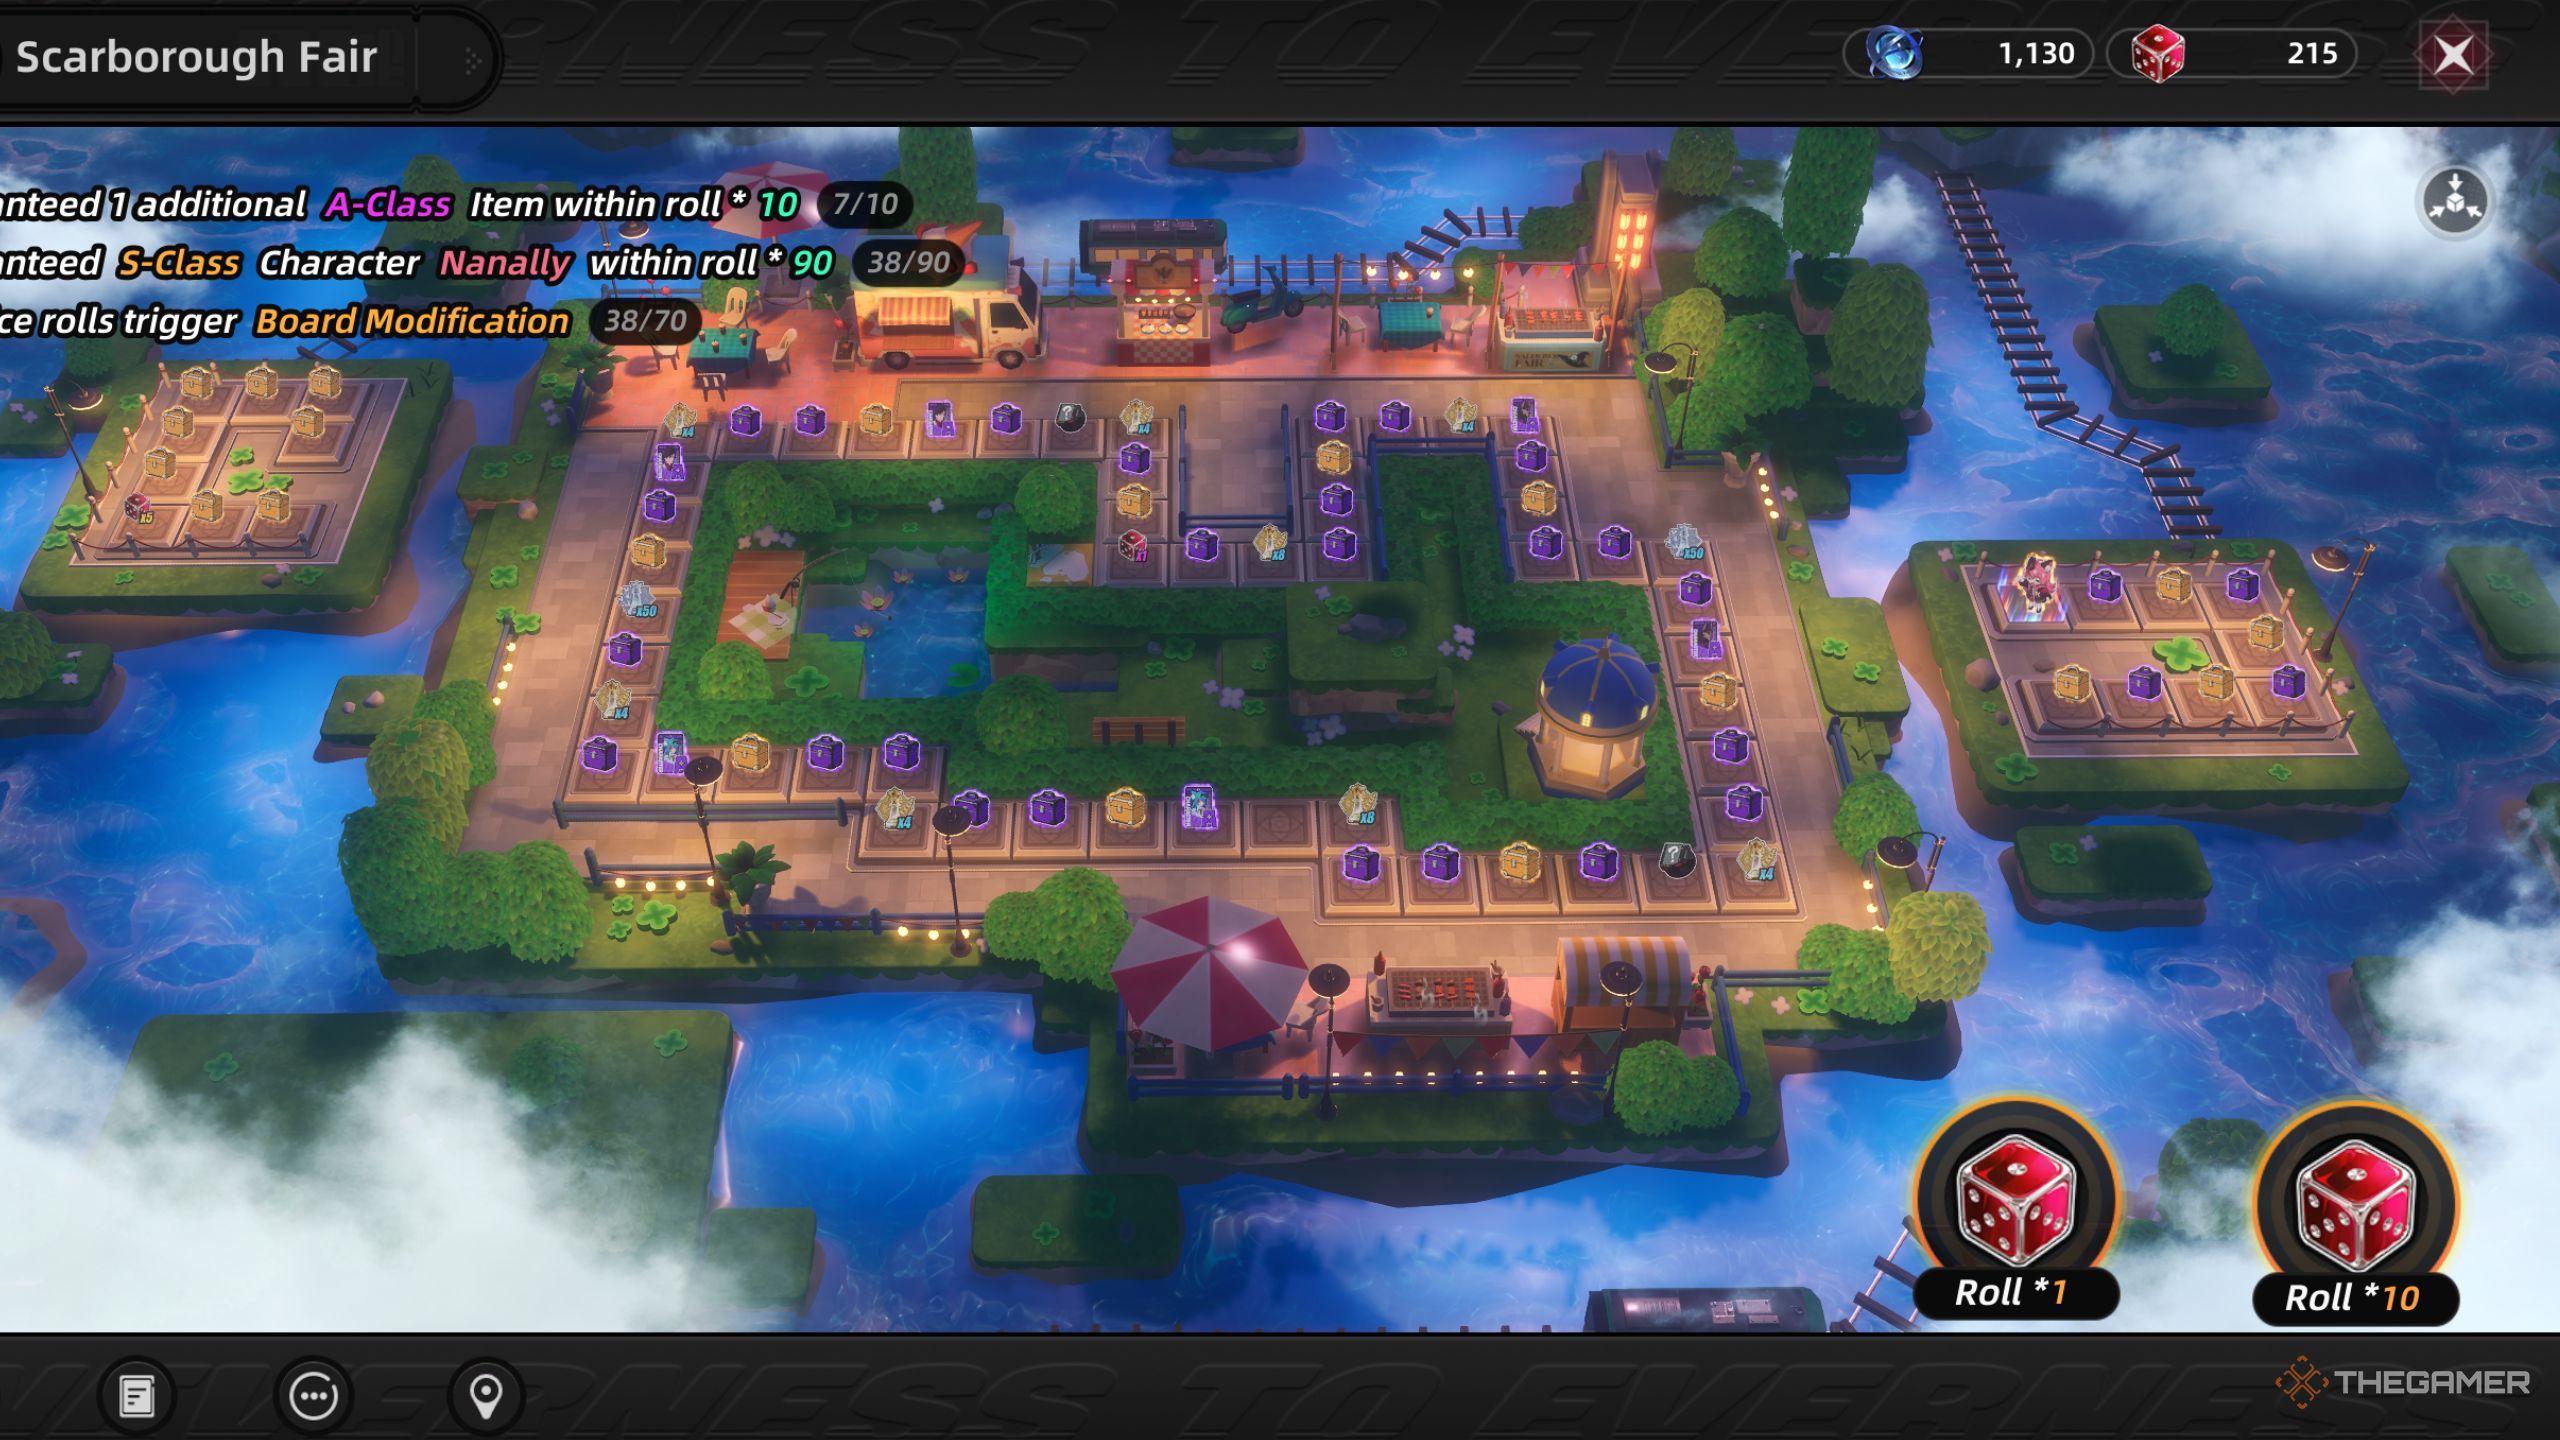
The free S-Rank selector is tied to the Scarborough Fair standard banner. Here is how it works:
Pull 50 times on the standard banner. Use Fabricated Dice to make your pulls. The first five 10-pulls are discounted to 8 Dice each instead of the normal 10, bringing the total cost to roughly 40 Fabricated Dice instead of 50.
Check whether you pulled an S-Rank. If you pulled an S-Rank character naturally during those 50 pulls, the selector does not activate. You already received your guaranteed S-Rank from pity.
Choose your free S-Rank. If you did not pull an S-Rank within 50 pulls, a character selector screen appears and lets you pick one of the six standard-pool S-Rank characters at no additional cost.
Important: This selector only triggers once per account. Prioritize finishing your 50 standard banner pulls before spending resources on limited banners so you can unlock the selector as early as possible.
Available S-Rank Characters
The selector pool includes six S-Rank characters from the standard banner. Each one fills a different role and brings unique strengths to your team.
Character | Element | Role | Weapon | Pros | Cons |
|---|---|---|---|---|---|
Main DPS | Power of Words | Highest raw damage output in the standard pool. Execution field instantly kills enemies below a health threshold. Excellent against bosses. | Complex mark system (Bless, Curse, Objurgate) requires practice. Consumes his own HP during combat, demanding careful health management. | ||
Support / Crowd Control | Groups enemies together with gravity skills. Companion Kiroumaru doubles as a fast-travel mount for open-world exploration. Strong team utility. | Lower personal damage compared to dedicated DPS characters. Relies on teammates to capitalize on the crowd control she provides. | |||
Melee DPS / Buffer | Blade Wings | Smooth, satisfying combat animations. Perfect dodge mechanic boosts damage. High mobility with wing-based attacks. Ultimate summons a motorcycle for AoE damage. | Damage output depends on consistently landing perfect dodges. Less forgiving for players who prefer a simpler playstyle. | ||
Chaos | Combo DPS / Break Specialist | Twin Blades | Top-tier break damage for staggering enemies. Twin blade combos are fast and fluid. Dodging does not interrupt her attack chains. | Needs to stay in close range to deal damage. Slightly less effective against single targets compared to Baicang. | |
Ranged DPS / Healer | Dual Pistols | Safe mid-range combat with dual pistols. Places damage-over-time marks on enemies. Provides team healing, offering rare role compression as a DPS who can also heal. | Jack-of-all-trades, master of none: does not out-heal dedicated healers or out-damage dedicated DPS characters. | ||
Survival / Tank | Transforming Cross-Shield | Exceptional team damage mitigation with her cross-shield. Reflects incoming damage back at enemies. Self-healing ultimate makes her very hard to kill. | Lowest personal damage output among the six options. Primarily a defensive pick, which can slow down content clears. |
Recommended Picks by Playstyle
Best Pick for Maximum Damage: Baicang
If your top priority is clearing bosses and tough content as fast as possible, Baicang is the strongest DPS option in the standard pool. His execution mechanic lets him instantly finish off enemies below a certain health threshold, which is invaluable against bosses with large health bars. Keep in mind that his kit revolves around managing three types of marks and costs HP to use, so he rewards players willing to invest time learning his combos.
Best Pick for Exploration: Sakiri
Sakiri is the top choice for players who spend most of their time exploring the open world. Her companion Kiroumaru is a rideable mount that moves faster than sprinting, saving significant travel time. In combat, her gravity-based crowd control pulls scattered enemies together, making AoE attacks from your other characters far more effective. She is a strong long-term investment because no other standard character replaces her exploration utility.
Best Pick for Satisfying Combat: Hathor or Daffodil
Both Hathor and Daffodil are melee DPS characters praised for their fluid combat feel. Hathor rewards well-timed dodges with damage bonuses and features graceful wing-based animations. Daffodil specializes in fast twin-blade combos and excels at breaking enemy stagger gauges. Choose Hathor if you enjoy dodge-counter playstyles, or Daffodil if you prefer relentless aggressive combos.
Best Pick for Survivability: Fadia
Fadia is the safest choice for endgame content where survival matters more than speed. Her cross-shield absorbs and reflects damage for the entire team, and her ultimate provides self-healing that keeps her alive through heavy punishment. She is less useful for players who want to clear content quickly but becomes irreplaceable in harder challenges where staying alive is the main concern.
Best Pick for Versatility: Jiuyuan
Jiuyuan offers the most flexible kit of the six options. He attacks safely from mid-range with dual pistols while applying damage-over-time marks, and he can heal your team on top of dealing damage. He does not excel in any single area the way Baicang excels at damage or Fadia excels at tanking, but he fills multiple roles at once. Pick Jiuyuan if you want a well-rounded character who performs adequately in every situation.
Priority Ranking
The table below ranks the six selector options from highest to lowest general priority. Individual rankings may vary depending on what characters you already own and what content you focus on.
Priority | Character | Reasoning |
|---|---|---|
1 | Strongest DPS in the standard pool. High damage output accelerates progression through all content types. His execution mechanic is unique and powerful. | |
2 | Irreplaceable exploration utility with Kiroumaru mount. Crowd control makes her valuable in both overworld encounters and team-based combat. | |
3 | Excellent melee DPS with dodge-counter mechanics. Consistently rated among the most enjoyable characters to play. | |
4 | Top-tier break specialist with smooth combo chains. Very effective at staggering enemies, which benefits the whole team. | |
5 | Good all-rounder who heals while dealing damage. Useful if your roster lacks both a DPS and a healer, but outclassed by specialists. | |
6 | Pure defensive pick. Excellent in hard endgame content but slows down progression in early and mid-game where damage output matters more. |
Tips
Do your 50 standard pulls first. Before spending any Fabricated Dice or Annulith on the limited banner, finish your 50 standard pulls to unlock the selector. The discounted cost (roughly 40 Dice total) makes this affordable early on.
Consider your limited banner plans. If you are planning to pull for a specific limited S-Rank character who fills the DPS role, you can afford to pick a utility character like Sakiri from the selector instead of Baicang.
Do not pick based on element alone. While having element coverage is helpful, the character's role and kit matter more for long-term value. A strong DPS or unique utility character will serve you better than filling an element gap with a character whose role you do not need.
The selector does not expire. Once you trigger the selector at 50 pulls, you do not have to choose immediately. Take your time to research each character and decide based on the rest of your roster.
Check the tier list. The meta shifts as new characters and content are released. Consult the latest Tier List before making your final pick.
Rerolling is an option. If you are willing to reroll, you can try pulling Baicang naturally from the standard banner and then use the selector to pick Sakiri (or vice versa) to get two top-tier S-Ranks early. See the Reroll Guide for details.
Related Pages
Gacha System (Scarborough Fair) - Full breakdown of banners, pity, and board mechanics
Fabricated Dice - How to obtain and spend the standard banner currency
Tier List - Current character rankings
Reroll Guide - How to reroll for optimal starting characters
Beginner's Guide - Essential tips for new players
Baicang - Character guide and builds
Sakiri - Character guide and builds
Hathor - Character guide and builds
Daffodil - Character guide and builds
Jiuyuan - Character guide and builds
Fadia - Character guide and builds
Long-Term Quality of Life
All six selector options are strong combat picks, but a few of them also deliver non-combat utility that compounds over months of play. Account-wide quality-of-life value can outweigh raw combat numbers when picking the very first S-rank, especially for free-to-play players who expect to keep the same account through several patches. Two of the standard-pool S-ranks stand out specifically for their out-of-combat value:
Sakiri (Exploration)
Already covered above: Sakiri's Kiroumaru companion functions as a rideable mount that moves faster than sprinting. Time saved on traversal compounds across every open-world activity, from anomaly tracking to hobby routes.
Hathor (Module Farming)
One of the anomaly furniture pieces unlocked through the City Tycoon property system is gated behind owning Hathor. When activated on the player's apartment, it produces Module pieces (the spatial Tetris-shaped pieces slotted into a character's Console grid) on a daily cadence. Upgrading the furniture raises the rarity of the daily drop, with maximum upgrades producing gold-rarity pieces, the same tier the Rabbit Hole stamina activity awards on its hardest difficulty.
The practical effect is a free trickle of endgame Console pieces that does not consume stamina and does not require running the same Rabbit Hole stage repeatedly. Across a long account lifetime, the furniture acts as a passive top-up on Module gearing for whichever character the player is building this patch, alongside the active Rabbit Hole runs they would do anyway. Because the furniture is character-locked, players who skip Hathor on the selector lose access to that daily faucet entirely; it is not unlocked by any other standard-pool character.
Selector Pacing Tip
The first 50 standard banner pulls are discounted (the first five 10-pulls run at 8 Fabricated Dice each instead of 10), and the standard banner guarantees one A-rank every 10 pulls. A practical pacing approach is to spend the first 20 pulls (about 16 dice) and check whether an S-rank already dropped naturally before triggering the selector. If the 20-pull run produces one of the six standard S-ranks, the player can spend the eventual selector on a different character to maximize roster variety rather than ending up with two copies of the same unit. If no S-rank drops in 20 pulls, finish the remaining 30 pulls on the standard banner and use the selector on the player's preferred pick from the six options.
This pacing does not require waiting for the full 50 pulls before deciding; the selector itself is granted at 50 pulls regardless, and the choice can be deferred indefinitely once it appears. Most players who have a strong preference for a specific character will pick that one whether the 20-pull run dropped someone else or not. The pacing tip mostly helps players who feel comfortable with several of the six options and want to optimize for breadth.