

Wanted System
Complete guide to the wanted system in Crimson Desert, covering wanted stages (Spotted, Searching, Arresting), bounty mechanics, guard response, how to clear bounties through churches and jail, Contribution penalties, the criminal mask, notoriety ATK gear, regional bounties, the fine and debt system, and tips for managing your criminal record.
On This Page
Overview
The wanted system in Crimson Desert governs how criminal actions affect Kliff and his relationship with the world of Pywel. Every illegal act triggers consequences ranging from minor reputation hits to overwhelming guard responses and imprisonment. The system is regional, meaning a bounty earned in Hernand does not carry over to Demeniss or any other territory. Whether you plan to pickpocket nobles for quick silver or leverage notoriety-scaling gear for a combat advantage, understanding how the wanted system works is essential to surviving life on the wrong side of the law.
The Criminal Mask
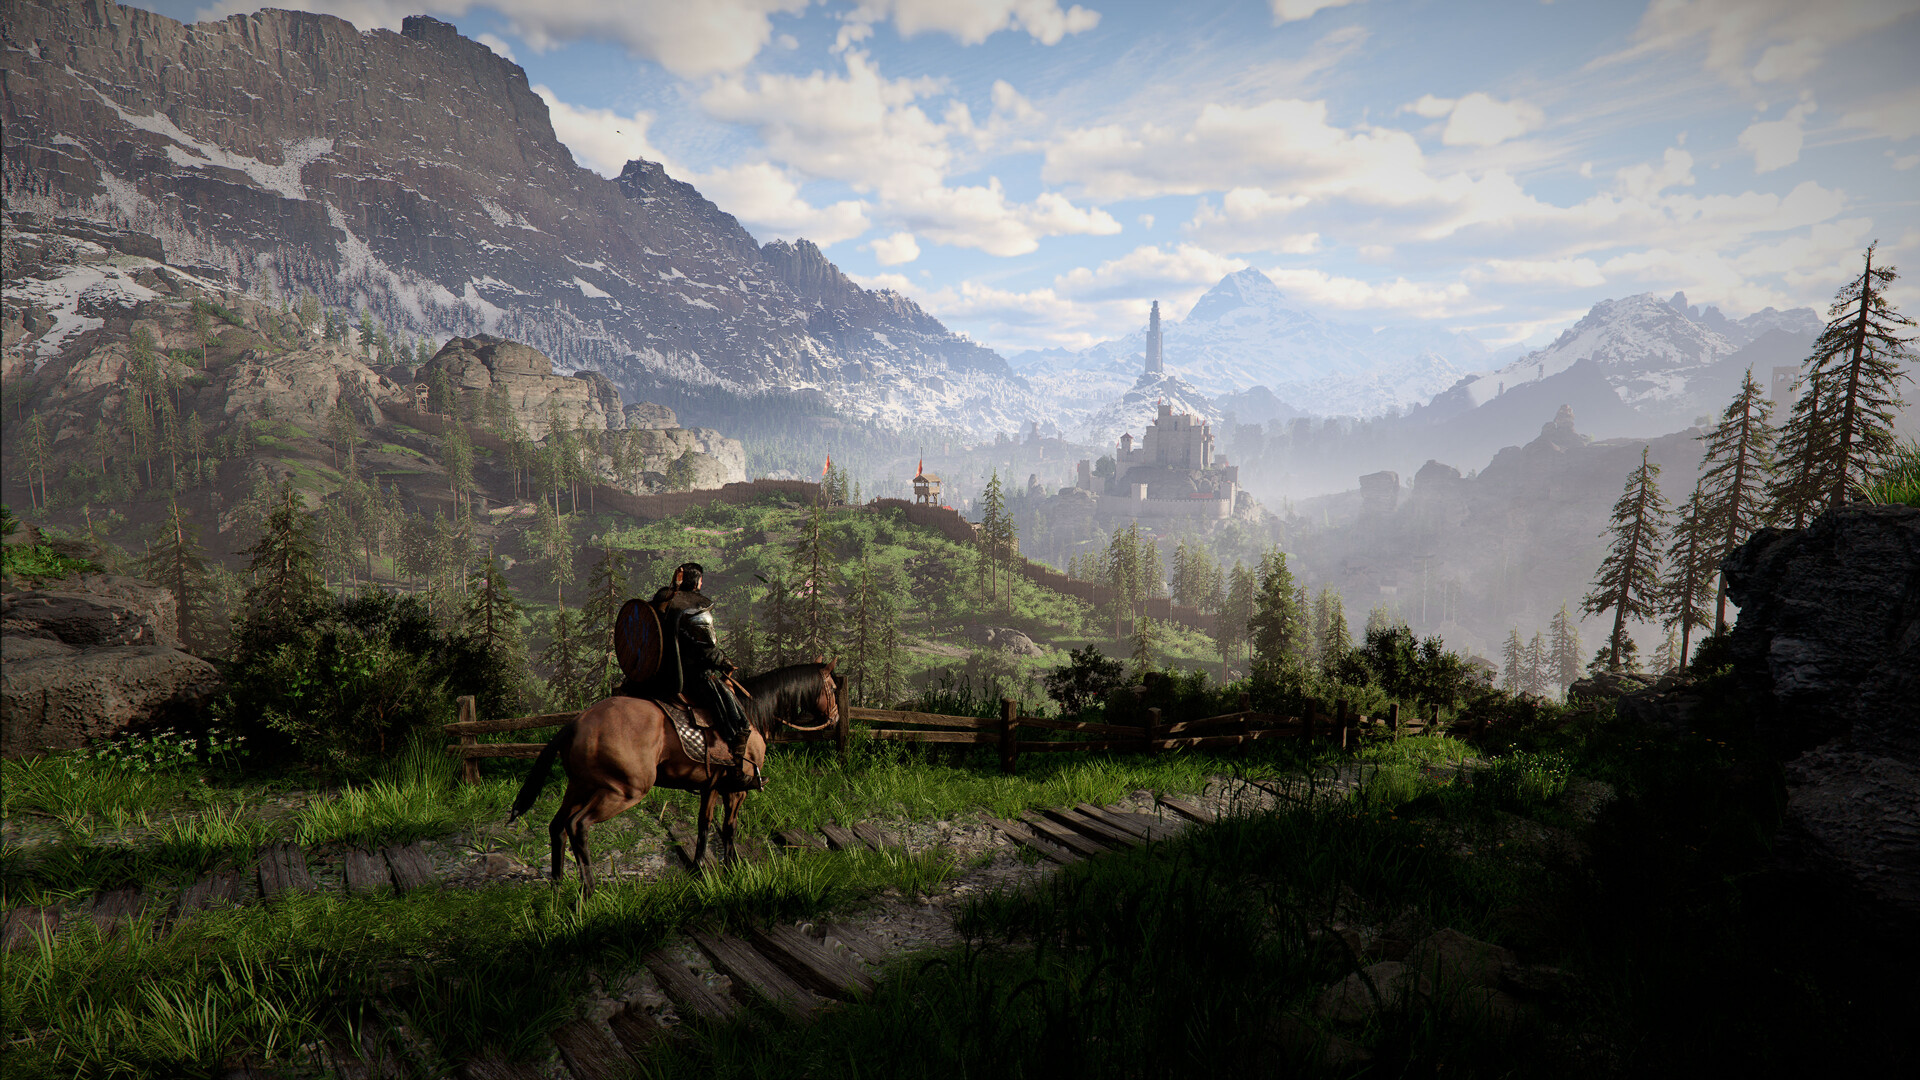
Before you can commit any crime against NPCs or their property, you must equip a criminal Mask. Without a Mask equipped, theft prompts remain permanently greyed out and you cannot pickpocket, steal from containers, or attack civilians. The Mask has its own dedicated slot in the Weapons tab of the equipment wheel, accessed by pressing left on the D-pad. This gate prevents accidental criminal actions during normal exploration.
How to Get a Mask
There are several ways to acquire a Mask early in the game:
Method | Details |
|---|---|
Purchase one for 10 Copper from Grimrak, the goblin vendor who runs Back Alley Shops on the outskirts of each major town. The earliest one is southeast of Hernand near the windmill on the eastern road, on the west side of the river. | |
Jeffrey Bounty Reward | Complete the Bounty Notice: Jeffrey quest in Chapter 2. Locate Jeffrey the pickpocket in Hernand's east district, tackle and subdue him, then surrender him to the Hernand Guard Captain. The Mask is given as a reward. |
Bandit Drops | Defeat Bleed Bandits and other bandit groups while exploring the open world. Masks drop randomly from their corpses and are one of the most common early sources. |
Find one inside the Product Storage building at the Royal Trading Post when you first arrive in Hernand. |
Once you have a Mask, equip it from the equipment wheel whenever you want to engage in criminal activity. Removing the Mask returns you to normal NPC interactions and disables all crime prompts. Always unequip the Mask after finishing your criminal business to avoid accidental crimes, especially careless weapon swings or the Force Palm ability near structures.
What Triggers the Wanted System
The wanted system activates whenever you commit an illegal act while wearing your Mask. Every crime triggers three simultaneous consequences:
Contribution penalty is applied immediately, regardless of whether anyone witnesses the crime. This is unavoidable.
A red detection zone appears on your minimap, centered on your current position.
A white countdown timer appears in the upper-right corner of the screen. This shows how long before your status can escalate.
A bounty is only issued if an NPC witnesses the act while you are inside the red zone during the timer window. NPCs do not actively search the zone; they report you only if they happen to enter it and spot you. Committing crimes in isolated buildings or remote areas with no nearby witnesses means you take only the Contribution hit and nothing else.
Types of Crime
The game recognizes several categories of criminal behavior, each with different severity levels and penalties. Criminal activity ranges from petty theft all the way up to murder.
Crime | Description | Severity | Contribution Penalty |
|---|---|---|---|
Stealing items directly from NPC pockets using the bump-and-grab technique. Rewards coin pouches and valuables. | Low | -5 Contribution EXP | |
Theft | Taking items from containers, vendor stalls, shelves, strongboxes, and chests. Even small items like fruit trigger a red "Crime: Theft" overlay. | Low | -5 Contribution EXP per item |
Vandalism | Destroying property such as fences and posts. Often happens accidentally while galloping on horseback through settlements. | Low | Minor |
Entering restricted areas or private homes without permission while wearing the criminal Mask. | Low to Moderate | Minor to Moderate | |
Bullying / Intimidation | Shoving, intimidating, or harassing civilian NPCs without engaging in lethal combat. | Moderate | Moderate |
Horse Theft | Kicking someone off a carriage and stealing their horse or wagon. | High | Moderate to High |
Assault | Attacking civilian NPCs while wearing the criminal Mask. Generates an immediate, large bounty and triggers guard pursuit. | High | -30 Contribution EXP |
Murder | Killing civilian NPCs or guards. The most severe crime with the harshest consequences. | Very High | -30 Contribution EXP |
The typical escalation path runs from petty theft and pickpocketing through bullying and intimidation up to assault and murder. Each step increases both the bounty amount and the intensity of the guard response.
Accidental crimes are a real concern. Galloping through a settlement on horseback can trigger vandalism if you clip fences or market stalls. Swinging your weapon carelessly near civilians (especially while masked) can register as assault. The Force Palm ability near structures can cause property damage. Always remove your Mask when you are not actively committing crimes to reduce the risk of accidental offenses.
Wanted Stages
When you commit a crime and there are potential witnesses in the area, you enter the wanted system. It progresses through three escalating stages that determine how aggressively the authorities respond.
Stage | What Happens | How to Escape |
|---|---|---|
Spotted | A red circle appears on your minimap. A white timer counts down in the upper right of the screen. NPCs in the area may notice you but have not yet reported the crime. You have a brief window to leave before anyone files a report. | Sprint out of the red circle before the detection timer fills up. If no one reports you, the search ends and no bounty is applied. You still lose the Contribution penalty. |
Searching | Eyewitnesses have reported you to the authorities. Guards become alert and begin sweeping the area. A Bounty Notice appears showing Kliff's face and the bounty amount. Your wanted status is now formally recorded. | Leave the search area and break line of sight with guards. The active pursuit ends once you exit the zone, but the bounty remains on your record until paid or cleared through a church or jail. |
Arresting | Guards have spotted you directly and turn hostile. They charge at Kliff, attempting to tackle him to the ground. If a guard connects, a quick-time event (QTE) triggers where you must hit button prompts to kick free. | Fight off the guards or pass the QTE to shake them off. If you fail the QTE, Kliff is knocked unconscious and arrested. You can also use Palmar Pills to revive on knockdown. |
Stage 1: Spotted
The Spotted stage begins immediately after you commit a crime within range of potential witnesses. The red detection radius on your minimap shows the area where your crime can be reported. NPCs within this zone are marked with a red eye icon if they spot you. The white timer in the upper right of your screen indicates how long you have before the situation escalates.
During this stage, escape is straightforward. Sprint out of the red radius before the timer expires and you avoid a formal bounty entirely. The Contribution penalty from the crime itself still applies (it always does), but no bounty is recorded and guards do not pursue you. This is the best possible outcome for any crime you commit.
NPCs generally do not go out of their way to search for you inside the red zone. They only report you if they happen to be within the zone and have line of sight to you. Committing crimes in isolated rooms, empty buildings, or remote wilderness areas dramatically reduces the chance of detection.
Stage 2: Searching
If you linger inside the red detection radius for too long, or if witnesses see you and the timer expires, your wanted status escalates to the Searching stage. At this point a formal Bounty Notice is issued. Your portrait and bounty amount appear in the top-right corner of the HUD. Guards shift from passive observation to active patrol and sweep patterns.
Once a bounty has been issued, simply leaving the area no longer clears your wanted status. The bounty persists on your record indefinitely. It does not decay over time. Regions where you have an active bounty are marked in red on the world map, making it easy to track where you still owe fines.
Stage 3: Arresting
When guards directly spot a wanted player, they enter the Arresting stage. Guards turn hostile and charge at Kliff, attempting to tackle him to the ground. Guards in Pywel are highly coordinated and hit hard. If a guard connects with a tackle, a quick-time event triggers where you have a few seconds to press the correct button prompts to kick the guard off.
If you succeed at the QTE, you shake free and can continue running. You get two chances to kick off a guard before the arrest is final. If you fail both prompts, the screen fades to black and you wake up in a jail cell.
Using Palmar Pills during the Arresting stage can help. Regular Palmar Pills restore 30% of your health on knockdown, while the Refined variant fully restores your health. Having a stock of these in your inventory provides an extra safety net against arrest.
Bounty Mechanics
Every crime you commit adds to a cumulative bounty value tracked in your HUD. The bounty amount scales with the severity of the offense. Minor crimes like theft add a small amount (around 5 Copper), while assault stacks an additional 5 Silver on top of whatever the initial bounty was. The maximum bounty cap in any single region is 100 Silver Coins. Even a prolonged crime spree will not exceed that ceiling.
As the bounty grows, the consequences escalate through several thresholds:
Bounty Level | Consequences |
|---|---|
Low | NPCs become wary. Some refuse to trade or offer services. Guards watch you more closely but do not attack on sight. |
Medium | A wanted poster appears showing Kliff's face and the bounty amount. Guards actively patrol for you and may attempt detainment if they spot you. |
High | Guards become hostile on sight and attack with lethal intent. Dozens of heavily armed guards converge simultaneously, making open combat extremely dangerous. Bounty hunters also pursue you across the region. |
Regional Bounties
Bounties in Crimson Desert are tracked on a per-region basis. Each region (Hernand, Demeniss, Pailune, Delesyia, and others) maintains its own separate bounty ledger and Contribution score. A crime spree in Hernand has zero impact on your standing in Demeniss, and vice versa.
This regional separation allows for strategic criminal activity. You can exploit one region for resources through theft while maintaining a clean record in other regions where you need access to vendors, quest givers, or faction services. Your world map highlights regions with active bounties in red shading, making it easy to see at a glance where you are wanted.
Bounty Costs by Crime Type
Each criminal action adds to your running bounty total. The more severe the offense, the larger the increase. Below is a summary of how different crimes affect your bounty:
Crime | Bounty Increase | Contribution Penalty |
|---|---|---|
Small (around 5 Copper) | -5 Contribution EXP | |
Theft (containers, stalls) | Small (around 5 Copper) | -5 Contribution EXP per item |
Vandalism | Minor bounty if witnessed | Minor penalty |
Bullying / Intimidation | Moderate | Moderate penalty |
Assault | +5 Silver on top of existing bounty | -30 Contribution EXP |
Murder | Large increase; escalates rapidly | -30 Contribution EXP |
Guard Response
Guards use line-of-sight and proximity detection rather than omniscient awareness. Breaking line of sight and putting distance between yourself and pursuers is the primary escape strategy. Guards do not have X-ray vision through walls, so ducking into alleys, behind carts, and around corners can buy you time.
At lower wanted levels, guards may issue warnings or attempt to detain you without lethal force. As your bounty grows, guards shift to outright hostility and attack on sight with lethal intent. At high bounties, the system deliberately creates overwhelming opposition. Pearl Abyss designed the guard response so that players face dozens of enemies at once when highly wanted, making fighting your way out almost never viable.
Returning to the scene of a recent crime while your bounty is still active immediately re-engages the authorities. Guards who have lost you will resume pursuit the moment they spot you again. There is no cooldown on guard aggression within a bounty region.
Guards in Pywel have nearly no blind spots in their patrol routes, so using stealth mechanics is better suited for scouting patrol timing before committing to theft rather than trying to chain stealth takedowns through an alerted town.
Contribution Penalties
Every criminal action reduces your regional Contribution, the reputation metric that tracks your standing with the faction governing each area. Penalties are applied immediately and unavoidably, even if nobody witnesses the crime. They range from -5 Contribution EXP for minor offenses like pickpocketing to -30 Contribution EXP for serious crimes like assault or murder.
The deductions stack with each crime you commit. Sustained criminal activity can push your Contribution EXP into negative territory. Low Contribution in a region has practical consequences that affect your gameplay:
Vendor prices increase in the affected region.
Merchant access may be restricted. Some vendors refuse to trade with you entirely.
Quest availability changes. Some side quests and faction quests are locked behind minimum Contribution thresholds.
NPC services become limited. NPCs can flee or call for guards when you approach.
Contribution Shop gear is locked. Regional shops (like the one at Hernand Castle tower) sell exclusive items such as Bolton Plate armor, Hernandian Barding, and the Hernandian Contribution Banner. Losing Contribution can lock you out of these purchases.
Contribution is also the same currency earned through the liberation system and positive faction engagement. Criminal behavior directly undermines your liberation progress in that region. Recovery requires completing quests, helping NPCs, and paying alms at churches. Rebuilding Contribution takes time, so preserving your reputation is usually more efficient than trying to rebuild it after a crime spree.
How to Clear Your Bounty
There are several ways to deal with an active bounty. The method you choose depends on how much money you have, where you are, and how urgently you need to clear your record.
Method 1: Writ of Absolution (Church Confessional)
The cleanest and most cost-effective method is to visit a Confessional at any church in Pywel and purchase a Writ of Absolution. Speak with the church representative and select "Buy Writ of Absolution" from the menu. The interface shows all your active bounties across every region. Select the one you want to pay off, confirm the cost, and your record is wiped clean instantly. Guards stop pursuing you and your wanted status resets to zero.
The cost of the Writ equals the total bounty you have accumulated in that region. Minor crimes like theft add around 5 Copper to the bounty, while serious offenses like assault add 5 Silver or more. Each additional crime stacks on top of the existing amount. The maximum cost is 100 Silver, matching the bounty cap.
You can pay off bounties from any region at any Confessional. You do not need to travel back to the region where the crime was committed. The cost is the same regardless of which church you visit.
If you do not have enough coins to pay the full Writ, you cannot purchase a partial absolution. The full amount must be paid in one transaction. Sell unwanted items from your inventory at a nearby vendor before returning to the Confessional if you are short on funds.
Church and Confessional Locations
Every major region in Pywel has at least one church with a Confessional. Churches are marked on the map with a yellow sun icon on an orange background. Below are the known locations:
Region | Location | Notes |
|---|---|---|
Church of Solumen, southeast of Hernand Castle. Speak to Alfred. | Available early in the game. A fast-travel point sits nearby, making this the most convenient option for most of the story. | |
Cathedral of Demeniss, near the southern wall of Demeniss City | A large, hard-to-miss building. Accessible once you reach Demeniss through the main story. | |
Pailune Confessional, central Pailune City | Not a full church building. A small stand in the city center where a church representative operates. | |
Delesyia Church, beside the castle in the City of Delesyia | Located next to the large castle at the heart of the city. |
Important: Some churches are not accessible until you progress far enough in the main story. If you pick up a bounty in a region whose church is still locked, you will need to either travel to another region's church to pay it off, or let guards arrest you to clear it through jail time.
Method 2: Getting Arrested and Serving Jail Time
If you cannot afford the fine or prefer not to spend the coins, you can let the guards catch you. When guards take Kliff down (either through the tackle QTE or by defeating you in combat), the screen fades to black and you wake up in a wooden holding cell in Hernand. The jail is the main location tied to crime punishment in the game.
Serving your sentence clears the bounty in that region automatically. Your wanted status resets to zero and guards stop pursuing you. However, jail comes with additional penalties that make it worse than paying at a Confessional:
Bounty deduction: The bounty amount is still deducted from your wallet upon release. You do not avoid paying; the coins are taken from you while you are imprisoned.
Additional Contribution loss: On top of the Contribution you already lost from committing the crimes, getting arrested costs even more Contribution EXP. This stacks with the original penalties and can push your regional standing deep into negative territory.
Time skip: The game advances time while you serve your sentence. Depending on the severity of your crimes, you lose in-game hours.
Because of the extra Contribution EXP loss, getting arrested is almost always worse than paying at a Confessional. The jail route is only preferable when you genuinely cannot scrape together the coins and have no items left to sell.
Debt System
If you are completely broke when arrested, the game does not prevent you from being released. Instead, your bounty is still cleared and you go into negative silver. Any money you earn afterward (from selling items, completing quests, looting enemies) will be automatically deducted until the debt is fully repaid. This ensures you cannot abuse jail as a free bounty-clearing service, but it also means you are never permanently stuck with an unpayable bounty.
Method 3: Evading Detection
During the Spotted stage only, you can avoid a bounty entirely by leaving the red detection radius before the timer expires. If no eyewitness reports the crime, the search ends without a bounty being issued. You still lose the Contribution EXP penalty (that is always unavoidable), but your record stays clean.
This does not work once your status has escalated to Searching or Arresting. A bounty that has been formally issued stays on your record until you either pay it off at a church or serve jail time. Evading guards after a bounty is active only delays the consequences; the bounty does not decay over time.
Voluntary Arrest Strategy
If you want to clear a bounty quickly without visiting a church, you can force an arrest by returning to the bounty region, letting guards spot you, and declining to resist the tackle QTE. This is a simple and reliable method when you do not care about the extra Contribution loss and want to get it over with fast.
The Fine System and Tax Collector
Separate from bounties, the game also imposes fines when you receive large sums of money through illegal means, such as selling stolen goods. The Tax Collector can impose a 50-Silver fee to access banks if your criminal record is flagged. Speak to the bank guard to pay the fine. Completing this payment quest for the first time grants the Unique Glass Art item, which can be sold to a vendor to recover the cost of the fine.
If you resist or fight guards when they attempt to collect a fine, the penalty increases significantly. Serving time in jail for fine-related offenses results in a steeper fee than simply accepting the initial penalty and paying it upfront.
Notoriety as a Strategic Tool
The wanted system is not purely punitive. Certain equipment pieces provide an ATK bonus that scales with your wanted level. Will Powers, Pearl Abyss Director of Marketing, confirmed this mechanic: players can "make evil decisions and be rewarded for those playstyles with additional attack level based on your negative notoriety." This means you can intentionally raise your bounty before a tough boss fight to spike your damage output, provided you have the right notoriety-scaling gear equipped.
This creates a calculated risk-reward trade-off. The increased attack power comes at the cost of hostile guards, active bounty hunters, Contribution loss, restricted access to settlement services, and potential lockout from Contribution Shop gear in the affected region. The specific gear pieces that provide this notoriety-scaling bonus and the exact scaling formula vary, so experiment to find builds that maximize the trade-off.
A common strategy is to raise your notoriety in one region where you have already purchased all available Contribution Shop items, then use the ATK bonus for difficult encounters in other regions where your record is still clean.
Selling Stolen Goods
Stolen items cannot be sold to regular merchants. You must use black market vendors to convert stolen goods into currency:
Vendor Type | Location | What They Buy |
|---|---|---|
Southeast of Hernand, near the river. Additional shops in other regions. | General stolen items, masks, keys, and miscellaneous goods. | |
Livestock Black Market | Opposite Grimrak's shop, west side of the river near Hernand. | Stolen livestock. Animals must be physically carried or ridden to the fence. |
Wagon Fence | East of Hernand, on the road south of Halssius Apothecary. Also north of Unicorn Cliff. | Stolen wagons. Cannot be sold through any other merchant. |
Unlocked in Chapter 3 and beyond. Additional black market vendors in other regions. | Extended black market inventory, including higher-value stolen goods. |
Strongboxes stolen from the Hernand Bank and other locations should be opened from your inventory rather than on the spot. Opening them in your inventory converts them directly into raw silver, which is easier to manage than hauling individual items to a fence.
Consequences of Ignoring Your Bounty
Leaving a bounty unpaid has real gameplay effects that get progressively worse as the amount climbs:
Guard hostility: At low bounties, guards keep a closer eye on you but do not attack. As the bounty grows, guards become outright hostile and attack on sight. At high bounties, dozens of heavily armed guards converge simultaneously.
NPC restrictions: Merchants may refuse to trade with you. Quest givers may not offer missions. NPCs can flee or call for guards when you approach. An entire town can become effectively off-limits.
Vendor price inflation: Lower regional Contribution raises vendor prices and limits access to services. Even the Back Alley Shop may charge inflated prices in regions where you are heavily wanted.
Lost quest access: Some side quests and faction quests are locked behind minimum Contribution thresholds. A crime-damaged reputation can block these until rebuilt through positive actions.
Liberation progress undermined: The Contribution currency lost to crime is the same currency used for liberation. Your territorial progress takes a direct hit.
Tips for Managing the Wanted System
Pay at a church immediately. The cheapest time to clear a bounty is right after the offense, before additional crimes stack more silver on top. Visit the nearest Confessional before things escalate.
Keep coins in reserve. If you plan to experiment with crime, set aside at least 10 to 20 Silver so you can always afford a Writ of Absolution without selling gear.
Steal in isolation. The Contribution penalty from theft is unavoidable, but the bounty only triggers if a witness spots you inside the red search zone. Commit crimes when no NPCs are nearby and the search will expire harmlessly.
Use the lantern for scouting. Hold L1 (PlayStation) or CTRL (PC) to bring out your lantern, which highlights nearby stealable containers and lets you preview NPC inventories before pickpocketing.
Target nobles for maximum profit. Nobles carry Gold Bars worth 500 Silver each at the bank. Approach from behind, stay crouched, and wait for guards to look away.
Remove the Mask when not stealing. Accidental crimes happen more often than you think. Unequip the Mask after every criminal action to prevent careless weapon swings or ability uses from triggering assault charges.
Avoid assault and murder. Violence generates far higher bounties and Contribution penalties than theft. A single assault adds 5 Silver and costs 30 Contribution EXP, which takes significant effort to rebuild.
Never fight guards head-on. The guard response is designed to be overwhelming. Dozens of armed guards swarm at once. Run, pay the fine, or surrender.
Save before experimenting. If you want to test the crime system without lasting consequences, save your game first. The autosave system is forgiving enough to reload with minimal progress loss.
Exploit regional separation. Crime in one region does not affect your standing in other regions. Run theft operations in a region where you have already purchased all Contribution Shop items, then maintain a clean record elsewhere.
Stock up on Palmar Pills. Craft them with 15 Medicinal Herbs and 2 Water in a cauldron. They provide an instant revive on knockdown, giving you a second chance to escape during the Arresting stage.
Check your map for active bounties. Regions with outstanding bounties are highlighted in red on the world map. Clear them before traveling through those areas to avoid unexpected guard encounters.
Related Articles
Crime System - Full breakdown of crime categories, the criminal mask, and stealing mechanics
Stealing and Theft Guide - Detailed guide on container theft, pickpocketing, bank robbery, wagon theft, and livestock poaching
How to Pay Fines and Bounties - Step-by-step walkthrough of every bounty clearing method
Law System - Developer commentary on the legal framework and guard behavior
Contribution System - How regional reputation works and how to rebuild it after crimes
Liberation System - The faction Contribution currency shared with the crime system
Stealth - Using stealth to avoid detection while committing crimes
Above the Law Challenges - Crime-related challenges and rewards
Bounty System - Guide to hunting bounty targets and turning them in for rewards
Vendors - Where to buy and sell goods, including black market vendors for stolen items
Combat System - How guard encounters and combat work when wanted