
Loading...
Loading...
Adler
April 25, 2026 at 09:05 AM
Added Temperance Scorch transfer detail with three random debuff outcomes on each transfer

Adler is an A-Class Incantation character who serves as the butler at the Eibon Antique Shop. While his lower rarity might suggest limited potential, Adler is widely regarded as one of the most universally useful characters in Neverness to Everness. His kit provides teamwide shields, consistent damage-over-time effects, and straightforward mechanics that work in virtually every team composition. He is the rare support character who is equally valuable in beginner teams and fully optimized endgame squads.
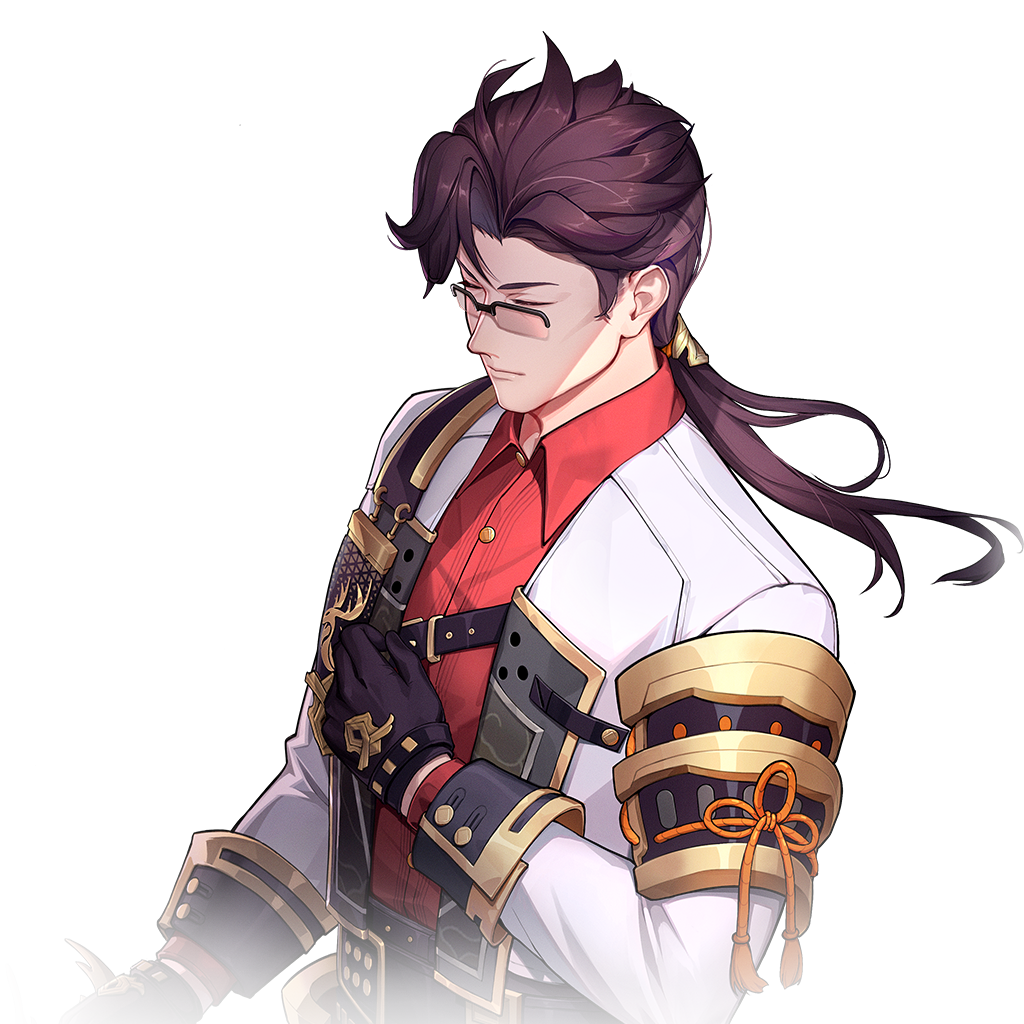
Adler's unassuming personality matches his reliable gameplay. He speaks softly, maintains a calm demeanor at all times, and is known for his distinctive habit of keeping his eyes closed. Behind his gentle butler exterior is a capable combatant whose cane sword conceals surprising depth.

Attribute | Detail |
|---|---|
Element | |
Weapon | Cane Sword and Sunyas |
Rank | |
Role | Support / Shielder |
Faction |

Adler wields a cane sword as his primary melee weapon, paired with "Sunyas," a summoned construct that provides ranged offensive support. His normal attack combo alternates between elegant cane sword strikes and Sunyas energy blasts, dealing Incantation damage with each hit.
His primary skill generates a teamwide shield that absorbs incoming damage for all party members. The shield scales with Adler's stats and lasts long enough to cover dangerous attack windows from bosses and elite enemies. While the shield is active, Adler's abilities simultaneously apply Incantation-based damage-over-time effects to enemies he hits, meaning he contributes both offense and defense without any trade-off.
This dual functionality is what makes Adler exceptional. Most support characters in gacha games force players to choose between defense and offense. Adler provides both at the same time, with minimal mechanical complexity. You press his skill, the team gets shields, and enemies take DoT damage. No elaborate setups or timing windows required.
The argument for Adler comes down to three factors: accessibility, consistency, and versatility.

Strength | Details |
|---|---|
Accessibility | As an A-Class character, Adler is far easier to obtain and upgrade than S-Class characters. A-Class characters appear more frequently in the gacha and require fewer duplicate copies to fully upgrade. This means Adler reaches full potential at a fraction of the investment required for S-Class supports. |
Consistency | His shields provide reliable damage mitigation that does not depend on specific team compositions, enemy types, or encounter mechanics. He just works in every situation. |
Versatility | Adler's Incantation element enables multiple elemental reactions. He triggers Hexed with Anima characters and Scorch with Chaos characters, meaning he slots into any reaction-based team. |
Even players who pull a full roster of S-Class characters often keep Adler in their team because no other character provides his combination of shields, DoT, and elemental reaction utility with such low investment and low mechanical requirements.
The defining feature of Adler's combat design is his Karma stacking mechanic. As Adler lands attacks with his cane sword and Sunyas, he accumulates Karma stacks. Each normal attack hit, skill activation, and DoT tick contributes to building his Karma gauge. Once Karma reaches its threshold, Adler can unleash it for a concentrated burst of Incantation damage that far exceeds his normal output.
This burst window is what elevates Adler beyond a simple shielder. When fully stacked, his Karma release can rival or even surpass the damage output of dedicated S-Class DPS characters against bosses. The combination of his low-investment accessibility with this high-ceiling burst potential makes him one of the most efficient characters to build in the entire roster. Players who invest in Adler's Karma optimization report consistently strong clear times in Co-Ex Tests and other endgame content.
Unlike many burst mechanics in similar games, Adler's Karma stacking does not require strict combo execution or precise timing windows. The stacks build naturally through his regular combat rotation, which means even players who are not mechanically gifted can reach full Karma consistently. This aligns with his overall design philosophy: high effectiveness with minimal execution barriers.
Adler fits into virtually any team composition. His Incantation element enables two of the strongest elemental reactions in the game:
Reaction | Details |
|---|---|
Hexed (Incantation + Anima) | Pairing Adler with Nanally or other Anima characters triggers the Hexed reaction, which debuffs enemies and amplifies incoming damage. |
Scorch (Incantation + Chaos) | Pairing Adler with Lacrimosa or other Chaos characters triggers Scorch, which applies a burn DoT that stacks with Adler's own Incantation DoT. |
A common beginner-friendly team runs Adler alongside Nanally and Daffodil for a balanced composition with shields, DPS, and break damage. For more offensive setups, swapping Daffodil for Baicang creates an Incantation-heavy team with devastating boss damage, though this sacrifices break utility.
Invest in Adler early. His low rarity makes upgrades cheap, and he will remain on your team for a long time.
Use his skill at the start of boss attack sequences to give the team a shield buffer during dangerous windows.
His DoT damage is passive and consistent. Do not worry about optimizing his attack rotations; just ensure his skill stays active.
Adler is one of the best characters for players who want a strong team without deep mechanical knowledge. He does the job quietly and efficiently.
For the reroll guide, note that Adler is a common pull. You will likely obtain him naturally without needing to target him specifically.
Build Karma stacks during shield uptime. Since the shield protects the team while you attack, you can safely accumulate stacks without worrying about incoming damage.
Time your Karma release for boss vulnerability windows or break states to maximize the burst damage. A fully stacked Karma release during a stagger window delivers exceptional results.
Despite being A-Class, a fully set up Adler with max Karma stacks can out-DPS S-Rank characters on bosses. Do not underestimate his damage ceiling.
Adler's Temperance passive transfers Scorch from a defeated enemy to a random nearby enemy, which keeps the burn pressure on a group as the squad cleans up adds. What is less well-known is that each transfer additionally rolls one of three random debuffs on the new target, drawn uniformly from the table below. The roll happens once per transfer, so a long Scorch chain through an entire pack of enemies generates a stack of mixed debuffs across the group rather than a single repeated effect.
Debuff Roll | Effect |
|---|---|
Attack Down | Lowers the target's Attack stat for the duration of the new Scorch DoT, reducing the damage the team takes if the target survives the burn. |
Esper Resistance Down | Reduces the target's Esper Resistance for the duration of the new Scorch DoT. This is the strongest of the three rolls because it amplifies every elemental damage source the team has, including the Scorch DoT that triggered the transfer. |
Break Effectiveness Up | Increases the target's incoming Break Effectiveness for the duration of the new Scorch DoT, accelerating any subsequent Discord or stagger setup the team is running. |
Because Esper Resistance Down and Break Effectiveness Up both compound with team damage, two of the three rolls are net positive even when Adler is benched. Only the Attack Down roll is purely defensive. Players who want to lean into Adler's group control role build him for sustained Scorch uptime, since each transfer is a fresh debuff roll on top of the burn that already deals damage in the background.
